

If you want to learn how to add finishing touches to your products post-production before shipping to your customers or transform your own 3D printed designs to a more vivacious color you can do so by following a few simple steps. In this tutorial, Steven and Jeremy Gonzalez of The Super Maker Bros demonstrate how to paint eyeglass frames printed in Multi Jet Fusion Plastic PA12 in multiple colors, a process that can be applied to many other projects of the same 3D printed material.

3D printed eyeglass frames in MJF PA12, 220/400/600 grit sandpaper (Photo by The Super Maker Bros)
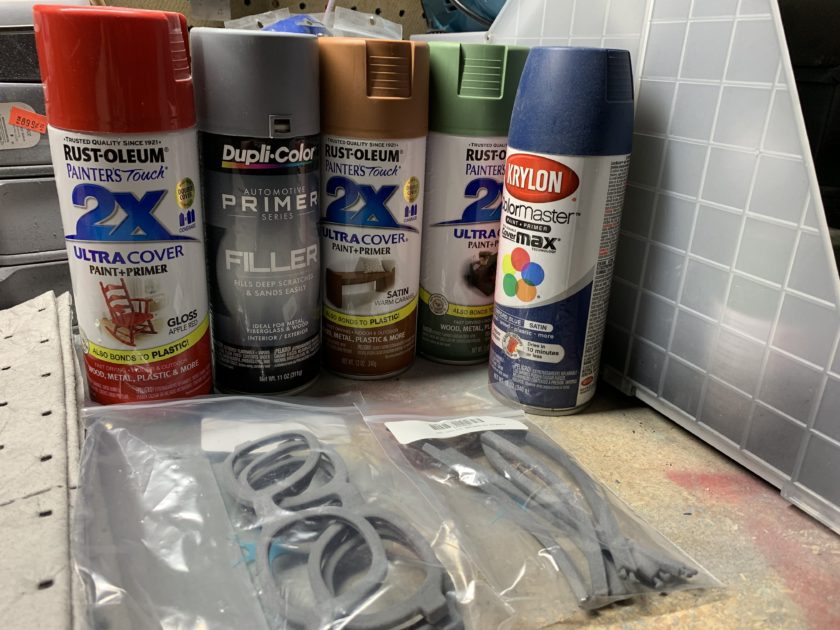
Primers and paints (Photo by The Super Maker Bros)
Here is what you will need:
- 3D model printed in Multi Jet Fusion Plastic PA12 (also applicable for Versatile Plastic)
- 220 grit, 400 grit and 600 grit sandpaper
- Spray paint primer
- Spray paint in your desired color(s)
- Clear coat matte or gloss spray paint
- Reusable drop cloths or newspaper to protect your work area from paint
- Highly Recommended: A respirator with replaceable filters will not only protect you from spray paint fumes but will last you through many more future paint projects.
Once you have these materials you are ready to get started. Follow the steps below and check out this video to see each step in action.
Step 1:
Prepare your workspace by placing newspaper or a drop cloth over the area to cover any furniture or floor space in range of your spray painting pattern. Protect enough space to spray from different angles.
Step 2:
Put on your respirator. Spray paint fumes are toxic and sanding generates dust particles that are dangerous to inhale, so make sure you sand and spray in a well ventilated area and wear your respirator.
Step 3:
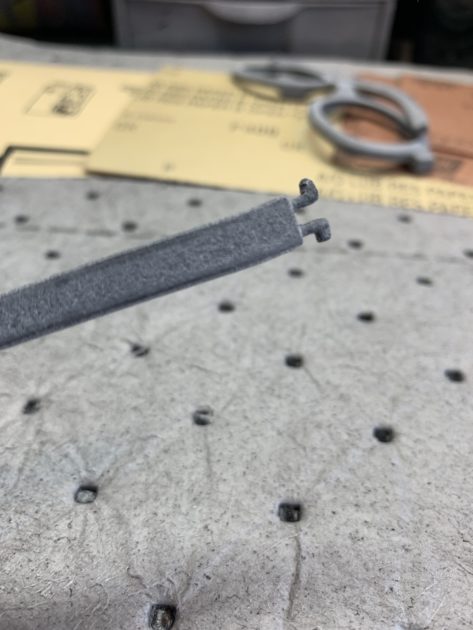
3D printed eyeglass frames, sanded (Photo by The Super Maker Bros)
Start by sanding the glasses pieces to smooth out their surfaces. This will also help the paint adhere to the plastic. Makerbro Tip: The best sandpaper to use is wet/dry or waterproof paper because getting the paper wet helps cool the plastic while sanding as well as keeps small dislodged plastic particles under control. Waterproof sandpaper is black instead of tan or beige.
Begin with a rougher, 220 grit sandpaper to remove any bulky texture and then move on to 400 grit and 600 grit to buff the surface smooth. The lower the number, the rougher the paper is. Be sure to rinse and dry the pieces to remove loose particles.
Makerbro Tip: To give your sandpaper more longevity, apply spray adhesive to the back of your quarter sandpaper sheet and fold it over to make an extra thick one-eighth sheet. This will give you the ability to use more pressure without tearing a hole in the paper.
Step 4:
Prime the frames using a spray primer like the Dupli color filler primer. Spray the glasses using a sweeping motion, keeping the spray can at a distance of about 6 to 12 inches. Spraying too closely will coat the object in too much paint and cause dripping or even cause the coat to crack when dry. Make sure all visible surface area is covered and let the pieces dry before spraying the other side.
Makerbro Tip: Spray paint takes about 30 minutes to dry to touch but wait between 1 to 2 hours to handle it. It will be fully dry after 24 hours.
Step 5:
Once the glasses are primed, sand the surfaces once more using the 600 grit paper to achieve maximum smoothness and wipe away any resulting dust.
Step 6:

3D printed eyeglass frames, painted (Photo by The Super Maker Bros)
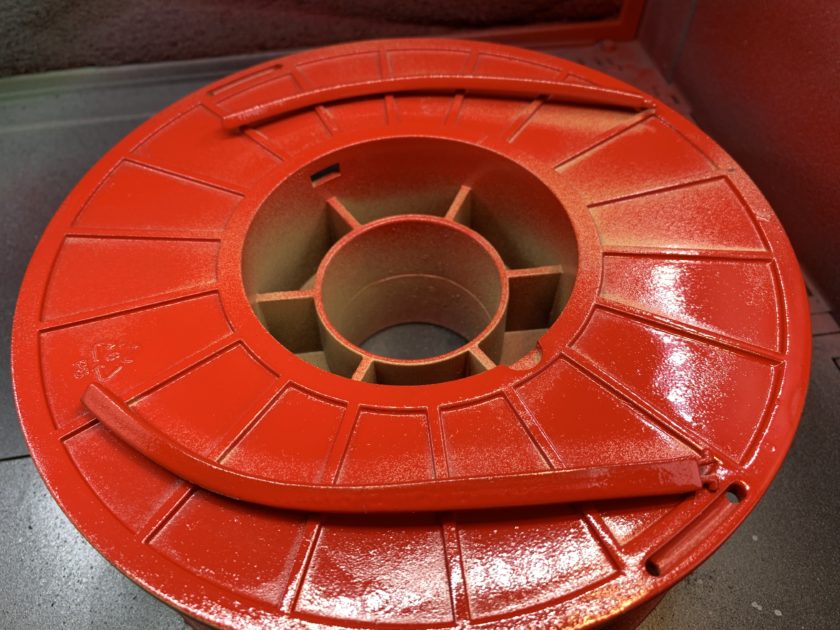
3D printed eyeglass frames, painted (Photo by The Super Maker Bros)
Using the same spray painting method as with the primer, spray each piece in the color of your choice and let fully dry for 24 hours.
Makerbro Tip: Want to use more than one color on the same piece? Use masking tape to cover parts of your project you want in a different color. Once the first color dries, cover that portion and paint the rest.
Step 7:
Once the glasses have had 24 hours to fully dry, it’s time to seal up the paint with a topcoat. Using the same spray painting method, apply two layers of topcoat, leaving 1 to 2 hours of drying time in between. This helps protect the paint and enhances the shine or matte finish desired. It also gives a buffer between paint and skin contact.
Step 8:

3D printed eyeglass frames, painted in blue and brown (Photo by The Super Maker Bros)
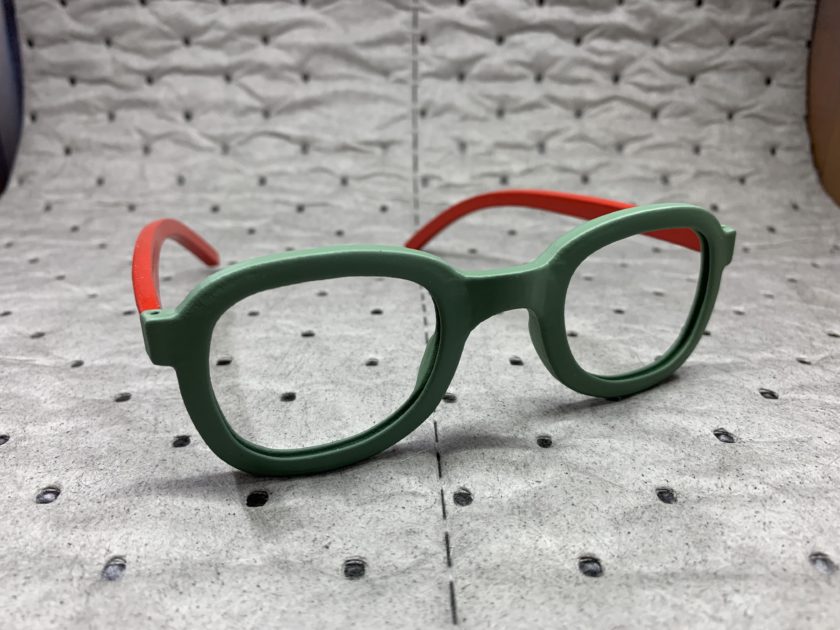
3D printed eyeglass frames, painted in green and red (Photo by The Super Maker Bros)
Now assemble the pieces and you’ve got a brand new pair of glasses! You can have a pair in every color.
Check out The Super Maker Bros on Instagram (where they’ll be posting more photos and videos) and YouTube for more fun 3D printed projects.
More from the Material of the Month Series: PA12
Part One: Material Overview
Part Two: Material Comparison: Nylon Plastics
Part Three: Business Example: PA12 used in the virtual reality industry
This is cool.