
This one is for beginners, the experts looking to learn a new software, or anyone testing the waters of online 3D design.
Shapeways recently launched a partnership that allows people to design and order 3D prints through Vectary, a free, browser-based 3D modeling tool. Here is the first in our series of Vectary tutorials: a necklace pendant that you can design and order in minutes.
If you are completely new to Vectary or 3D modeling, this three-minute video will get you acquainted with the basics.
Otherwise, here’s a video walkthrough of the necklace pendant. Step-by-step instructions follow below.
have a file? print your design
Open Vectary. Log in or create an account. Then click the Start Creating button.
A new browser tab will open with an empty project in it. At the bottom of the screen, click the Snapping tab. Make sure that Snap to Grid and Snap End are both selected.
Then use the Tab key to invoke Magnetic View so you can see the grid from the side. You can also hold down the left mouse button and drag to rotate the grid.

Select the Draw Lines icon. Click once to start drawing, then click on the grid to draw each line. Finish drawing with another click. The shape will fill with color once you’ve made a closed polygon.

Now you’ll generate a ring that has your polygon as its cross-section.
Click +Add Plugin at the bottom right of the screen to open the My Plugins modal. Add the Revolve plugin. Increase the number of segments and turn off Cap End. Click on the three vertical dots at the top right of the Revolve plugin, and select Bake from the dropdown menu to keep your changes.

Select the purple diamond icon at the bottom left. This will show your project in Shaded mode and reveal its geometry.
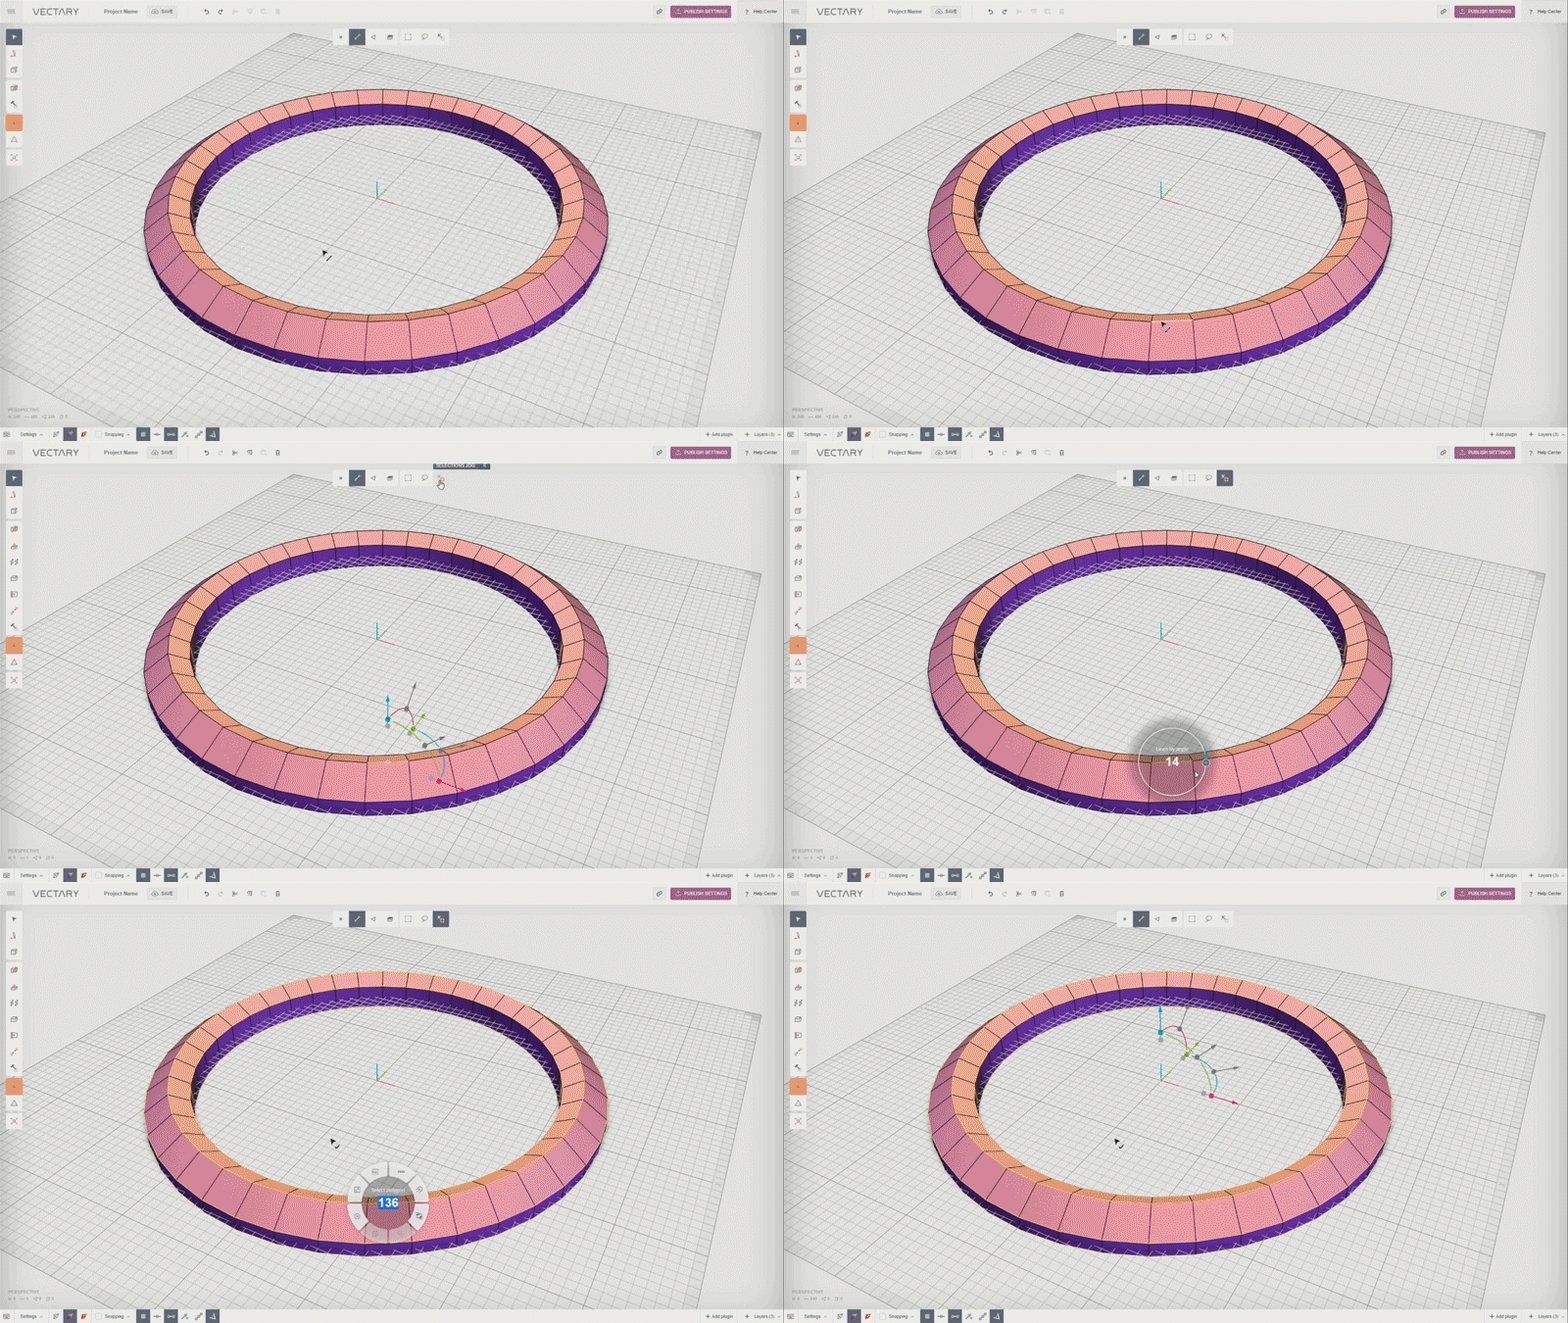
Double-click one of the line segments on the outer rim of the ring. This will activate the Selections Jog. (You can also select the Selections Jog button.) Click on Lines by Angle and drag it around the circle; the higher the number, the more edges will be selected.

Select the Bevel icon in the left toolbar. Hover over a line and a slider will appear. Click and drag the slider to create a beveled edge.

Above the ring, you’ll see a row of icons. These determine what your cursor can select. So far you’ve been able to Select Lines. Click on the next icon to the right, the one with a triangle, so you can Select Faces.
To make the mount that the pendant will hang from, select two nonadjacent faces with the mouse, then select the Bridge icon in the left toolbar to create a bridge. Open Selections Jog and increase the Strength to expand the bridge.

Select +Layers at the bottom right of the screen to add an empty layer. Select the Draw Box icon in the left toolbar and draw a box.
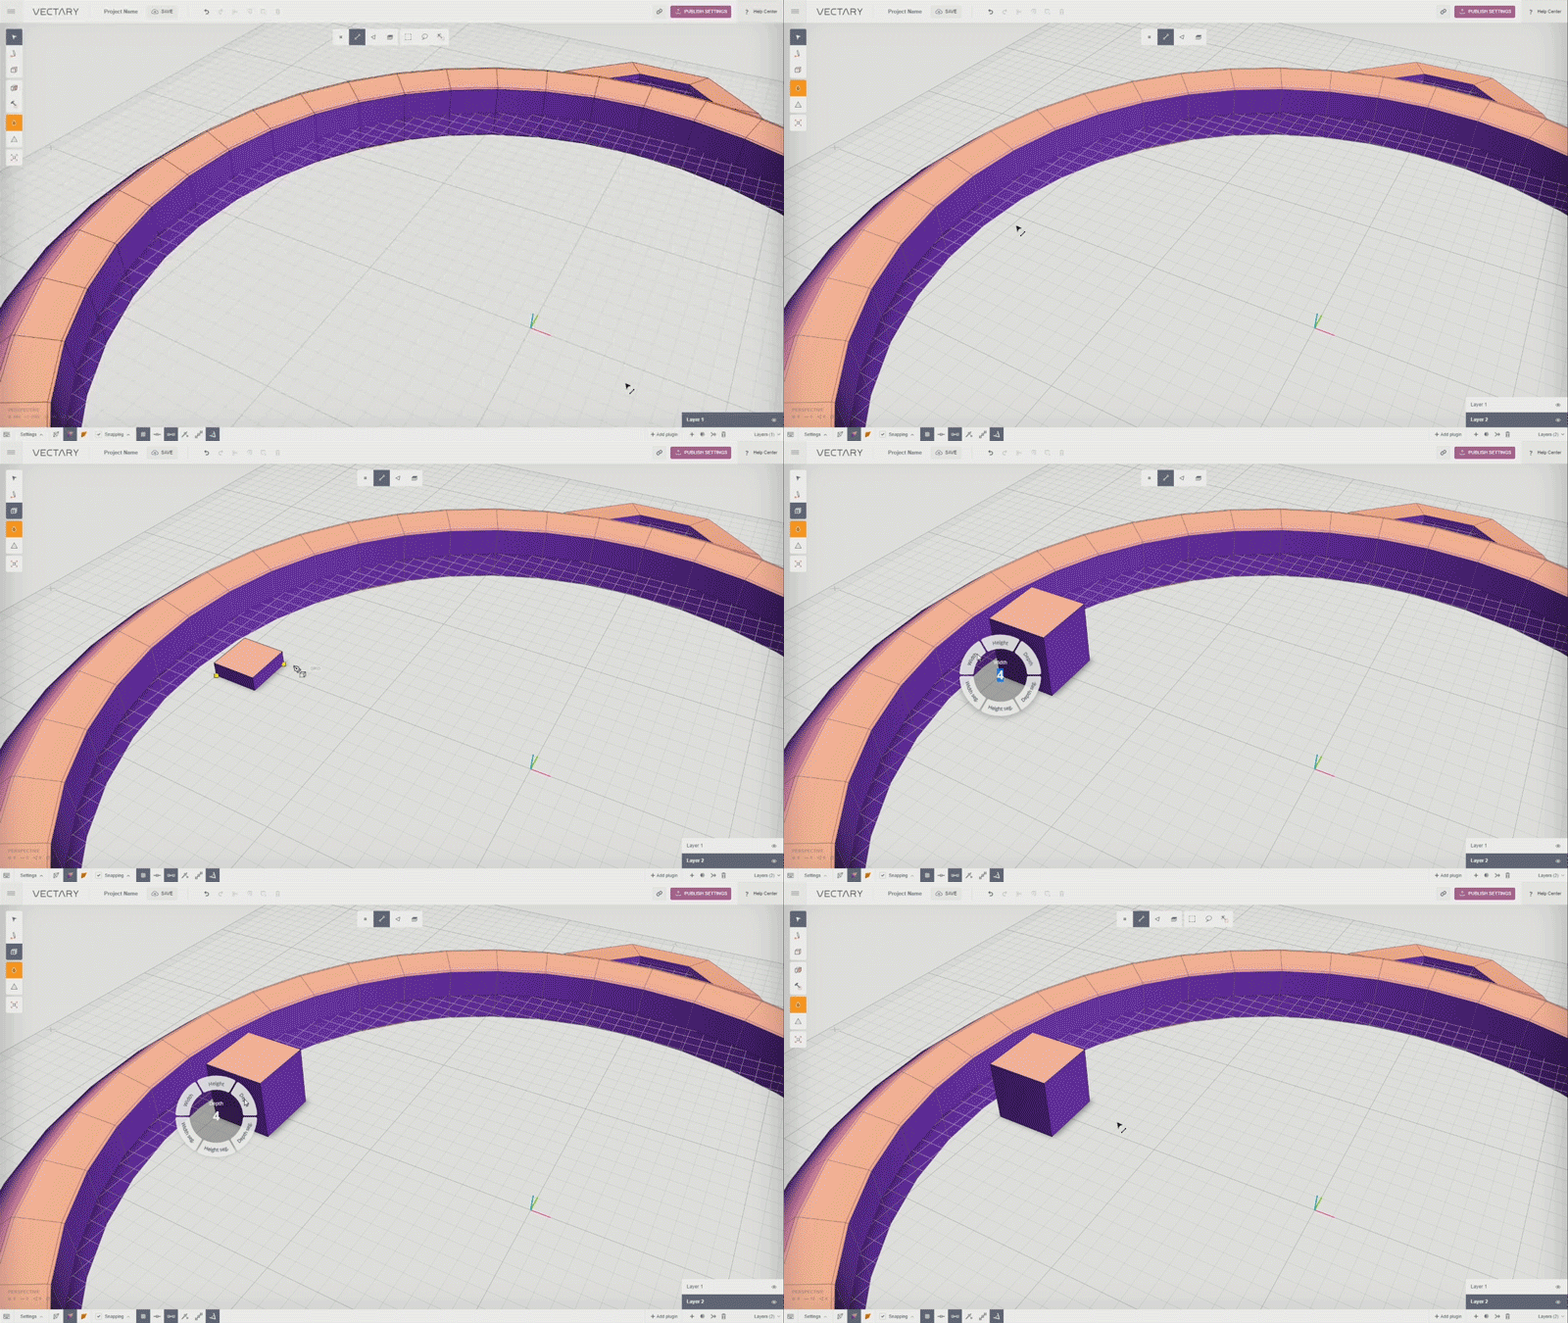
Bevel the edges of the box. Move it close to the wall of the ring.

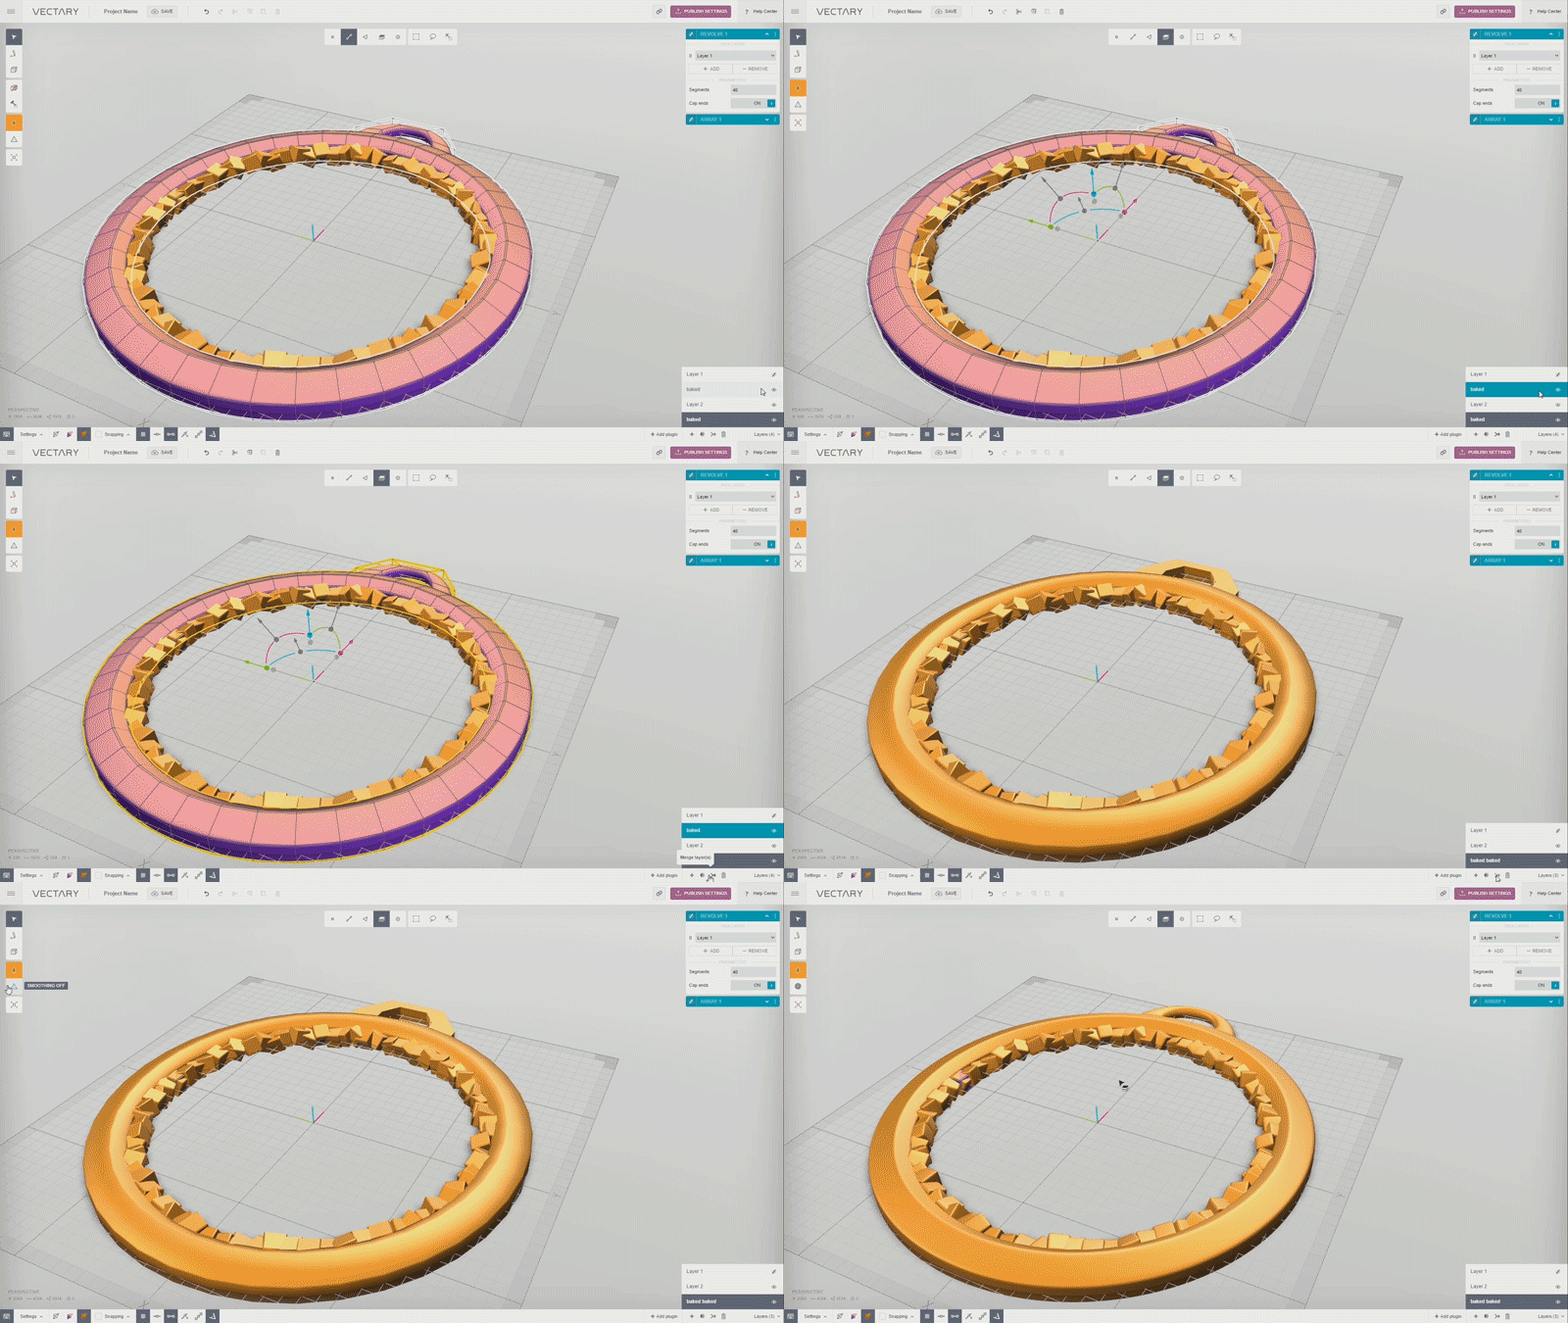
Add the Array plugin. Select the Radial button. Set Angle to 360. Tweak the settings for Copies, Jitter Translate, Jitter Rotate, and Jitter Scale to create a pattern that you like. Bake the Array.

Select the layer for the ring and the layer with the boxes. Click Merge Layers at the bottom right. Toggle the Smoothing icon in the left toolbar until you see Smoothing On.
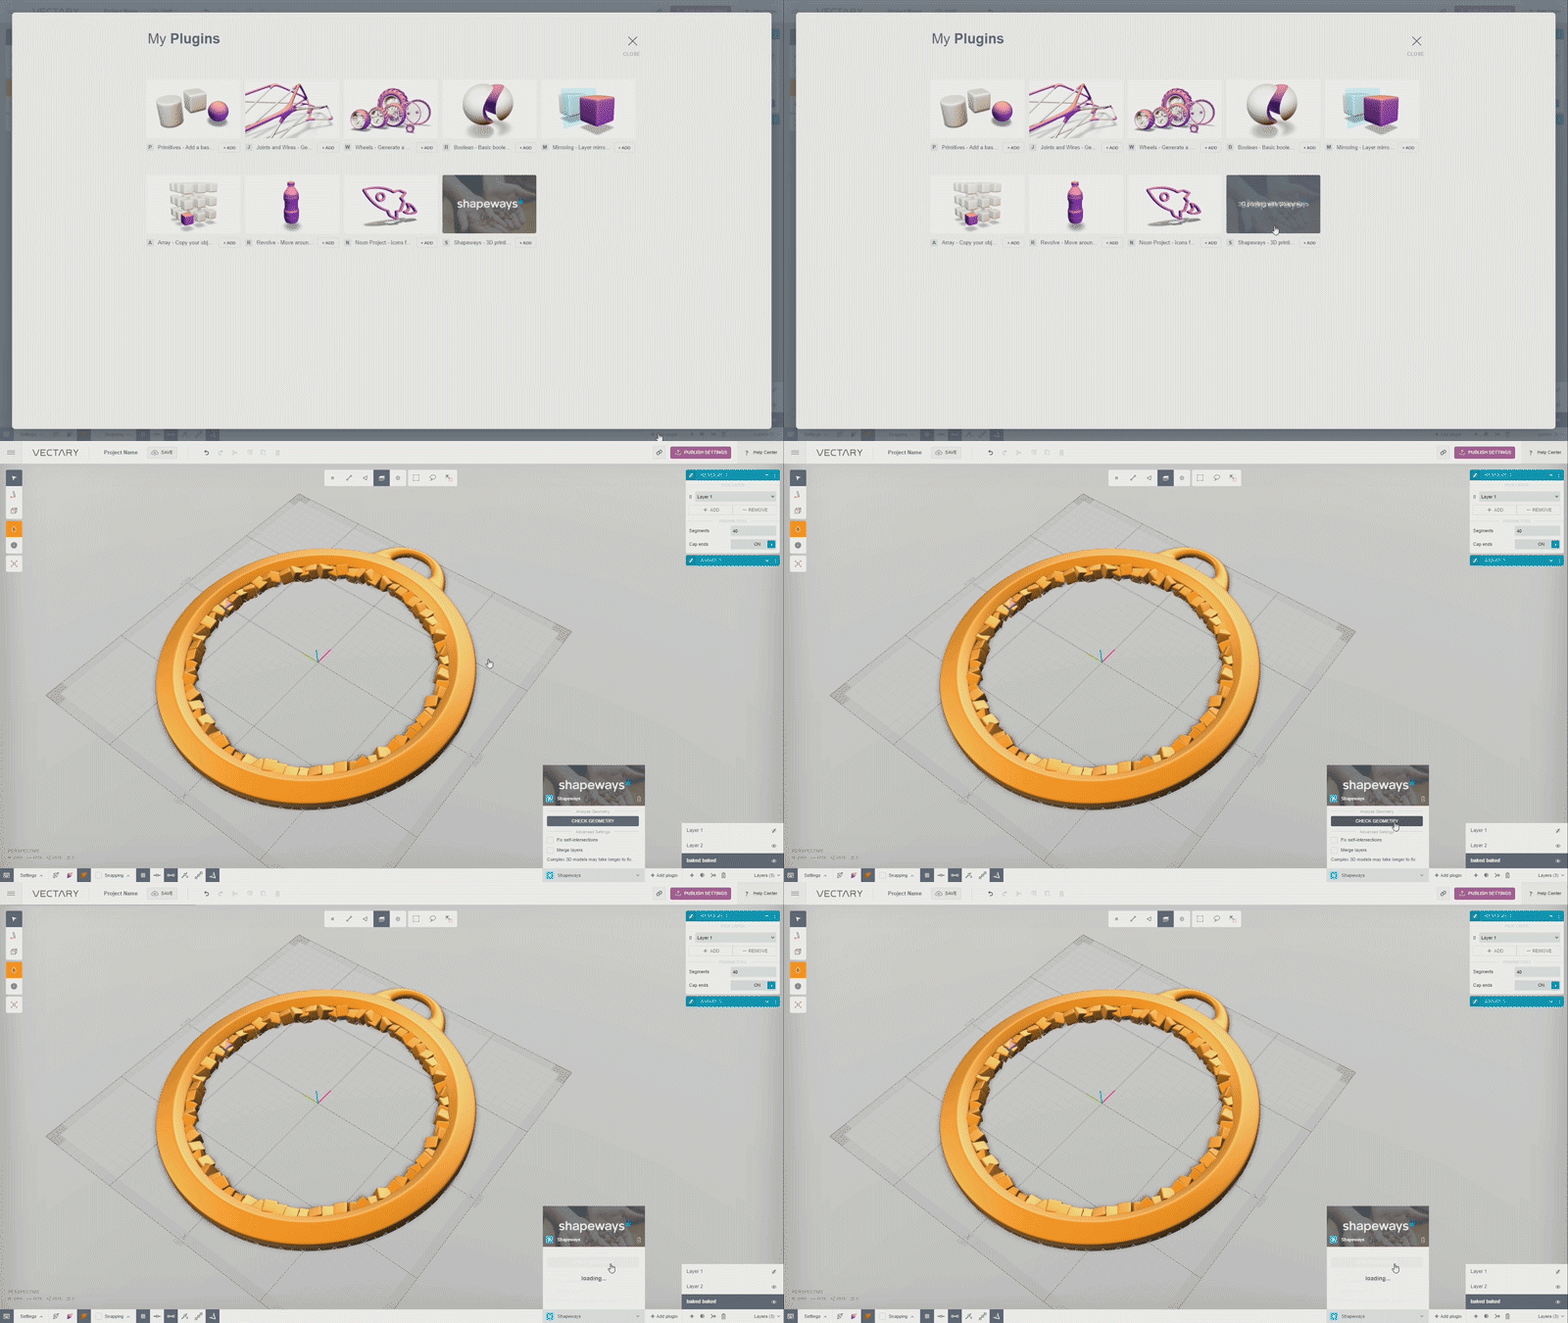
Now let’s get ready to order a 3D print. Then add the Shapeways plugin and click the Check Geometry button.
Select a material for your 3D print from the dropdown. If the scale of your print — or the price estimate —is bigger than you expected, use the Scale slider to make it smaller.
When you’re ready, Click the Send to Shapeways button.
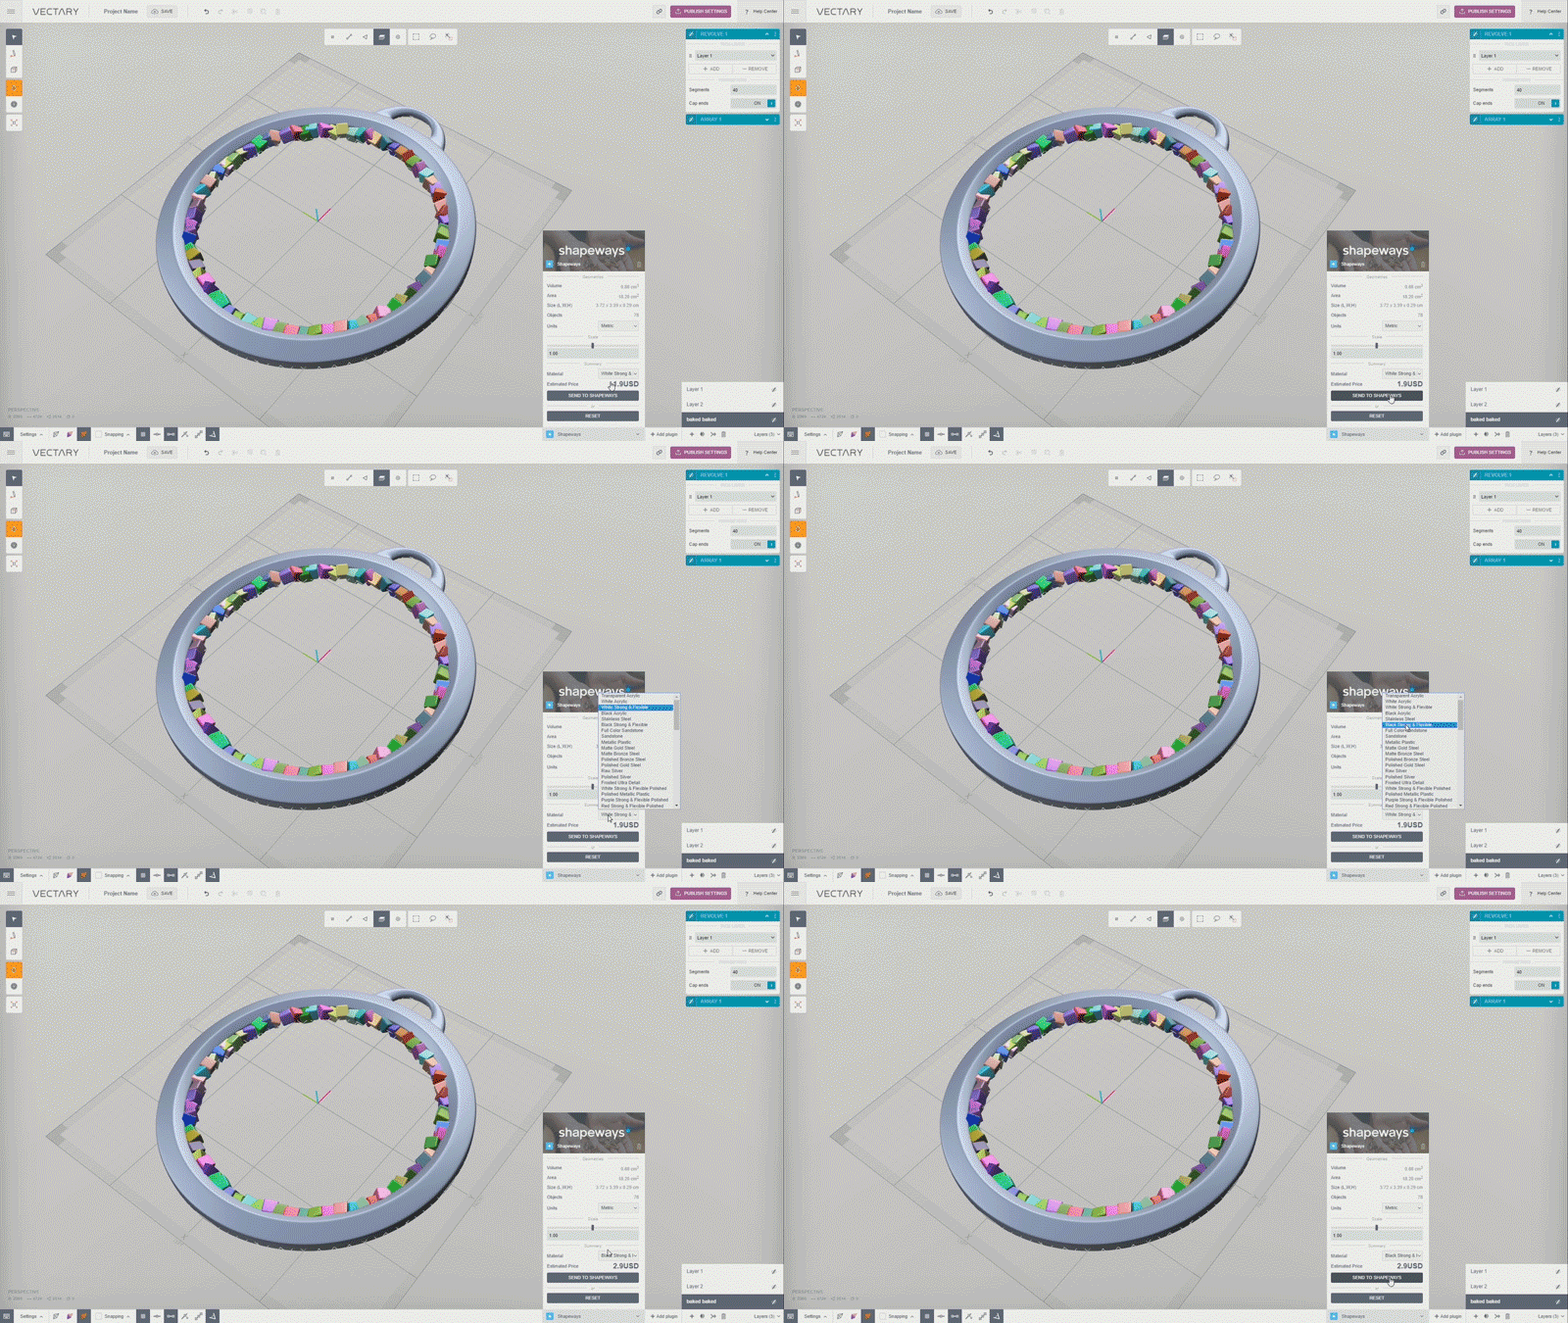
Check your email for a confirmation message from Shapeways; this may take a few minutes to arrive.
One you receive the email, Click the Proceed to Shapeways button, which will take you to a Shapeways page where you can order your 3D print.

And that’s it! If you order the necklace pendant in Black Strong & Flexible plastic, you’ll have your 3D printed model in your mailbox in five days.

Have you tried Vectary? How did your pendant turn out? Please let us know in the comments.


