Generating a great design is one of the most exciting steps of product development, topped only by seeing it finally in 3D print. Some tasks may seem like a headache, prompting procrastination or inspiring the need for stereotypical pep talks to dive in and get the job done. That is rarely the case though for 3D designers and engineers who tend to remain extremely engaged in creating 3D printable shapes–and understandably so. Ultimately, the greatest concern though is ensuring printability.
1. Choose Straightforward Software
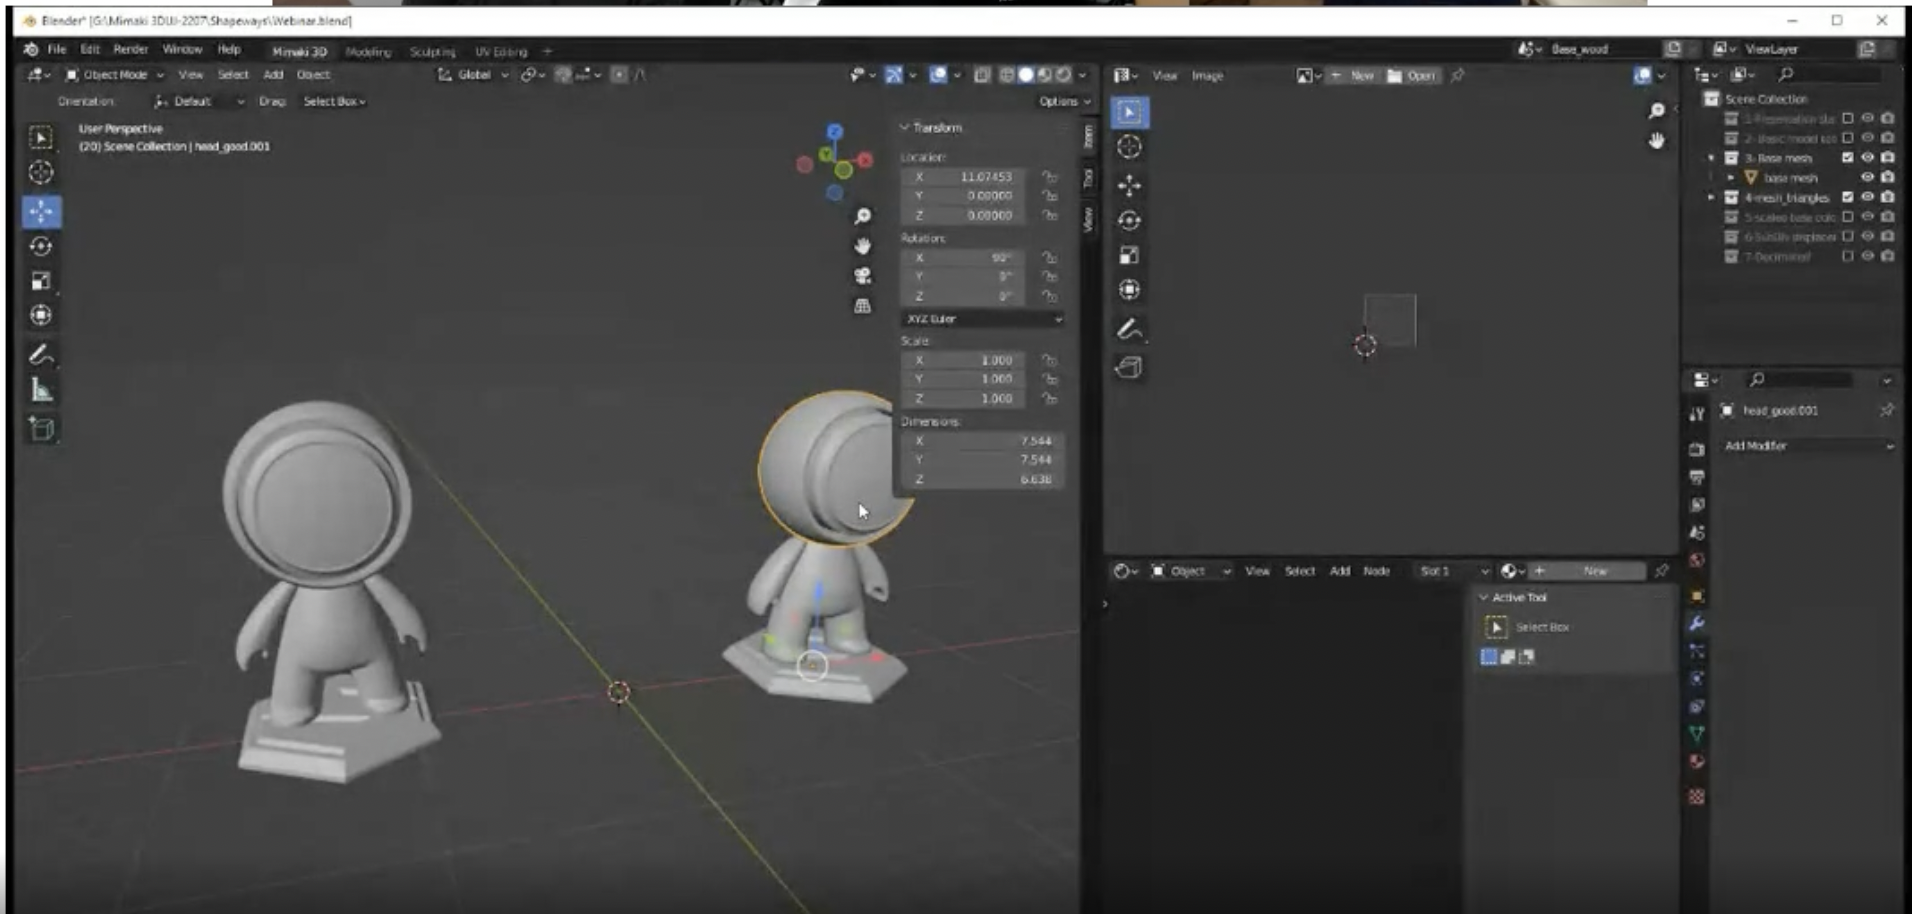
There are many different versions of free 3D modeling software available. Depending on project requirements and level of experience, designers often look into and and end up using a variety of different 3D modeling programs; for instance, CAD software like Tinkercad or SketchUp is great for users on every level and easy to use for most design projects, while Blender is a powerful tool and a mesh modeler, offering a variety of add-on tools for intensive customization.
Other software involves more of a learning curve but is worth it in the end due to the ability to create much more complex 3D models. No matter what type of 3D modeling software is used, it is key to be apprised of specific guidelines; for instance some programs may offer automatic features, while others are manually set.
2. Set Your 3D Model up for Success from the Start
While the modeling process may often be fun and exciting, efficiency is critical for optimizing any product for successful 3D printing–whether the intention is to make high-performing parts for sleek drones, an architectural model for an important client meeting, or a prototype that could serve as one of a hundred iterations during product development.
Once a customer uploads a 3D model to Shapeways, it is automatically checked for common issues; however, the modeling process should be used to perfect a design as much as possible before analysis, avoiding thickness or strength issues, and compensating for any possible areas of vulnerability ahead of time. Turn in a model that is above the basic requirements for printability, rather than picking up the slack after analysis.

3. Configure the Basic Layout for Good Adhesion and Support
Creating a successful design for a 3D printable shape means planning for the printing process in terms of successful adhesion. Although layer adhesion can become tricky due to issues with temperature, cooling, or layer height, mistakes in modeling could also be the culprit. Avoid problems ahead of time by designing a 3D model that will stick to the print bed easily, creating a flat surface to build upon layer by layer.
Plan for overhangs too–and try to avoid steep ones–as well as adding support structures if necessary. While this is not required for powder-based technologies like Selective Laser Sintering or Multi Jet Fusion, other 3D printing methods like Stereolithography (SLA) rely on supports to maintain the integrity of the part during manufacturing.
4. Design 3D Printable Shapes that Can Support Their Own Weight
Rather than facing disappointment after the fact, preliminary considerations for size and weight of the 3D model are imperative to success. If not scaled properly, 3D prints may be surprisingly small–but worse, if they are too heavy it may be impossible to position them upright as intended or they could fail completely during production.
Refer to bounding box information to avoid these problems; for example, in 3D printing with Nylon 12 [Versatile Plastic], one of the most popular materials at Shapeways, these details are readily available. Models should be scaled within the listed dimensions of the bounding box, a 3D imaginary outline of a box enclosing the smallest area occupied by a 3D model.
Note: printing orientation will be restricted if the 3D model size is close to the maximum dimensions.
Following is an example of the bounding box dimensions for Nylon 12 [Versatile Plastic]:
- Bounding Box Max
- 650 × 350 × 550 mm (Natural White)
- 180 × 230 × 320 mm (Natural Black)
- 200 × 150 × 150 mm (Processed & Premium)
- 345 × 375 × 440 mm (Smooth)
- [Parts over 330 mm long in any direction may have a visible line due to our dual laser printer]
- Bounding Box Min
- X + Y + Z ≥ 7.5 mm (Natural)
- X + Y + Z ≥ 25.0 mm and axes must be ≥ 2.5 mm (Processed & Premium)
- 10 x 10 x 10 mm (Smooth)

5. Choose Suitable Materials and Technology for Your 3D Model
Along with preparing for issues with scaling and size, researching materials and technology ahead of time will also save a lot of time and headaches, especially when designers are working with more complicated geometries. Again, design guidelines should be considered, but stretching the limits of a particular 3D printing material or technology can present obvious problems; for example, a part cast in metal with intricate engraving may be rejected for use with a material like Steel, due to a weak geometry or other specific details.
Research materials to match models with project requirements whether using metal for fine jewelry or perhaps a more flexible material 3D printed with Nylon 12 [Versatile Plastic] using SLS 3D printing technology for interlocking parts.
6. Pay Attention to All Guidelines
With the inception of a design, or a project involving comprehensive product development, all guidelines should be considered, no matter what level of expertise the designer has achieved. Guidelines begin with software, and should be in line with project requirements. This is why so many designers are proficient in numerous types of 3D modeling software programs, and may find one appealing over the other depending on what they are working on at the time.
Considering design guidelines is critical while creating a model, as well as moving forward to choose the proper materials and technology for 3D printing. This is why Shapeways offers design guidelines for every material description, whether you are wondering about designing for materials that rely on Multi Jet Fusion technology or Selective Laser Melting. While many designers do need different features such as flexibility or hardness, other factors come into play such as the ability to offer desired textures that may work as well for materials with rougher surface finishes.
7. Design for Suitable Wall and Wire Thickness
Think of walls as the flat surfaces in a model and wires as strands. Issues with wall thickness are extremely common, and usually caused by areas of the 3D model that are too thin, with the potential to break during 3D printing. This can be compensated for in automated slicing programs, but in many cases designers may choose to use customized settings. A common example would be a structure with walls that suddenly become too thin in curved areas, leaving the 3D model open to vulnerability. If the walls are too thick, however, designers and engineers may find that they are using too much material and opening up the potential for cracking. Upon printability analysis at Shapeways, a 3D model must have walls and wires that are sufficient to survive 3D printing, post-processing, and packing and delivery.

8. Create a Compatible File
Many models emerge from 2D drawings which are then extruded into 3D, or they may be built from basic to more complex 3D structures using a variety of different software programs. Compatible files include the following:
- File types: DAE, OBJ, STL, X3D, X3DB, X3DV, WRL, 3MF, STP, STEP
- Full-color printing: OBJ, MTL, DAE, WRL, X3D, X3DB, X3DV
- Maximum file size for all types: 64 MB and/or 1 million Polygons
9. Prepare for Prototyping, Testing, Iterating
Many designers and engineers rely on Shapeways to help them perfect prototypes and parts during the product development process. This means experimenting with numerous materials and technology, along with editing them along the way for form and fit; in fact, some Shapeways customers may 3D print well over a hundred iterations before they take a product to market. With rapid prototyping, the process is fast–and results in a high-performing, tested product that ultimately enhances the consumer experience.
Shapeways customers may also work with the User Application team in testing parts for the proper materials, sometimes requesting the PITA (Print It Anyway) method. Although sometimes risky and often working outside material guidelines, PITA allows designers to see what might happen–but without any guarantees!

10. Prepare for Cost, Printability Analysis, and Customized Feedback
Once a 3D model is ready for 3D printing, the Shapeways customer uploads their design and receives an instant quote. The model undergoes file analysis to ensure its printability. Sometimes things do not go exactly as planned during the modeling process, despite all efforts, and a design may require customized feedback or more complex file fixing via the User Application team at Shapeways. While they do everything possible to regenerate files which may be problematic, for more challenging issues the UA Team may need to work directly with the customer regarding necessary changes.
Download our Infographic, 10 Printability Tips for Your 3D Model.
About Shapeways
Working with Shapeways ensures your part will be printed with the highest quality materials in the most efficient manner possible.
Enjoy the benefits of advanced technology and a wide range of materials from Shapeways for 3D printing your creations with accuracy, complex detail, and no minimum or limits in terms of mass customization or single part orders. Shapeways has worked with over 1 million customers in 160 countries to 3D print over 21 million parts! Read about case studies, find out more about Shapeways additive manufacturing solutions, and get instant quotes here.


