
This is a guest post by George Kyriakou of BotFactory
With Shapeways we suck more, literally. Imagine if every time that you wanted to make a change to your website or app, you had to wait for two weeks to see the results. This is the reality in the electronics prototyping world. My name is George Kyriakou and I am the COO of BotFactory, where we make Squink, a Desktop Electronics Printer that can create the sort of PCBs to power any device, from drones to watches. We use Shapeways in order to get high precision and quality parts without having to order thousands of units.
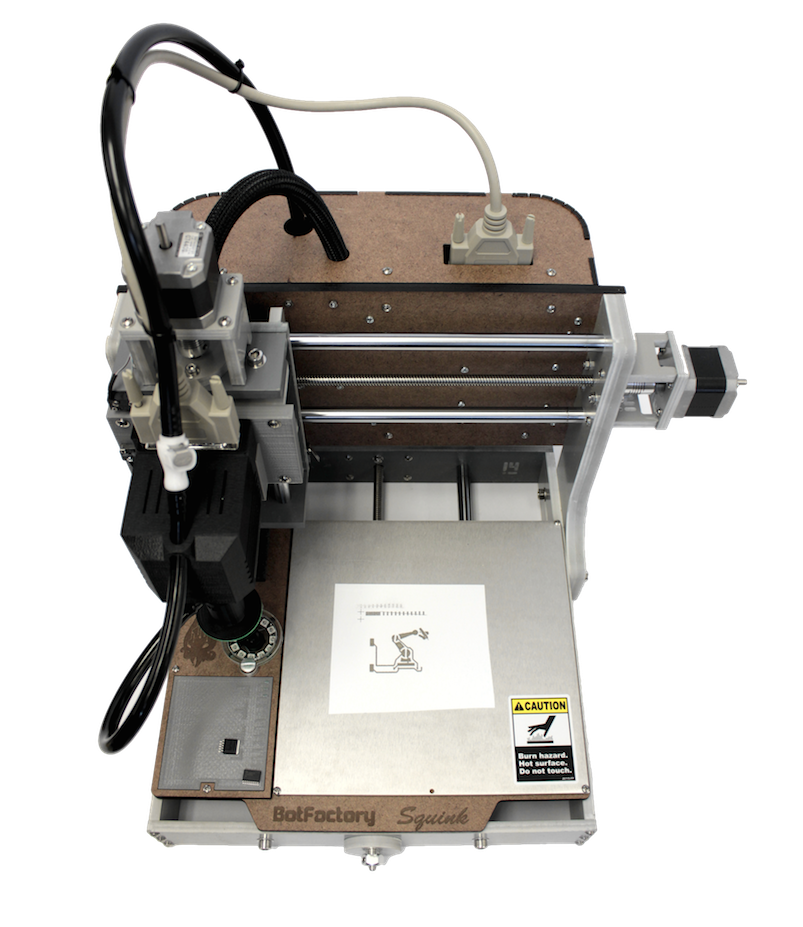
BotFactory aims to reassess the way we think about Electronics and hardware prototyping. Instead of waiting a couple of weeks procrastinating while your board is being manufactured and shipped, BotFactory inkjet prints your traces in a jiffy using silver-based nanoparticle electroconductive ink. Instead of searching for interns to burn your freshly cooked wafer, BotFactory solders and picks and places for you. And all that through a single device that sits on your desk: Squink.
As COO I manage our supply and manufacturing chain, which means I also serve as the janitor, packer, shipper, assembler, purchase manager, etc. My long-term goal is to make sure that BotFactory can scale production effortlessly and meet our big vision to have Squinks on everyone’s desk. From the early days, we designed and 3D printed all of the parts for Squink on our handy Makerbot Replicator 2X. We felt that we could scale with only one machine – how wrong we were!
We started with some sample prints and, voila: awesome results (ok, some minor tweaking like belt tightening and bed leveling had to take place first). But clouds didn’t take long to appear in the fairyland of prototyping: clogged nozzles, chewed up filament, model knocking, warping and the list goes on. Even the room temperature variations due to the highly unstable New York weather affected the prints – we couldn’t reach the sort of tolerances that we needed.
As is my style, I dug deeper. I started keeping meticulous data. I tried a handful of slicers and played with hundreds of settings. Soon I buried our couch under stacks of empty filament spools and became permanently scented with the distinct stench of ABS fumes. It was then that I realized the AM part in 3D printing is not for Additive Manufacturing but to describe the time of the night when every person with a 3D printer ends up tinkering. But soon enough I could start calling myself a 3D printing guru.
It was a Thursday morning when I entered the BotFactory Headquarters (yes, it is a single room, so what?) and finally faced the perfect piece: no scratches, no gaps between layers, no imperfect circles or ringing, no failed supports or bridges. Everything clicked together and hard work had finally paid off. Now my only limit was, well, the limitations of our printer.
The toughest part soon proved to be fabricating our Pick and Place head. This part is responsible for picking up and rotating an IC Chip or Resistor, taking it above the camera so the image recognition algorithm can correct any errors, and of course moving them to the appropriate place on the board. But all of those were working as expected. It was the actual picking that was causing us trouble; we simply didn’t suck powerfully enough!
In order to pick up the parts we use a suction system. Simply put, we create vacuum using a pump and we guide it through a silicon tube to a syringe tip (Figure 2: The Pick and Place (PnP) Head). To maintain the vacuum, we have to make sure that all the connections are tight and sealed and no leaks are present. After rigorous testing, the culprit was found: it was the Pick and Place cylinder (the part holding the motor, the suction tube and the syringe tip together).

Figure 2: The Pick and Place (PnP) Head
Let’s take a closer look at the Pick and place Cylinder. It is composed of two parts: the cylinder’s main body (Figure 3: The Cylinder’s Main Body) and the barbed connector (connecting the main cylinder body to the suction tube) (Figure 4: The Barbed Connector). But it didn’t always look that way and, from a mechanical perspective, it is not optimum.

Figure 3: The Cylinder’s Main Body

Figure 4: The Barbed Connector
Like every manufacturing technique, 3D printing works best when the designer constrains the design to meet what the 3D Printer can do. To that end we iterated, iterated and iterated; and then iterated some more and then a little bit more in order to produce a part that is functional, has good tolerances, low failure rate during 3D printing, and a good mechanical stability.
However, with your classic FDM 3D Printer (like Makerbot) you often have small gaps that allow air in from the outside, reducing the potential vacuum. We added multiple shells, placed a high infill percentage, etc. but nothing seemed to work well enough. We had hit a roadblock. We couldn’t mill it either – the part was too complex and would probably be very expensive. Ditto with Injection Molding. What was I supposed to do?
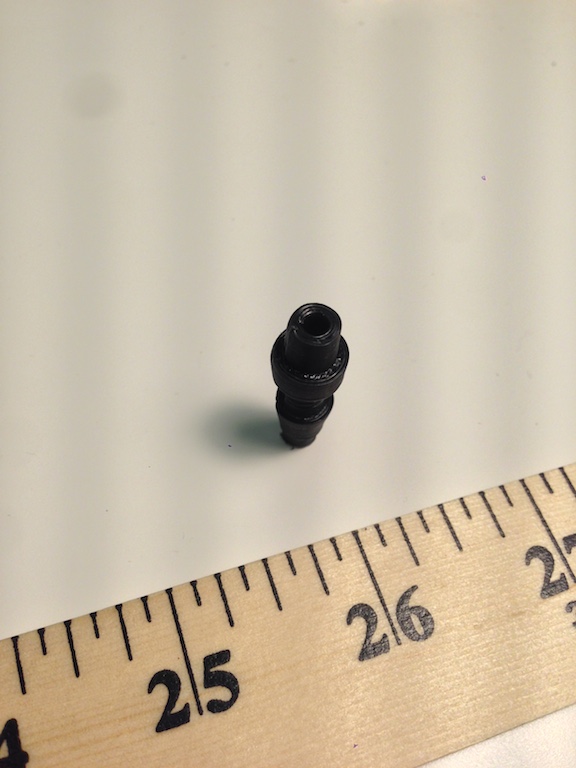


Figure 5: Putting the Cylinder’s Main Body and the Barbed Connector Together


Figure 6: The Luer Lock Tip and the Threads in the Cylinder
I was at my limits and ready to throw the 3D printer out of the window (for the 100th time) when my friend Tenoch from Sunhouse (at the time we were working in the same room) told me with the calmness of a 10th degree black belt sensei “Why don’t you just try Shapeways?”
Within the next fifteen minutes I had already placed the sample order and within a week I was at their facilities to pick them up (after all they are literally two blocks away). At this point I have to say that if you live around the city, you have to visit their Long Island City facility! They even organize tours, which I took, and I was genuinely impressed by the way they have set up their operations!
In any case, back to our office to open the magic package. When I picked up the part (singular, no more two part nonsense) I was impressed by the finishing. Due to the small cavities used in our cylinder we explicitly asked Shapeways not to polish it and therefore I expected a much rougher surface. Instead we got a surprisingly smooth surface with a slightly dusty feeling. The detail achieved at the barbed connector was stunning (Figure 7: The PnP Cylinder made by Shapeways). But what about rigidity?
Our order contained three pieces: one for show, one for testing and one to be sacrificed to the gods of rigidity. Following the same scientific approach as the bendgate, that little thing was impossible to break!

Figure 7: The PnP Cylinder made by Shapeways
Next check in line was the Luer lock. The insertion was smooth and easy and it felt very precise. Despite the minuscule size of the pitch, the syringe tip locked tightly in place (Figure 8: The Precise Threads on the Cylinder made by Shapeways).
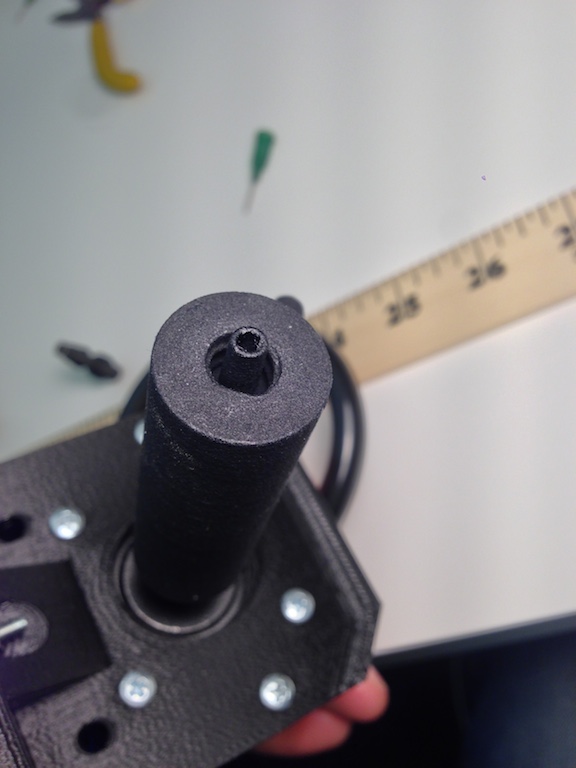
Figure 8: The Precise Threads on the Cylinder made by Shapeways
The final check was the barbed connector. The silicon tube slid easily into place and the barbed connector came out so sharp that indeed it was very hard to remove, providing us with the insulation we needed.
After everything was in place, it was time for the final evaluation. The part looked much nicer now. The Luer lock and the barbed connector felt more rigid and the absence of an additional connection point after merging two parts into one could only make things better, but we needed proof that it was enough! And what a proof we got: even during the very first attempt, we were able to lift parts that were twice as heavy, meaning that Squink users could now reliably lift SOICs, polarized capacitors, QFNs, inductors and many many more.
And for us it meant that we could greatly reduce the failure rate of another part for Squink, we could remove the time uncertainty that was caused by mechanical failures in our 3D printer, and finally that we reduced the reworking time by combining the two parts in one.
As a startup we are constantly working on the bleeding edge of things and everyday is another attempt to push the limits of what is possible. With such high goals we require all the help that we can get, especially from partners that understand the “what” and “why” behind what we do and can help us with the “how”. We are very lucky that we live in an era where companies like Shapeways can offer products and services that in the near past seemed unachievable. This is the same goal we aim to achieve for our users at BotFactory.
There is actually a very simple and easy way to “air tighten” your print. That cylinder you printed is a typical example. Take the printed cylinder and submerge into acetone for 10 seconds, take out, shake acetone off it, do not wipe/rinse, leave in properly ventilated area for 48 hours to dry. Test “air tightness” :). The small “tit” you use to connect hose to the cylinder you can coat with mixture of acetone and scrap ABS (make a mixture that has consistency of honey, or maybe even thicker one) and use that mixture as glue, you will get air tight seal without a problem 😀 (takes 24-48 hours to fully dry). The side effect of this dipping into acetone procedure is to significantly increase part strength. You just need to find the proper “dip time” for each part. For most small parts 5-10sec gets the job done, some bigger parts require bit more time (30-60sec)
Shapeways is superb service don’t get me wrong, but when you do a lot of iterations and want to have part “now” the acetone trick works great.