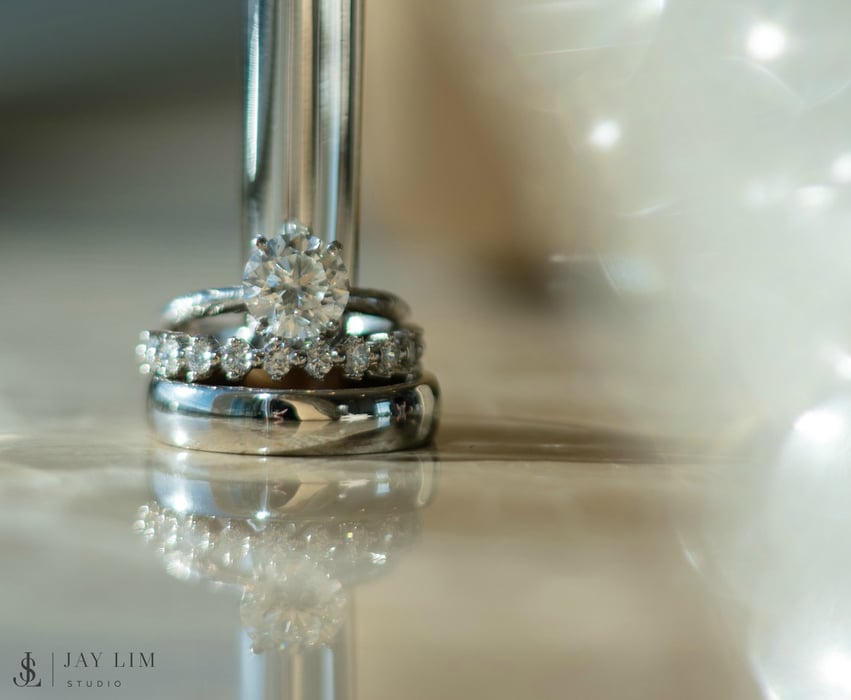
Designing a plain wedding band is easy–much easier than designing my wife’s engagement ring (that story here). To break the process down for you, I wanted to highlight the tools and techniques I used to create my design. If this is your first time using Onshape or even a CAD package, I highly recommend starting off with a few beginner tutorials to familiarize yourself with the interface.
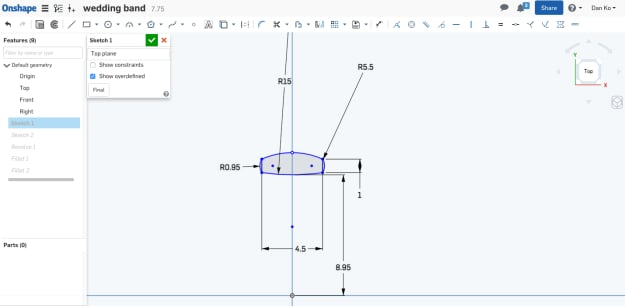
The approach I took in making this ring was to sketch a cross section of the ring, and then revolve it around a central axis to make it into a ring. First you’ll want to create the profile of your ring in a sketch. I used the top plane.
Use the arc tool to create rounded sections of the profile. I focused on making sure the top section had a very gentle curve. In many of the men’s rings I saw, the top curve was much more rounded which leads to a thicker ring and I prefer something a bit flatter for comfort. Similarly on the bottom profile (the inside surface of the ring) I added a bit of rounding for comfort; know that the more curvature you add, the thicker the overall ring will be. I went with 4.5mm in width which is a good in between size. Feel free to make it thicker or thinner based on your own hand.
The distance of lowest point on the profile to the axis of rotation (the x-axis in mine) will be the radius of your ring. Use a sizing chart to determine what your value needs to be. The best thing about designing your own ring is that you don’t have to follow standard sizes. Here, this ring is a 7.75 U.S.
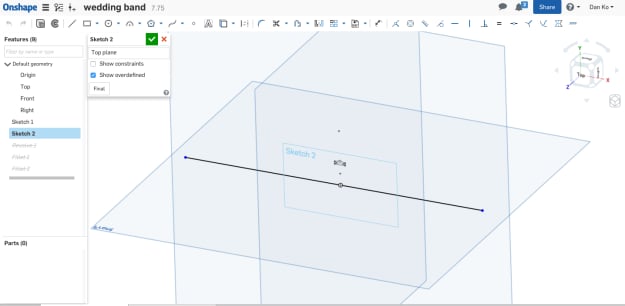
Once you’re finished with your ring profile, create a new sketch with a line segment that will be your axis of rotation.
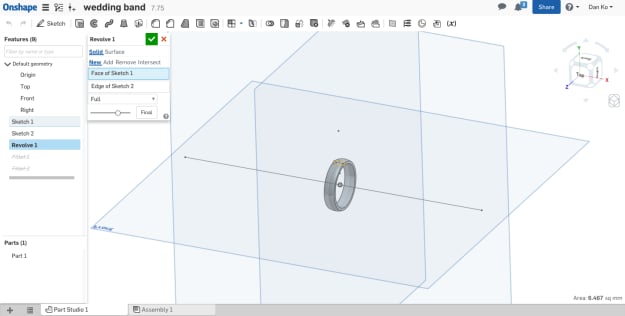
You’re almost done! Use the revolve tool to rotate the ring profile around the axis you just created to make a ring.
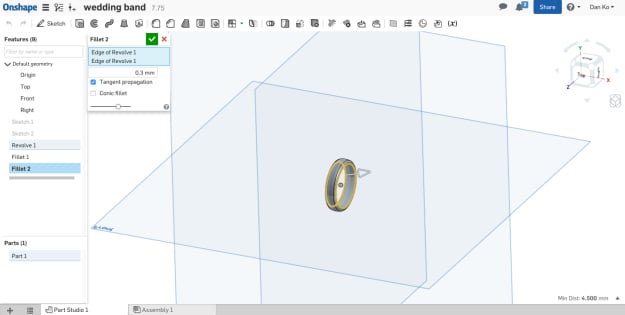
Finally I added some fillets on the inside and outside edges of the ring to round things out for further comfort. I just played around with the radius value until it looked good.
You’re finished! Right click on the model tab and export as STL on high detail so you can upload to Shapeways and order.
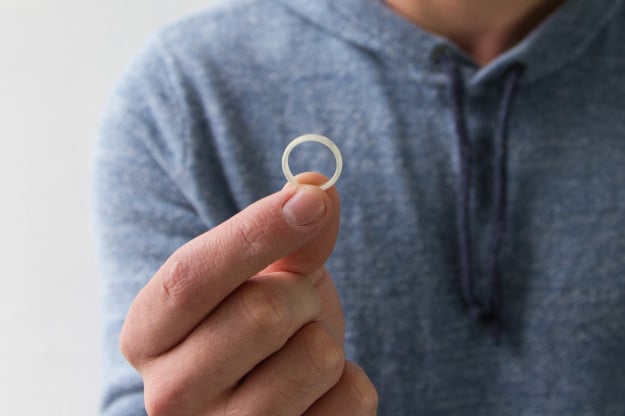
Our Frosted Ultra Detail is a great, high detail plastic for prototyping. I used it to check the fit was comfortable and the ring proportions were right.
The only question now is which of our precious metals will you choose? Gold and Platinum make great wedding rings or check out all of our materials.


Hello
I would very much love to have a ring made for my sister, something very special for her 40th Birthday this August. Are you available?
Hi Tonya, Unfortunately Dan isn’t available. You should reach out to one of our Designers For Hire who can work with you on this. https://www.shapeways.com/hire/designer Thanks!
HI Tonya
have a look at our Facebook page https://www.facebook.com/SOUTH-of-the-Equator-711534022269609/
that’s all we do is make band style rings. we have made rings for customers over seas.
come and have a look, we don’t even charge for the design work.
regards steve