
Tan Fine Detail Plastic

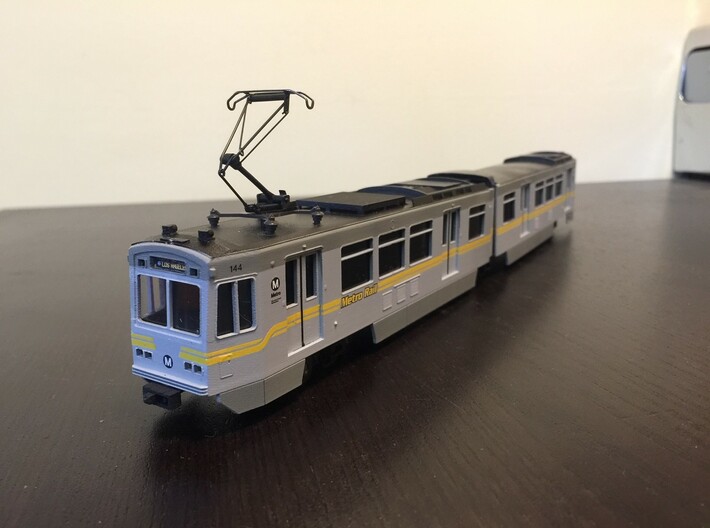


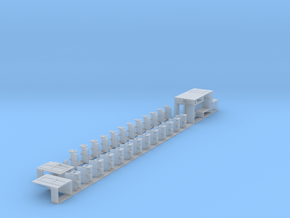
HO LA Metro P865/P2020 Blue and Expo Lines Car
Made by
Print With Shapeways
 Choose Your Material
 Choose your color and finish
$173.43
Have a question about this product?
contact the designerYou must be logged in and verified to contact the designer.
Product Description
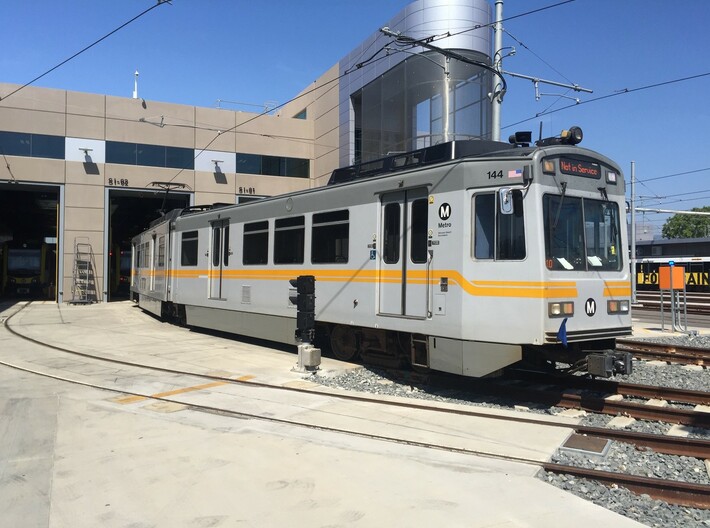
This is an HO scale version of LA Metro Rail's first type of Light Rail Vehicle (LRV), car numbers 100 to 168, which were built in two groups, the P865 in 1989 to 1990, and 15 P2020s added to the total in 1995. They have all been retired, with car 144 still operating at the Southern California Railway Museum in Perris, CA.
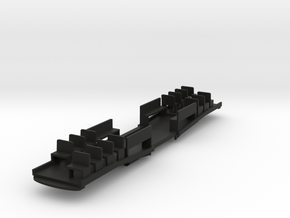
Look in the West Coast Traction Supply Shapeways store for the floor set (available now) . The floors for this model are sold separately to save costs, as they can be printed from less expensive and more rugged materials than the carbodies. Sideframes for the trucks come with the floor kit.
A three truck kit with motor is available from CustomTraxx to power the model. An additional 1/2" or longer 2-56 screw and washer are required for assembly of the articulation section.
To paint, scrub the model with simple green and an electric toothbrush. I reccomend using a sonicare toothbrush or similar. Without thorough cleaning there will be problems getting paint to stick and possible trouble later with resin leaching through the paint. Rinse in hot water. Warped parts can be straigtened with a hairdryer if needed but be careful not to overheat the plastic.
The Frosted Ultra Detail printing process leaves a "ghost" over each protruding detail on the side of the car. If you're a perfectionist like me, sand these down before painting.
Assembly instructions:
1. Using a 1/2" or slightly longer 2-56 machine screw and washer (NOT one of the shouldered screws provided by CustomTraxx), rigidgly screw one of the unpowered trucks to the underside of the articulation section. Don't overtighten or you'll strip the plastic. To make this easier I highly reccomend tapping threads into the hole first. The truck should be rigid and not able to pivot at all under the articulation section. DO NOT cut off the excess screw length - this will be the pivot for the A and B carbodies.
2. Using screws provided with the CustomTraxx truck kit, install the powered truck into the floor that is cutout to recieve it. All raised parts of the floor are on the side that faces up. You must pop the bolster out of the powered truck, insert the truck from the bottom, then pop the bolster back in and screw it down using the screws provided. Removing the bolster can be accomplished by inserting a screwdriver between the bolster and gearbox and gently prying the bolster up and from the gearbox as you push it away from the gear tower.
3. Install the motor using the supplied mounts and screws and make electrical connections to the powered truck.
4. Install the trailing truck into the unpowered end's floor, again, all raised areas of the floor face up. the underside is smooth. Use the shouldered brass screw provided in the CustomTraxx kit so the truck can pivot freely.
5. Place the hole in the narrow arm of the powered floor section over the screw protruding up through the floor of the articulation section, then place the hole in the arm of the unpowered floor over the powered floor's arm on the same screw. To permanently couple the train you can install a lock nut above the floors on this screw, but DO NOT tighten the nut down to the floors as you'll prevent the car's ability to turn.
6. Make your wiring connections to all trucks.
7. The floors fit into grooves in the body shells. Snap the floor in to the body with the body about 2" away from the articulation section, then slide them together until the screw holes under the operator's cab line up. Install a 2-56 screw in each hole.
Note: As is, this car will make 12" curves with ease. To make 9" curves, you may have to remove a little bit of material from the floors and slightly bend the electrical pickup tabs on the trucks to keep them from fouling the floors on tight radii. With some major surgery you might be able to get a 6" curve but it would require trimming the ends of the bodies as they almost touch on a 9" curve.
Link to the floor set: https://www.shapeways.com/product/LYV4M9W2U/ho-la-metro-p865-p2020-floors-and-sideframes?optionId=64012089&li=shops
Details
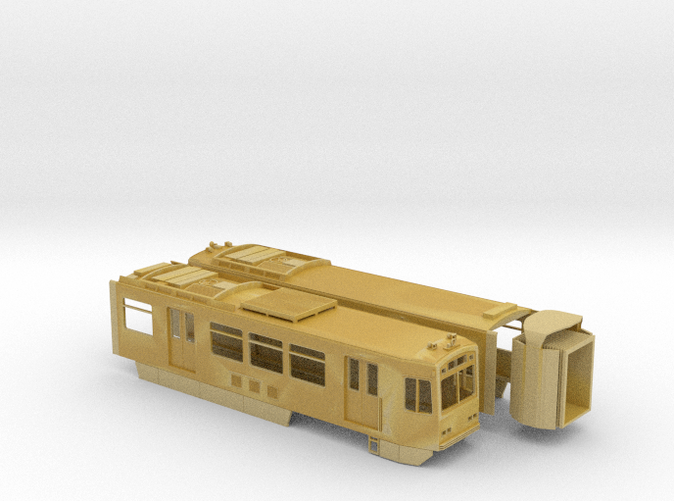
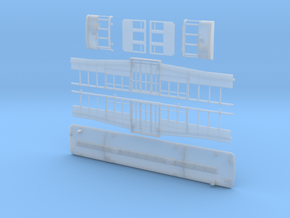
What's in the box:
la_metro_p865p2020_body_shells_v3
Dimensions:
Success Rate:
First To try.
What's this?
Rating:
Mature audiences only.
