


HO Pacific Electric Modernized Hollywood Car Kit
Made by
Print With Shapeways
 Choose Your Material
 Choose your color and finish
$85.00
Have a question about this product?
contact the designerYou must be logged in and verified to contact the designer.
Product Description
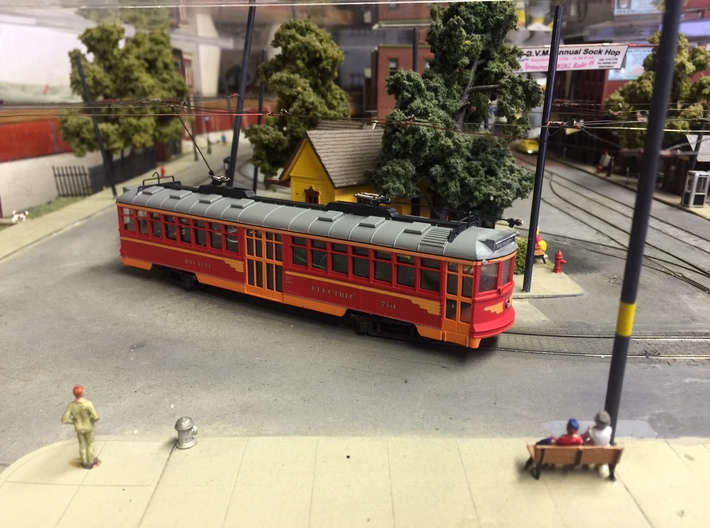
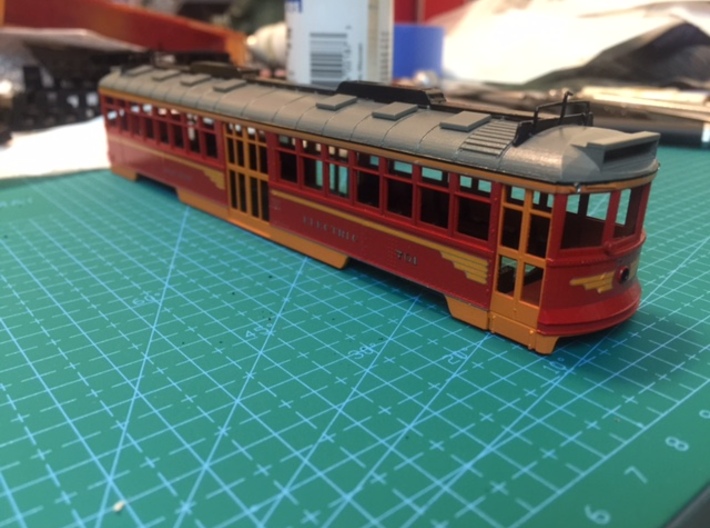
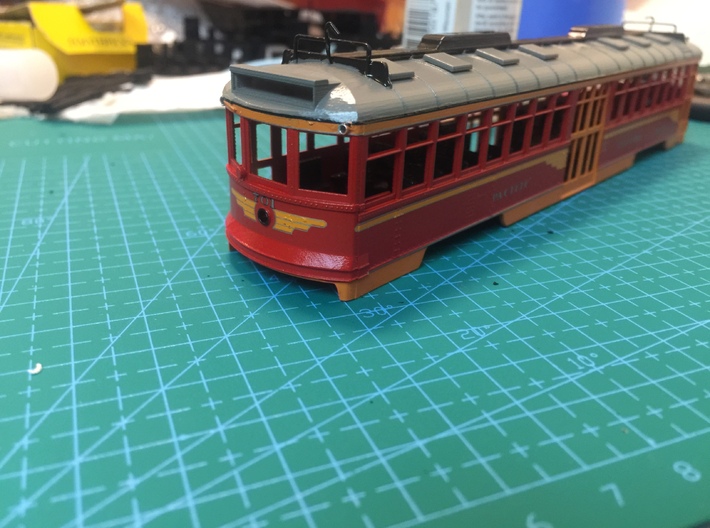
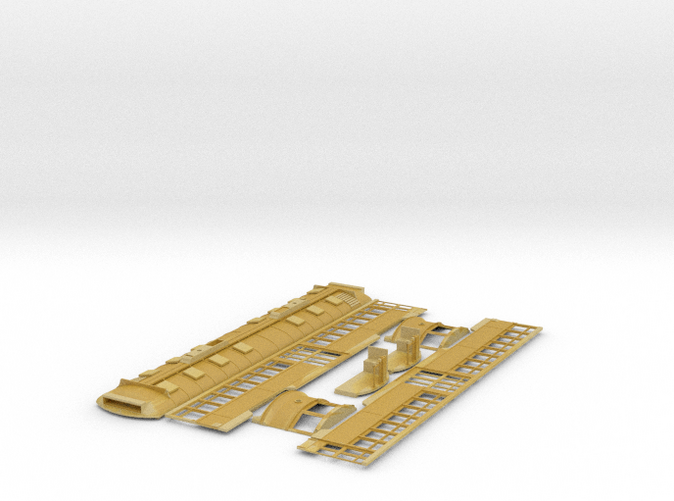
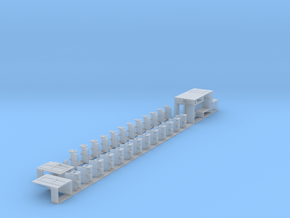
This is an easy to assemble kit of a Pacific Electric Hollywood car with the post-1940 modernized appearance.
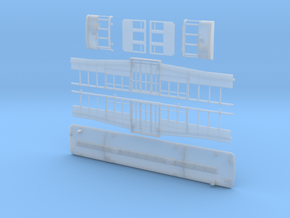
The kit comes in 7 pieces. There are two sides, two ends, two end floors with controllers and brake stands, and a roof. The parts usually arrive a bit warped. Wash them with simple green and an electric toothbrush, then use a hairdryer on high heat to straighten the warping. The trolley pole hold down hooks have been added in the photos of the assembled model and aren't included in the kit. Use .020 wire to make your own.
The headsigns are designed to accept a LED bulb to illuminate from the reverse. The markers can also take LEDs to illuminate. DO NOT USE INCANDESCENT BULBS - they will melt the plastic.
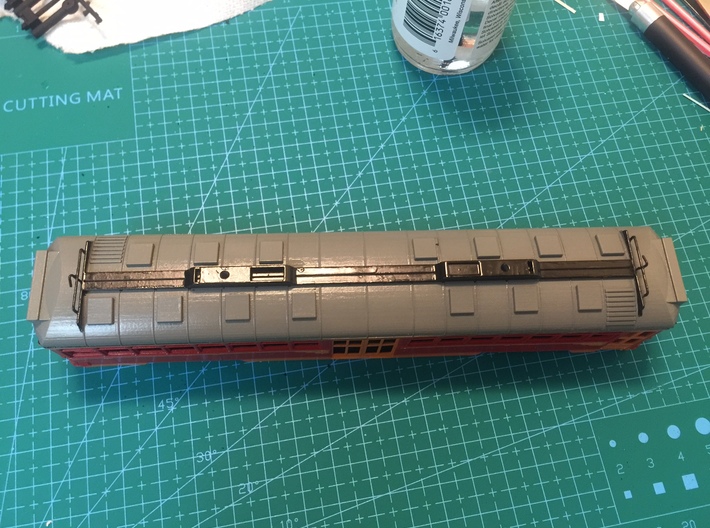
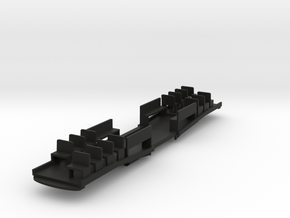
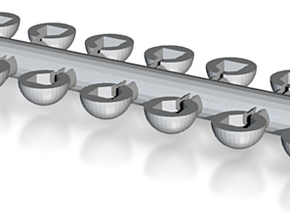
Floors and sideframes are sold separately (due to being made of a different material) in my Shapeways store, and are designed to fit a bowser PCC mechanism with 26" wheels, available from custom traxx. Decals are also available from custom traxx and from microscale.
To assemble use ACC or CA (superglue):
1. Glue end floors into ends as centered as possible. You'll note the end floor is designed to overlap the floor in the end below the windows. Don't worry if you're not perfectly exactly even side to side. I left a little slop in the design here.
2. Glue only one end to the roof, as perfectly centered as you can get it.
3. Apply glue along the length of just one of the roof's side mount strips. Install the side and butt it tightly to the end you installed previously. DO NOT GLUE THE END TO THE SIDE AT THIS TIME. We will accomplish that in final alignment.
4. There should only be one end installed at this point. Do not install the second end yet.
5. Using the same technique in number 3, glue the second side to the roof and butt it tightly to the same end as the other wall.
6. Glue the second end to the roof and butt it up against the sides.
7. Align your walls to your ends so that the anticlimber lines up perfectly on the blind corners and the end doors are slightly recessed from the corner posts. Add a drop of glue to set the corners rigidly.
The kit comes in 7 pieces. There are two sides, two ends, two end floors with controllers and brake stands, and a roof. The parts usually arrive a bit warped. Wash them with simple green and an electric toothbrush, then use a hairdryer on high heat to straighten the warping. The trolley pole hold down hooks have been added in the photos of the assembled model and aren't included in the kit. Use .020 wire to make your own.
The headsigns are designed to accept a LED bulb to illuminate from the reverse. The markers can also take LEDs to illuminate. DO NOT USE INCANDESCENT BULBS - they will melt the plastic.
Floors and sideframes are sold separately (due to being made of a different material) in my Shapeways store, and are designed to fit a bowser PCC mechanism with 26" wheels, available from custom traxx. Decals are also available from custom traxx and from microscale.
To assemble use ACC or CA (superglue):
1. Glue end floors into ends as centered as possible. You'll note the end floor is designed to overlap the floor in the end below the windows. Don't worry if you're not perfectly exactly even side to side. I left a little slop in the design here.
2. Glue only one end to the roof, as perfectly centered as you can get it.
3. Apply glue along the length of just one of the roof's side mount strips. Install the side and butt it tightly to the end you installed previously. DO NOT GLUE THE END TO THE SIDE AT THIS TIME. We will accomplish that in final alignment.
4. There should only be one end installed at this point. Do not install the second end yet.
5. Using the same technique in number 3, glue the second side to the roof and butt it tightly to the same end as the other wall.
6. Glue the second end to the roof and butt it up against the sides.
7. Align your walls to your ends so that the anticlimber lines up perfectly on the blind corners and the end doors are slightly recessed from the corner posts. Add a drop of glue to set the corners rigidly.
Details
What's in the box:
modern Hollywood
Dimensions:
Success Rate:
First To try.
What's this?
Rating:
Mature audiences only.
