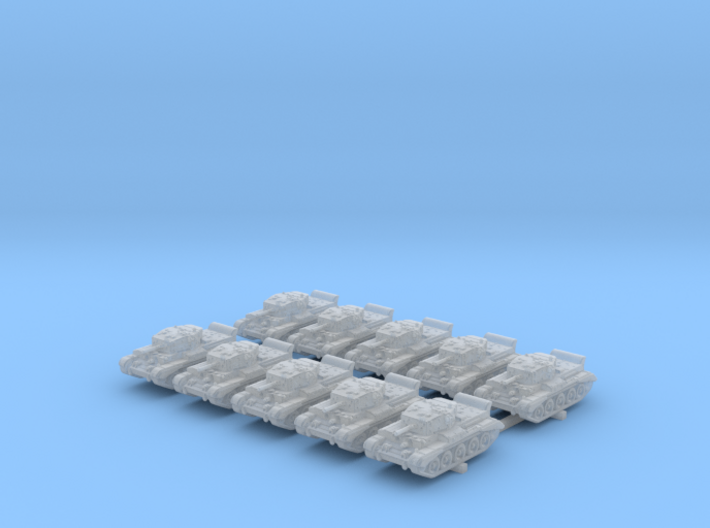
1/400 scale British Cromwell Tank (10)


1/400 scale British Cromwell Tank (10)
Made by
Print With Shapeways
 Choose Your Material
 Choose your color and finish
$17.06
Have a question about this product?
contact the designerYou must be logged in and verified to contact the designer.
Product Description
1/400 scale British Cromwell Tank (10), ideal for the Heller Landing Craft Set. Soon available in other scales. Watch out for other British Tanks of WW2.
The Cromwell tank, officially Tank, Cruiser, Mk VIII, Cromwell (A27M),[a] was one of the most successful of the series of cruiser tanks fielded by Britain in the Second World War. Named after the English Civil War leader Oliver Cromwell, the Cromwell was the first tank put into service by the British to combine a dual-purpose gun, high speed from the powerful and reliable Rolls-Royce Meteor engine, and reasonable armour, in a balanced package. Its design formed the basis of the later Comet tank.
The name "Cromwell" was initially applied to three different vehicles during development. Early Cromwell development led to the creation of the A24 Cavalier. Later Cromwell development led to the creation of the competing Tank, Cruiser, Mk VIII, Centaur (A27L) design. The Centaur tank was closely related to the Cromwell, both vehicles being externally of very similar appearance. Cromwell and Centaur differed in the engine used. While the Centaur had the 340 hp Liberty engine, the Cromwell had the significantly more powerful 600 hp Meteor.
The Cromwell first saw action in the Battle of Normandy in June 1944. The tank equipped the armoured reconnaissance regiments of the Royal Armoured Corps, in the 7th Armoured Division, 11th Armoured Division and the Guards Armoured Division. While the armoured regiments of the latter two divisions were equipped with M4 Shermans, the armoured regiments of the 7th Armoured Division were equipped with Cromwell tanks. The Centaurs were not used in combat except for those fitted with a 95mm howitzer, which were used in support of the Royal Marines during the amphibious invasion of Normandy.
Cleaning Information
Some part cleanup will be necessary. The 3D printing process uses a waxy substance to support certain part features during the printing process. Although the parts are cleaned by Shapeways, some waxy residue may remain. It can be safely removed with water and a mild aqueous detergent like "Simple Green" using an old, soft toothbrush, Q-tips or pipe cleaners. During the printing process, liquid resin is cured by ultraviolet light. Microscopic bits of resin may remain uncured.
Let your parts sit in direct sunlight for a few hours to fully cure the resin.
Water-based acrylic paints meant for plastics is strongly recommended. Other paints, especially enamels, may not cure on Frosted Detail 3D-printed plastics.
Use dedicated model sprue cutters to remove parts to minimise the risk of damage to parts.
Please take a look at my other items.
Painting tips and preparation
Details
What's in the box:
400 Cromwell (10).stl

Dimensions:
Success Rate:
First To try.
What's this?
Rating:
Mature audiences only.


