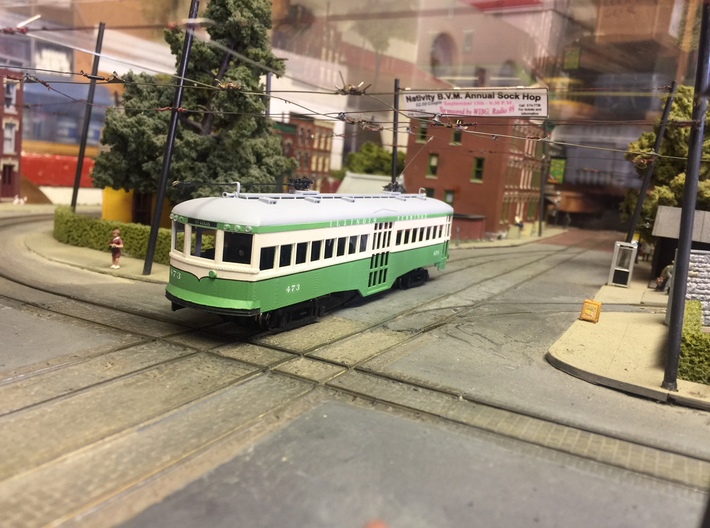


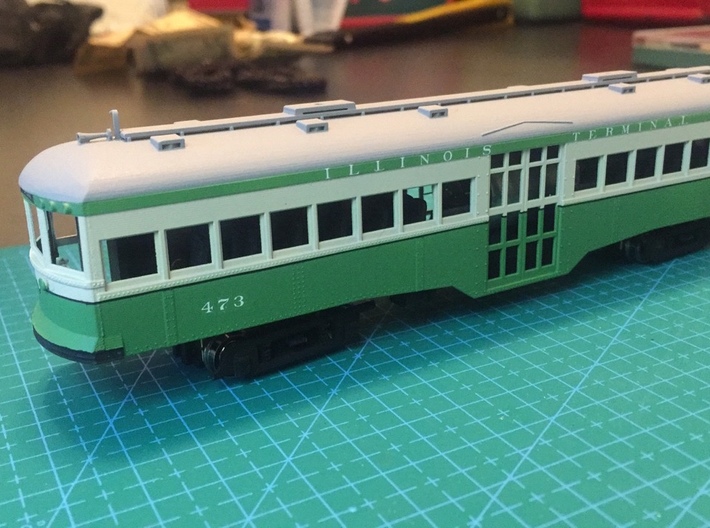

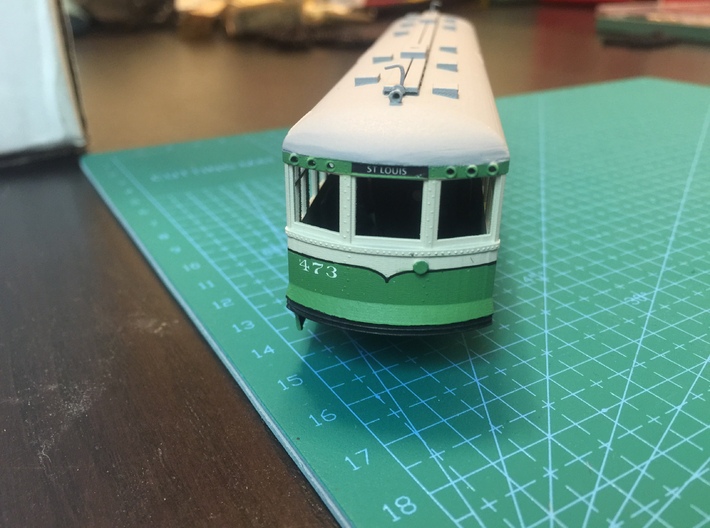

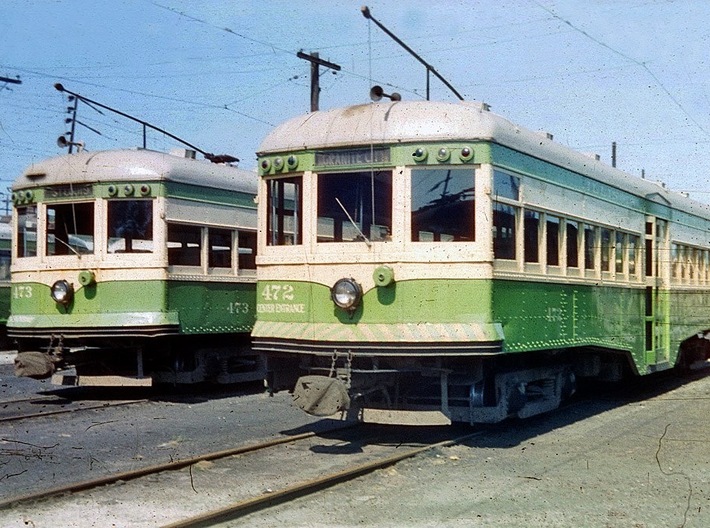
HO Illinois Terminal 470-473 Center Entrance Car
Made by
Print With Shapeways
 Choose Your Material
 Choose your color and finish
$84.92
Have a question about this product?
contact the designerYou must be logged in and verified to contact the designer.
Product Description
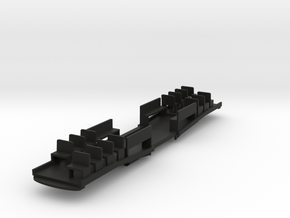
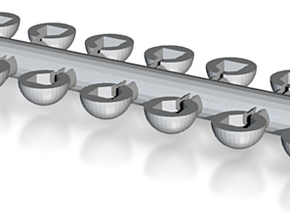
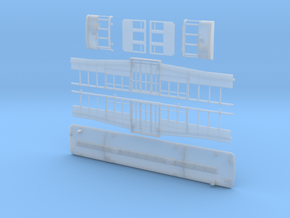
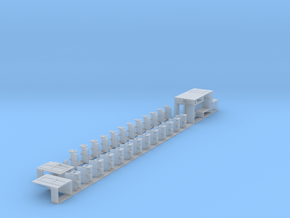
This kit includes the roof, sides, ends and end floors for an IT 470-473 class car. The floor with truck sideframes is sold as a separate kit due to being able to produce those items in a cheaper material.
Please note that the prototype car shown in the photos has one notable difference from the model you will receive. It is a model of car 473, which did not have the open upper sash window to the operator's left. The model you will recieve is a model of 470-472, which does have the window opening. To make your kit into a model of 473 you'll need to fill in this window on both sides.
To assmble:
1. Inspect all parts and contact shapeways if anything is broken. They will usually replace their mistakes.
2. Straighten warped parts with a hairdryer on medium or high heat but be careful not to overheat the parts.
3. thoroughly wash all parts with simple green and hot water, scrubbing with a good electric toothbrush (sonicare or similar).
4. Glue the end floors into the ends as centered as possible using superglue (ACC). Note that the lollipop shaped item on the end floor is meant to be cut off and used as a headlight. These cars had removable headlights so I left it to the modeler's discretion to use them or not. If you want the headlight glue it on, or wait until you're done with paint to make the striping easier.
5. Glue one and only one end to the roof. Do not glue the second end on yet.
6. Glue the sides to the roof, ensuring they are properly seated into the mounting channel and butt them firmly against the end we just attached. Ensure the anticlimber lines line up properly and the door is vertically in line with the corner post then add small amounts of glue into the insides of the corners to make a stong connection between the sides and ends.
7. Glue the second end in place, roof first, then small drops of glue in the inside corners to bond the end to the walls.
8. Use some brass wire and fashion some trolley pole hold downs.
9. Paint your car. To decal mine I printed the stripes on clear decal paper using a laser printer. The shapes are simple. the lettering for the green and white cars doesn't seem to be in production any longer so I used white microscale railroad roman.
Details
What's in the box:
IT470V2

Dimensions:
Success Rate:
First To try.
What's this?
Rating:
Mature audiences only.