
Tan Fine Detail Plastic


HO Los Angeles Transit Lines H3
Made by
Print With Shapeways
 Choose Your Material
 Choose your color and finish
$88.35
Have a question about this product?
contact the designerYou must be logged in and verified to contact the designer.
Product Description
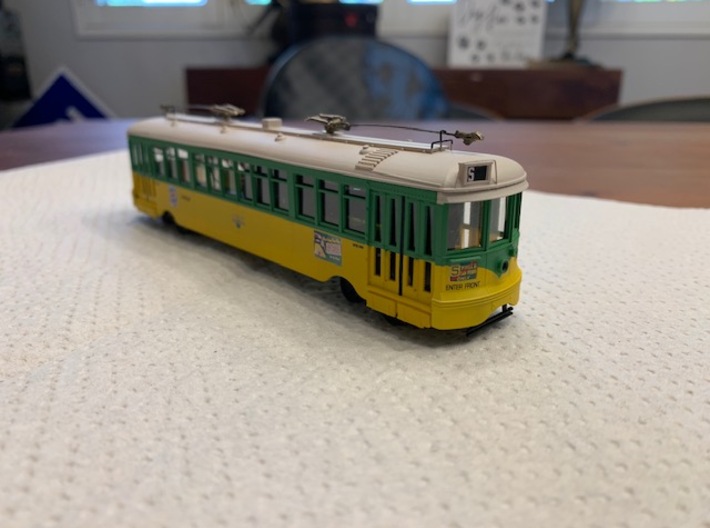
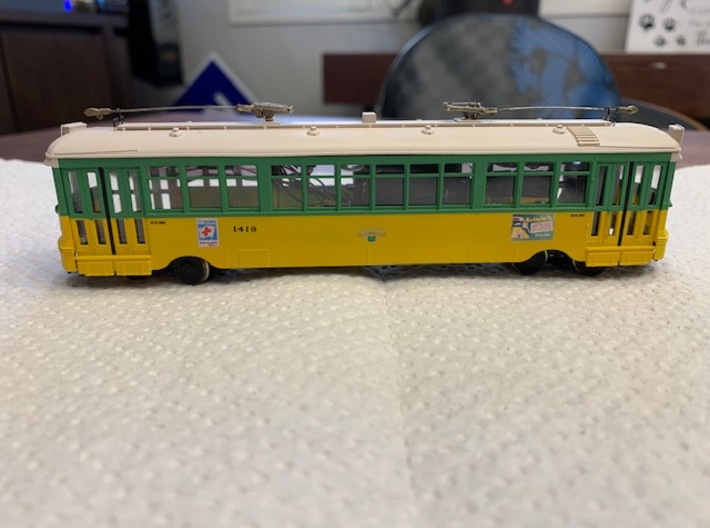
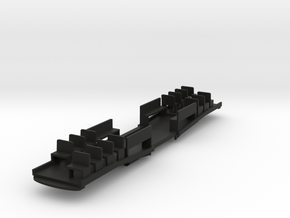
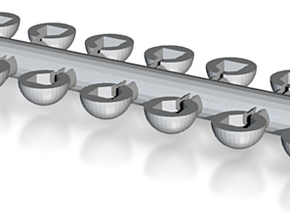
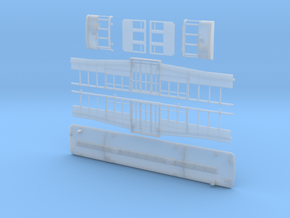
This kit builds a modernized LATL H3 class car. The H3 is identifiable from the other H class cars by the enclosed end sections. Sideframes are omitted from this kit to allow the car to make tight turns. Paint the outsides of the wheels flat black and they nearly dissapear behind the skirts.
Items you will need to purchase to complete the build:
Bowser 125130 drive kit, and 30" wheels for that kit. Available from CustomTraxx.
.010 Phosphor Bronze or Brass wire to bend grab irons and sign guards
.015 or .020 wire to bend into trolley hooks
at least 8 ea 2-56 screws (1/4" works well), plus the screws in the bowser drive kit.
Decals - I used parts from customtraxx sets CN3100 and CN1201, plus some home-made advertising and route signs. If you wish to purchase similar route signs and advertising decals just write to me and I will sell enough to do a car for $5.
Trolley poles and brass inserts HTP4S.
Paint is very subjective depending on the era. The yellow is something close to C&O/B&O, and the green is anyone's guess depending on the era. It varied from a very rich green to an avocado. I use something similar to floquil's old light green that I custom mix.
To prepare the model for paint and assembly, begin by gently tapping all mounting holes with a 2-56 tap. Be gentle! Wash the parts with un-diluted simple green and a toothbrush - I use a sonicare as the high speed action is very good at removing the waxy residue from the printing process. Rinse while continuing to scrub in very hot water (do not burn yourself!). Repeat as many times as needed to completely remove the waxy residue on the plastic. Failure to remove it will cause your paint to fail.
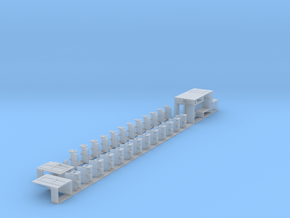
Install grab irons in the doors (holes are already provided), trolley hooks, and the trolley rope guards on the roof signs, made from the wire sizes listed above. Super glue works well to hold them in. A tip, put a puddle of glue in an old bottle cap and dab it with a toothpick where it is needed.
I prime and pain Pt the components of the car before assembly. It makes masking so much easier.
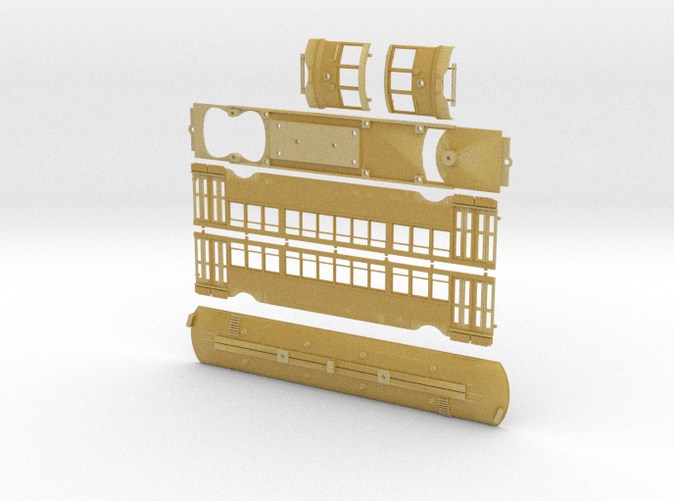
The roof and ends are univeral in orientation, but the sides have differences in the screw locations and only fit to the floor in one orientation. Keep this in mind when directionally-lighting the ends with LEDs, not incandecents which will melt the model.
Assemble the floor to the assembled body model using 2-56 screws.
For those interested, the H4 (open end sections) will also be offered.
Items you will need to purchase to complete the build:
Bowser 125130 drive kit, and 30" wheels for that kit. Available from CustomTraxx.
.010 Phosphor Bronze or Brass wire to bend grab irons and sign guards
.015 or .020 wire to bend into trolley hooks
at least 8 ea 2-56 screws (1/4" works well), plus the screws in the bowser drive kit.
Decals - I used parts from customtraxx sets CN3100 and CN1201, plus some home-made advertising and route signs. If you wish to purchase similar route signs and advertising decals just write to me and I will sell enough to do a car for $5.
Trolley poles and brass inserts HTP4S.
Paint is very subjective depending on the era. The yellow is something close to C&O/B&O, and the green is anyone's guess depending on the era. It varied from a very rich green to an avocado. I use something similar to floquil's old light green that I custom mix.
To prepare the model for paint and assembly, begin by gently tapping all mounting holes with a 2-56 tap. Be gentle! Wash the parts with un-diluted simple green and a toothbrush - I use a sonicare as the high speed action is very good at removing the waxy residue from the printing process. Rinse while continuing to scrub in very hot water (do not burn yourself!). Repeat as many times as needed to completely remove the waxy residue on the plastic. Failure to remove it will cause your paint to fail.
Install grab irons in the doors (holes are already provided), trolley hooks, and the trolley rope guards on the roof signs, made from the wire sizes listed above. Super glue works well to hold them in. A tip, put a puddle of glue in an old bottle cap and dab it with a toothpick where it is needed.
I prime and pain Pt the components of the car before assembly. It makes masking so much easier.
The roof and ends are univeral in orientation, but the sides have differences in the screw locations and only fit to the floor in one orientation. Keep this in mind when directionally-lighting the ends with LEDs, not incandecents which will melt the model.
Assemble the floor to the assembled body model using 2-56 screws.
For those interested, the H4 (open end sections) will also be offered.
Details
What's in the box:
LARY H3 v2
Dimensions:
Success Rate:
First To try.
What's this?
Rating:
Mature audiences only.