Tan Fine Detail Plastic

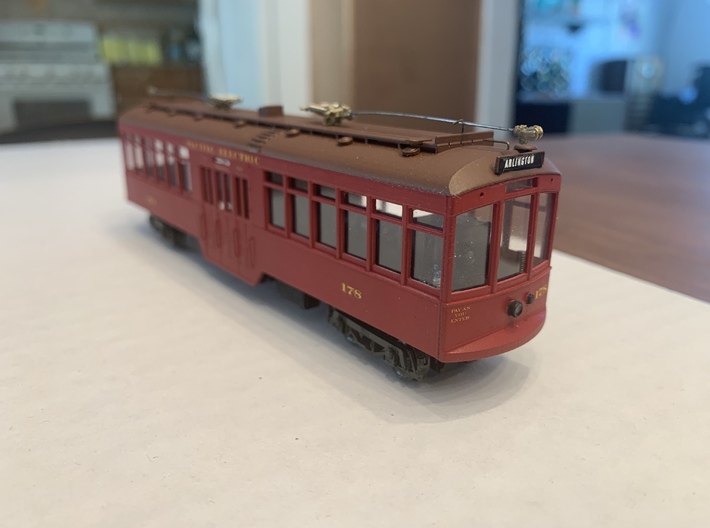

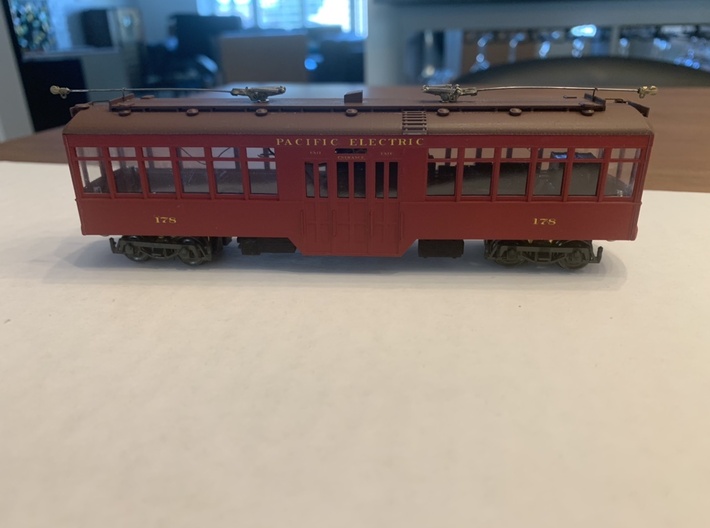

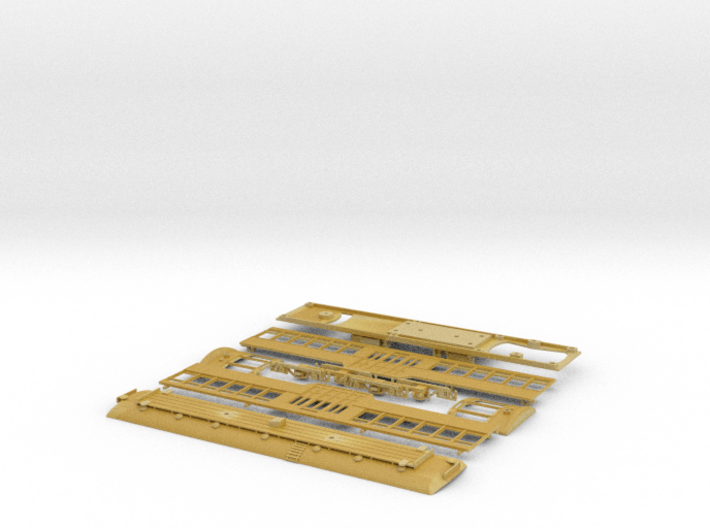
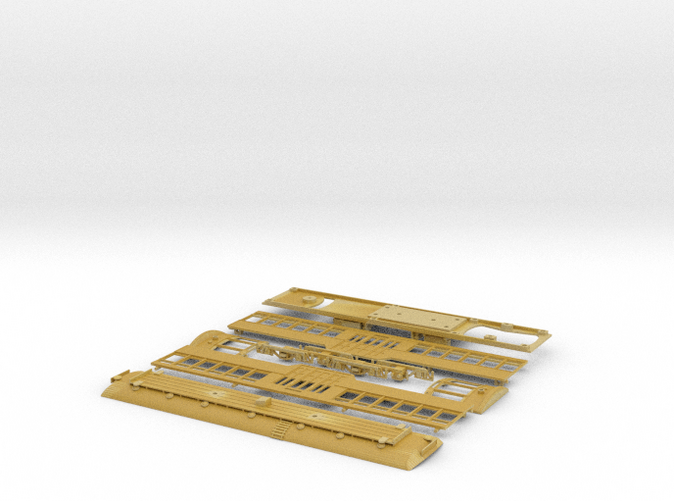
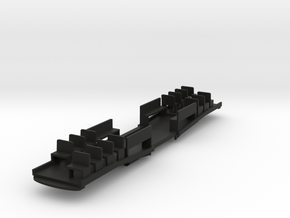
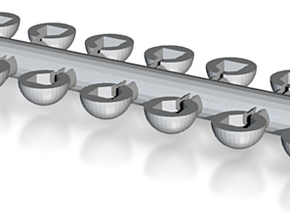
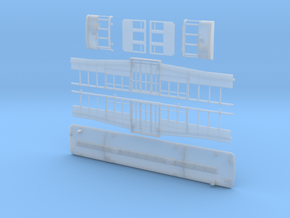
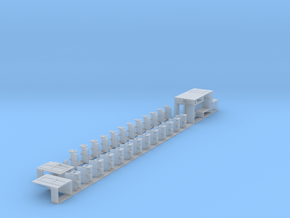
HO Pacific Electric Submarine Suburban/City Car
Made by
Print With Shapeways
 Choose Your Material
 Choose your color and finish
$97.93
Have a question about this product?
contact the designerYou must be logged in and verified to contact the designer.
Product Description
A Customtraxx shopping list to finish this model:
125130A - Bowser drive unit with 30" wheels
HT-P4 - Pair of trolley poles with 2mm brass bushings
Also:
LED lights and decoder (if DCC) of your choosing.
Brass wire for pole hooks (I use .020).
Decals are available from Custom Traxx and Microscale
To assemble:
1. Tap bolster mount and trailing truck holes in floor and floor to body mount holes with a 2-56 tap. The holes are already the correct size to tap. BE GENTLE AS YOU TAP THE HOLES. THE MATERIAL WILL CRACK IF FORCED. I use a three steps forward, two steps back sort of rhythm as I tap the holes to prevent damaging the parts.
2. Bend the trolley hooks from .020 brass wire and drill the roof to accept them, then superglue them into place.
3. Clean the parts very thoroughly with un-diluted simple green and an electric toothbrush (sonicare is my preferred).
4. Rinse the parts in water as hot as you can stand and continue scubbing with the toothbrush as you do.
5. Let the parts air-dry overnight.
6. Prime and paint using plastic-compatible paints. I do this before assembly, as it is very easy to paint when in parts and it does not significantly effect the end result. The paint mix for early PE equipment is a chocolate brown roof, similar to a very brown box car red, with the body painted a near 50/50 mix of Lehigh Valley Cornell Red and Santa Fe red.
7. Add your window glazing. I use clear syrene sheeting from evergreen held in with dots of "canopy glue" applied with a toothpick.
8. Now is a good time to glue your chosen LED headlight into the ends. Do not use incandescent bulbs as they will melt the plastic. My method is to place the "pico" size wired LED into position behind the opening and apply a dab of hot glue to set it in place, sealing the back of the headlight opening. I flip the part over and fill the hole with canopy glue to form a lens. Do not electrify your hedlights until the glue is fully tried, or it will short the LED and ruin it.
9. Gently sand all paint from the assembly pegs and ensure they are round and fit fully into their corresponding holes in the roof and ends. Check to make sure that there is no wax left in the peg holes by the printing process. Note that there is a left and right car side, and there are roof access cleats in the car side below the roof climbing mat on one side only
10. With the body assembled but not glued you can add equipment to the underside of the roof, like your decoder and some weights as needed. It is convinient to do this while you can still pull a wall out to make solder connections and such, but do not glue anything down until you test fit the floor with motor and such in place (see next step).
11. Assemble the floor. BE CAREFUL. The floor is thin and delicate to allow maximum truck pivot and it will break if stressed. The floor gains needed rigidity once it is screwed to the body. Install the powered truck first. I unclip the bottom cover and drop the axles out of the truck, then lower it through the floor from the top. Attach the bolster to the floor with 2-56 screws. Install the axles with 30" wheels and reinstall the bottom gear cover. Install the motor and drive shaft with another pair of 2-56 screws. Some tinkering with the shaft may be necessary to shorten it to near its minimum length. If you cut the shaft be very sure not to melt the universal joints. Install correct axles in the trailing truck and screw it to the floor. Add your sideframes and use a little glue to hold them to the trucks.
12. Glue the body together after test fitting the floor to ensure no interference from your decoder and such. I use a toothpick to apply drops of superglue from the inside of the body onto the seams and pegs.
13. Complete wiring and lighting sceheme and screw the car together with four 2-56 screws.
Details
What's in the box:
Flat Submarine V4
Dimensions:
Success Rate:
First To try.
What's this?
Rating:
Mature audiences only.
