

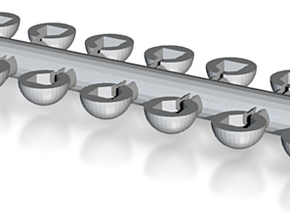
HO LA Railway Sowbelly without fenders
Made by
Print With Shapeways
 Choose Your Material
 Choose your color and finish
$82.66
Have a question about this product?
contact the designerYou must be logged in and verified to contact the designer.
Product Description
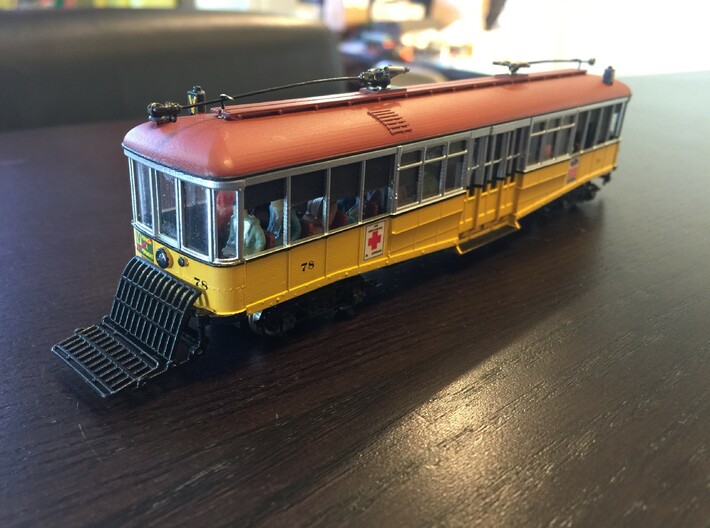
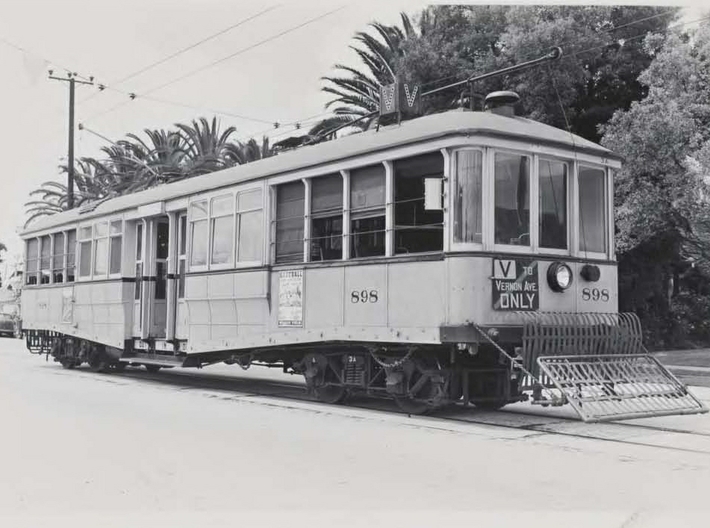
This is a kit for a HO scale LARy sowbelly which DOES NOT INCLUDE THE FENDER KIT. A version is offered that includes the fenders if desired, check my store for details.
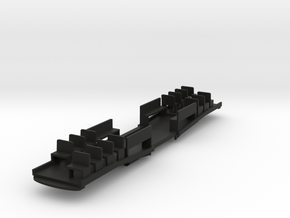
The floor is sold separately in my store. To order both, just add them individually to your shopping cart then check out so you don't get hit twice for shipping.
Tap the four screw holes on the ends with a 2/56 tap before doing any assembly. BE GENTLE OR YOU WILL BREAK THE DELICATE PLASTIC!
To prepare this model for paint be sure to clean it thoroughly. I use un-diluted simple green with a sonicare toothbrush to scrub the parts very thoroughly, then scrub again in water that is as hot as you can stand to put your hands in. Repeat as needed until all waxy residue is removed. Allow the parts to air dry before priming.
Use only plastic compatible paints. I reccomend tru color paints, with tuscan red for the roof, B&O/C&O yellow for the sides and either silver or a rich brown for the window areas depending on the era. The correct brown is not offered, so I mixed a few shades to make my own LARy brown paint which can be seen applied to the "Maggie" model offered in my store. Interior walls were pea-soup green similar to northern pacific light green.
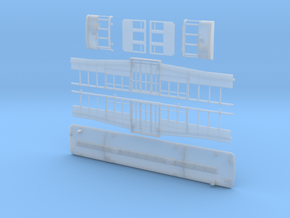
This kit can be easily painted prior to assembly, or assembled then painted. If you paint it while unassembled, be sure to sand the paint off the mating surfaces prior to assembly, including on the alighnment pegs. Be careful if you test fit the parts before you are ready to glue, as pulling the locator pegs back out of their holes is is tricky.
When you are ready, assemble the model, then dab the thin ACC (superglue) at the locator pegs and along the mating seams from the inside of the model. It will flow into the seams and permanently bond the parts. I use Zap green label.
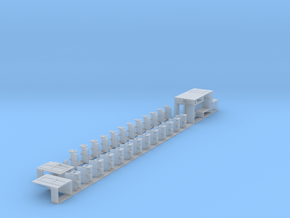
the interior partitions have locating tabs to aid alignment once the body is assembled. the one with the large cutout is for the end that has the motor, and the one with the smaller cutout is to go over the driveshaft.
Order standard 2mm brass trolley pole bushings and a pair of trolley poles from customtraxx. The bushings will press into the holes in roof with little effort and can be glued from the inside with ACC if desired.
Enjoy your kit and feel free to write if questions arise!
Please read additional instructions found in the product page for the floor.
The floor is sold separately in my store. To order both, just add them individually to your shopping cart then check out so you don't get hit twice for shipping.
Tap the four screw holes on the ends with a 2/56 tap before doing any assembly. BE GENTLE OR YOU WILL BREAK THE DELICATE PLASTIC!
To prepare this model for paint be sure to clean it thoroughly. I use un-diluted simple green with a sonicare toothbrush to scrub the parts very thoroughly, then scrub again in water that is as hot as you can stand to put your hands in. Repeat as needed until all waxy residue is removed. Allow the parts to air dry before priming.
Use only plastic compatible paints. I reccomend tru color paints, with tuscan red for the roof, B&O/C&O yellow for the sides and either silver or a rich brown for the window areas depending on the era. The correct brown is not offered, so I mixed a few shades to make my own LARy brown paint which can be seen applied to the "Maggie" model offered in my store. Interior walls were pea-soup green similar to northern pacific light green.
This kit can be easily painted prior to assembly, or assembled then painted. If you paint it while unassembled, be sure to sand the paint off the mating surfaces prior to assembly, including on the alighnment pegs. Be careful if you test fit the parts before you are ready to glue, as pulling the locator pegs back out of their holes is is tricky.
When you are ready, assemble the model, then dab the thin ACC (superglue) at the locator pegs and along the mating seams from the inside of the model. It will flow into the seams and permanently bond the parts. I use Zap green label.
the interior partitions have locating tabs to aid alignment once the body is assembled. the one with the large cutout is for the end that has the motor, and the one with the smaller cutout is to go over the driveshaft.
Order standard 2mm brass trolley pole bushings and a pair of trolley poles from customtraxx. The bushings will press into the holes in roof with little effort and can be glued from the inside with ACC if desired.
Enjoy your kit and feel free to write if questions arise!
Please read additional instructions found in the product page for the floor.
Details
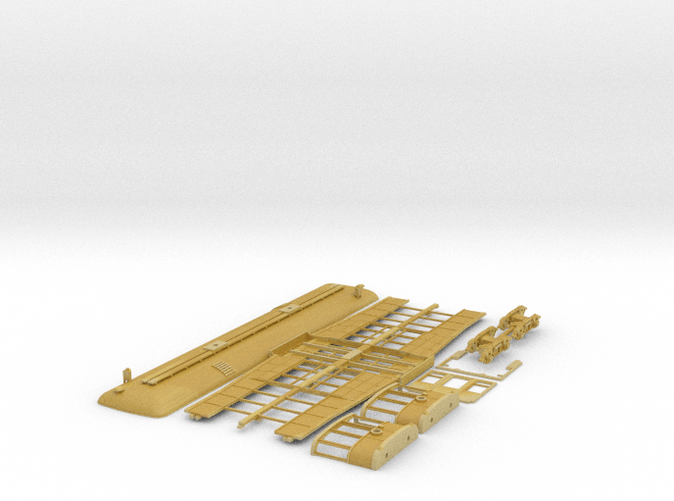
What's in the box:
ho_sowbelly_without_fenders
Dimensions:
Success Rate:
First To try.
What's this?
Rating:
Mature audiences only.
