


HO Pacific Electric 100 Series Local Car Floor
Made by
Print With Shapeways
 Choose Your Material
 Choose your color and finish
$24.87
Basic Materials Best Value
Shop Owner Recommendations
Have a question about this product?
contact the designerYou must be logged in and verified to contact the designer.
Product Description
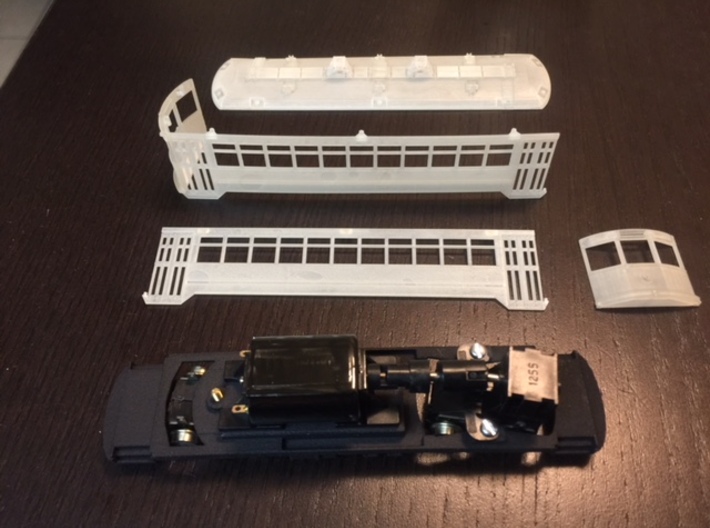
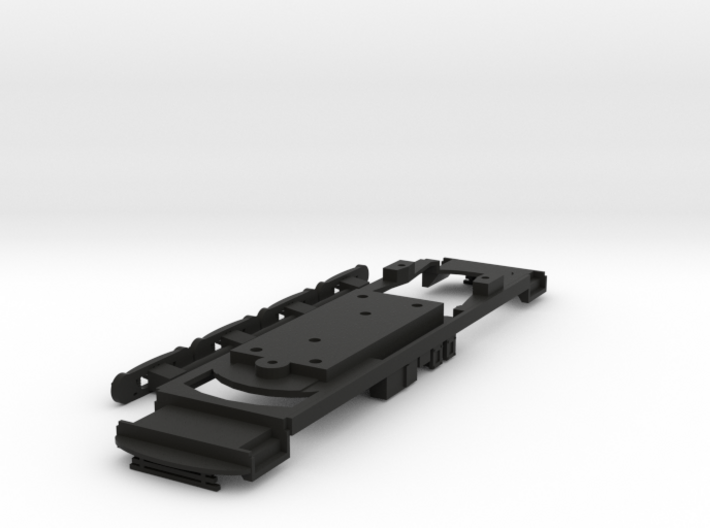
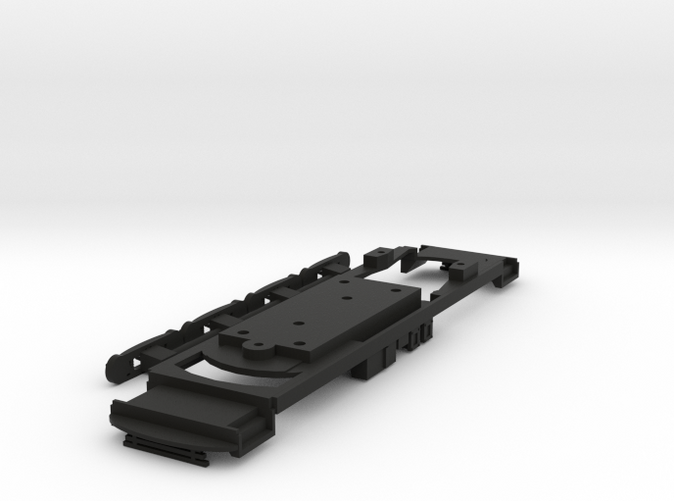
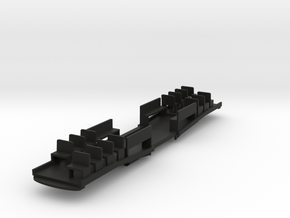
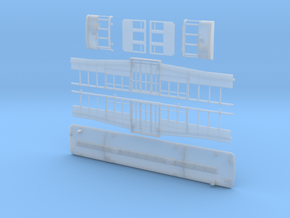
This kit is for the floor and truck sideframes for a PE 100 series car.
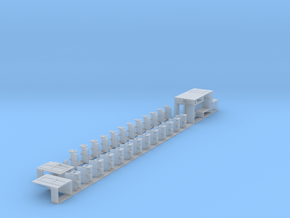
The car is designed to use customtraxx part number 125130A, Which is their 4'10" wheelbase truck with 26" wheels.
Don't forget to add a pair of brass pole bushings, part number 12508, and a pair of trolley poles, part number HT-P4. Unfortunately he does not offer the correct slider shoe on that pole base, so either you can file the wheel into a slider shape or replace it with the slider castings, part number HT-C4.
The power truck and bolster should easily fit through the hole in the floor without dissasembly. Screw them to the frame. Next test fit your motor and make sure the drive shaft doesn't bind. Sometimes you have to slide of the driveshaft fittings further onto the metal rod to ensure the driveshaft is the correct length to not bind.
Screw the motor down to the chassis.
Next install your trailing truck using the shouldered brass screw. Complete your wiring and test run it.
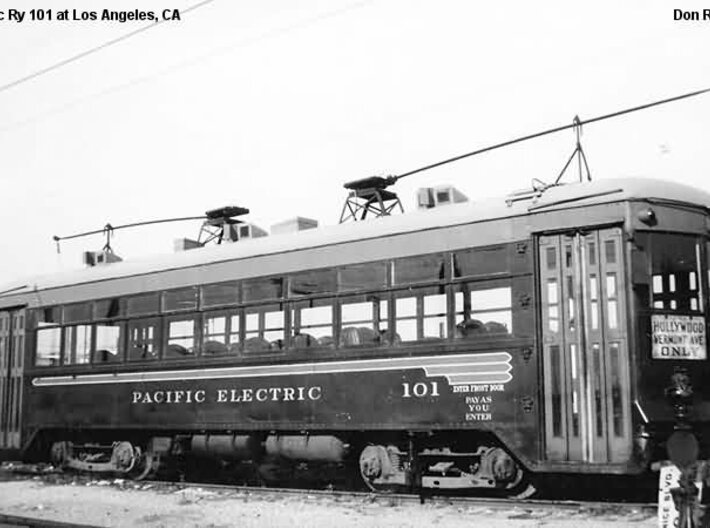
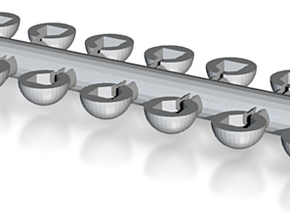
Glue the sideframes to the trucks. In theory they should snap into the truck but the 3D printing process doesn't yeild good results for a rigid attachment, so a drop of glue is insurance. I used my hot glue gun for this and it worked great. Just flexible enough that they can be handled. Reference the photo here of actual car 101 for the correct orientation.
The sideframes should be painted a very dark pullman green.
The floor is a very tight fit into the assembled body. I find it easiest to arch the floor slightly as I install it to get the ends to clear as I drop it in. No screws are required.
If you select the frosted ultra detail material version of this floor be very careful when installing screws. Definitely tap them first. The frosted ultra detail will really show the detail of the trucks and underbody but is not as rugged as the black material.
The car is designed to use customtraxx part number 125130A, Which is their 4'10" wheelbase truck with 26" wheels.
Don't forget to add a pair of brass pole bushings, part number 12508, and a pair of trolley poles, part number HT-P4. Unfortunately he does not offer the correct slider shoe on that pole base, so either you can file the wheel into a slider shape or replace it with the slider castings, part number HT-C4.
The power truck and bolster should easily fit through the hole in the floor without dissasembly. Screw them to the frame. Next test fit your motor and make sure the drive shaft doesn't bind. Sometimes you have to slide of the driveshaft fittings further onto the metal rod to ensure the driveshaft is the correct length to not bind.
Screw the motor down to the chassis.
Next install your trailing truck using the shouldered brass screw. Complete your wiring and test run it.
Glue the sideframes to the trucks. In theory they should snap into the truck but the 3D printing process doesn't yeild good results for a rigid attachment, so a drop of glue is insurance. I used my hot glue gun for this and it worked great. Just flexible enough that they can be handled. Reference the photo here of actual car 101 for the correct orientation.
The sideframes should be painted a very dark pullman green.
The floor is a very tight fit into the assembled body. I find it easiest to arch the floor slightly as I install it to get the ends to clear as I drop it in. No screws are required.
If you select the frosted ultra detail material version of this floor be very careful when installing screws. Definitely tap them first. The frosted ultra detail will really show the detail of the trucks and underbody but is not as rugged as the black material.
Details
What's in the box:
pe100_floor_v3
Dimensions:
Success Rate:
First To try.
What's this?
Rating:
Mature audiences only.
