
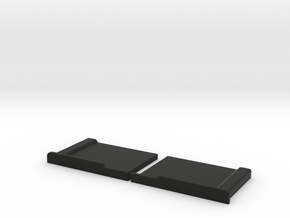
White Natural Versatile Plastic

BD993 HnH BH HR NW LR 02
Made by
Print With Shapeways
 Choose Your Material
 Choose your color and finish
$67.27
Have a question about this product?
contact the designerYou must be logged in and verified to contact the designer.
Product Description
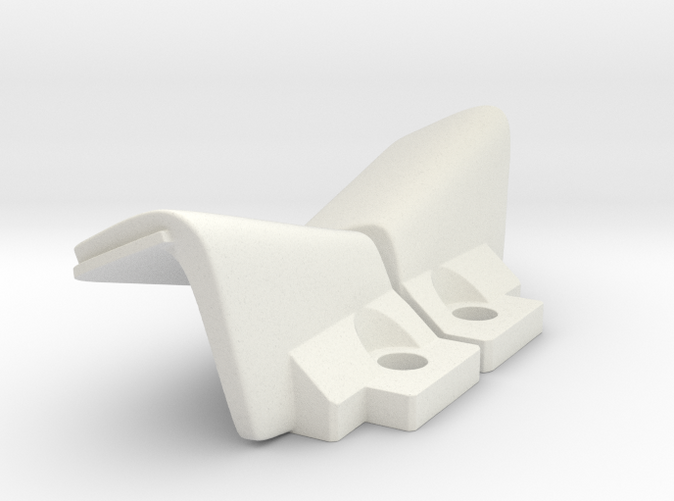
Bumperette delete plugs for NA Porsche 993 cars.
Disclaimer: I have never had these printed by shapeways, I used to get them made in batches in SLA. I'm only putting them here to make them available to the community as I no longer intend to have any more runs made. I cannot speak to the quality of the print but anything I have had produced here has always been great.
Bumperette delete install.
These pieces are designed to be modifiable to fit all 993’s but this requires that they need some custom work as they won’t fit any or at least many straight out of the box.
The problem arises from Porsche only having to do this for the North American market car and being none too careful about the holes that were cut in the bumper to accommodate them.
You have to be very careful fitting these initially. The edge on the face of the bumperette delete or “BD” is on 3 sides and is only used in this configuration for people that decided to cut off the base and glue or otherwise secure the BD’s directly to the bumpercover.
If you snap the BD’s into place without sanding down the 2 side edges it will be very hard to remove. The edges don’t have to be completely removed but need to be reduced considerably to be safe.
If the original mounting bolts for the bumperettes force the euro lens out slightly you can always dremel a few mm off and still have plenty of length left if you wanted to return the car back to stock.
One other note is that you may have to dremel down the outside of each sides “buttress” as it may interfere with the euro lens causing it to stick out slightly.
Steps for install.
- Remove existing bumperettes.
- Sand down the 2 side edges on each of the BD’s by 50-70%.
- Carefully insert the BD’s to check for fitment. Insert washers if too far back from the face of the bumpercover etc.
- When happy with the general fit remove the BD’s.
- Sand the front face, don’t worry about small holes caused by the 3D printing. You can see how much I had to take the edges down for my car. The upper edge was left as is and tends to hold the BD securely in place so don’t remove.
- Use Bondo or other filler to smooth the face of the BD’s.
- Test fit and modify until happy. Here you can spend as little or as much time as you like. Remember that the primer, paint and clearcoat have an associated thickness which you have to take into account.
- Sand smooth.
- Apply primer and wet sand.
- Apply paint.
- Apply clearcoat.
Details
What's in the box:
BD993 HnH BH HR NW LR 02
Dimensions:
Success Rate:
First To try.
What's this?
Rating:
Mature audiences only.

