Clear Ultra Fine Detail Plastic

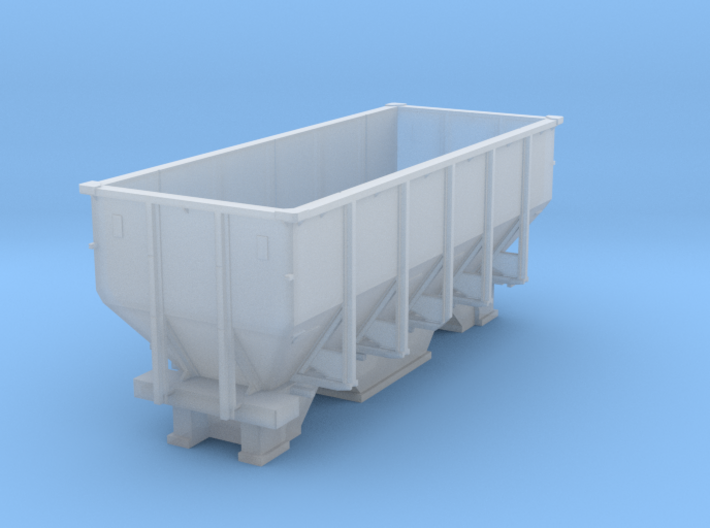
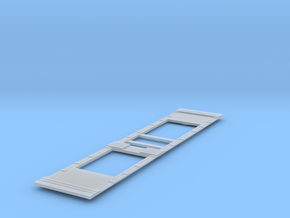
3mm:1ft BR 1/148 early body style HUO for centre-V
Made by
Print With Shapeways
 Choose Your Material
 Choose your color and finish
$34.40
Have a question about this product?
contact the designerYou must be logged in and verified to contact the designer.
Product Description
This model should suit the Parkside 3mm:1ft 12'wb chassis. It is different from the 1/153 hopper that I have uploaded, and it will not fit the 3D printed chassis that is designed for that hopper.
The differences:
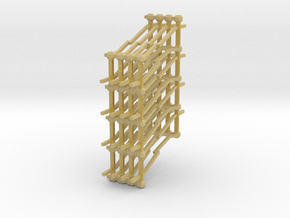
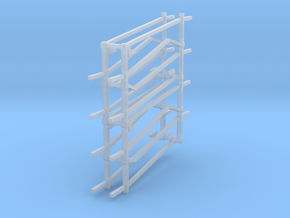
No vac pipe for this unfitted wagon. The bottom of the centre stanchion on each side has less of an inward bend at the bottom. I assume this was increased in size on the later wagons to make it less hazardous operating the hopper controls. The webs behind the stanchions are to a slightly different design, with no vacuum pipe to accommodate.
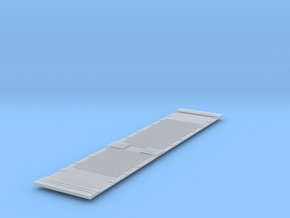
The big differences from the 1/153 are that this hopper has end platforms to build the chassis kit around, and complete hopper chutes underneath, whereas the end platform and the oute part of the hopper chutes below the platform have been included on the chassis for the 1/153 model. The special chassis for the 1/153 hopper WILL NOT FIT this hopper.
EXPERIENCE (fitting this 1/148 hopper to a Parkside kit chassis): File notches in the top edge and front surface of the Parkside kit headstocks to fit neatly under the stanchions at the ends of the 3D print, and test fit the headstocks and pre-assembled solebars (with brake units) _before_ you join these chassis parts together at the corners. Test fit the parts around the upturned hopper, and don't be afraid to file a little off the corners or even the front edges of the 3D print "floor"(end platform) area to make the fit less tight. Don't glue the chassis kit to the hopper (use a solvent to join the chassis parts together, rather than a sticky adhesive). While the chassis joins are still soft, put the wheels in. You may find it best to lift the chassis off the hopper temporarily to do this. Make sure the backs of the wheels are completely free of flash as this would stop them spinning freely (there's not much space between the backs and the hopper bottoms). Let the corner joins harden with the chassis left fitted to the upturned hopper, to keep everything stable. Occasionally check the wheels for free-running as the chassis kits have a tendency to distort.
The differences:
No vac pipe for this unfitted wagon. The bottom of the centre stanchion on each side has less of an inward bend at the bottom. I assume this was increased in size on the later wagons to make it less hazardous operating the hopper controls. The webs behind the stanchions are to a slightly different design, with no vacuum pipe to accommodate.
The big differences from the 1/153 are that this hopper has end platforms to build the chassis kit around, and complete hopper chutes underneath, whereas the end platform and the oute part of the hopper chutes below the platform have been included on the chassis for the 1/153 model. The special chassis for the 1/153 hopper WILL NOT FIT this hopper.
EXPERIENCE (fitting this 1/148 hopper to a Parkside kit chassis): File notches in the top edge and front surface of the Parkside kit headstocks to fit neatly under the stanchions at the ends of the 3D print, and test fit the headstocks and pre-assembled solebars (with brake units) _before_ you join these chassis parts together at the corners. Test fit the parts around the upturned hopper, and don't be afraid to file a little off the corners or even the front edges of the 3D print "floor"(end platform) area to make the fit less tight. Don't glue the chassis kit to the hopper (use a solvent to join the chassis parts together, rather than a sticky adhesive). While the chassis joins are still soft, put the wheels in. You may find it best to lift the chassis off the hopper temporarily to do this. Make sure the backs of the wheels are completely free of flash as this would stop them spinning freely (there's not much space between the backs and the hopper bottoms). Let the corner joins harden with the chassis left fitted to the upturned hopper, to keep everything stable. Occasionally check the wheels for free-running as the chassis kits have a tendency to distort.
Details
What's in the box:
HUO_90_1-153_17_3mm1ft_42_1-148early_no_chassis

Dimensions:
Success Rate:
First To try.
What's this?
Rating:
Mature audiences only.
