
Smooth Fine Detail Plastic


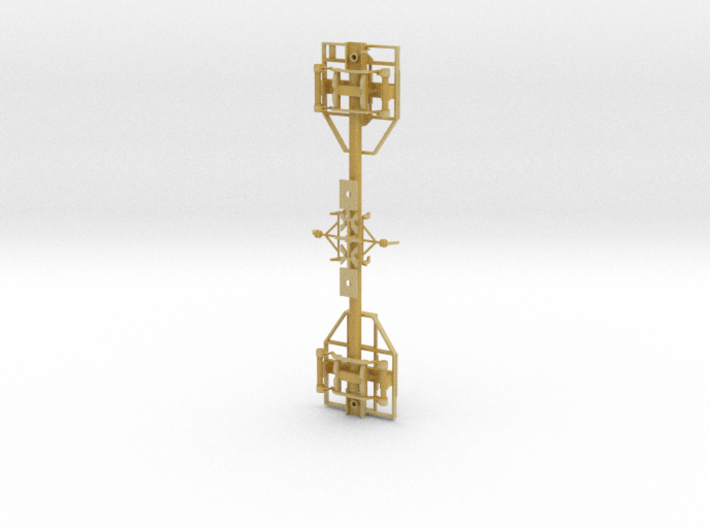
Canadian Pacific Portager Intermodal Car (Phase I)
Made by
Print With Shapeways
 Choose Your Material
 Choose your color and finish
$26.01
Have a question about this product?
contact the designerYou must be logged in and verified to contact the designer.
Product Description
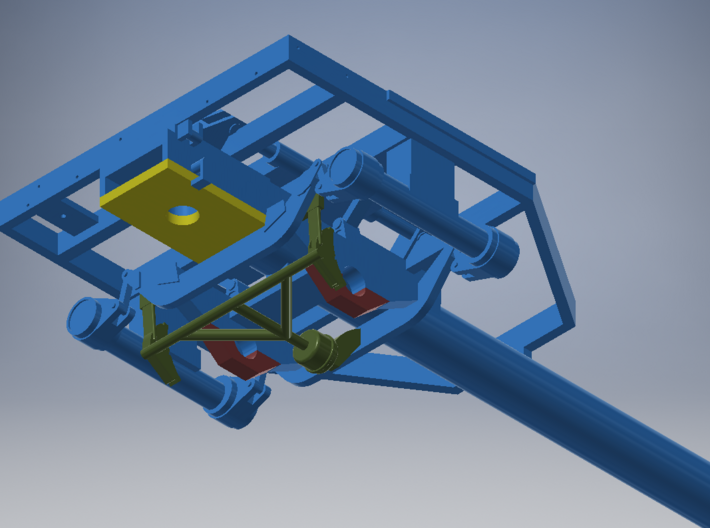
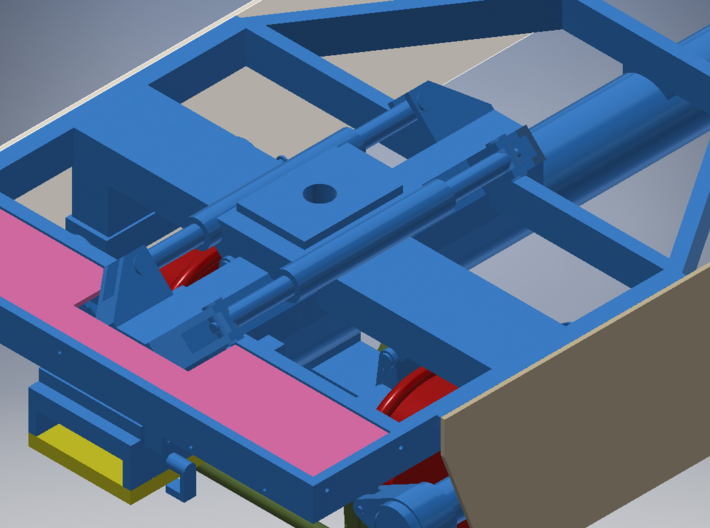
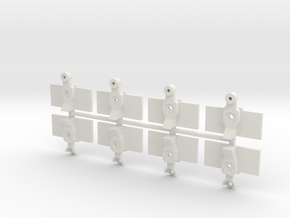
Beginning production in 1959, GMD produced these prototype intermodal cars for the Canadian Pacific Railroad. They operated on a similar principle to the Flexi-Van system as used by the New York Central and other railroads, where the wheel bogie separated from the semi trailer body and the box was transferred to the car. While the Flexi-Van trailers could swing to the side when the truck backed underneath them, the Portager was limited to overhead loading. Based on photos, the trailer retained its landing gear legs, which would have prevented any kind of rotating feature. The car carried a single 40 foot trailer. A rib side trailer kit, modified to have no wheels would be an appropriate load. Canadian Pacific owned Smith Transport by this time, so most trailer loads seemed to have Smith markings. The fifth wheel on the car was able to slide forward and back to compensate for any error in loading. The rear of the trailer was supported by simple skids.
At least two of these early phase cars were built. They featured a unique swing-hanger suspension, inside bearing axles, and a tube-profile spine. Like the later TTX Front-Runner spine cars, the Portager only had one axle at each end of the car. The prototype cars had side skirts that hid most of the their inner workings (although there isn't much to look at anyways). The cars had a brake system similar to road-going trucks rather than a traditional Westinghouse system.
Ten production-type cars returned to outside bearing axles with an I-beam spine.
In order to build a complete model, you will need:
Assembly Instructions:
At least two of these early phase cars were built. They featured a unique swing-hanger suspension, inside bearing axles, and a tube-profile spine. Like the later TTX Front-Runner spine cars, the Portager only had one axle at each end of the car. The prototype cars had side skirts that hid most of the their inner workings (although there isn't much to look at anyways). The cars had a brake system similar to road-going trucks rather than a traditional Westinghouse system.
Ten production-type cars returned to outside bearing axles with an I-beam spine.
In order to build a complete model, you will need:
- Canadian Pacific GMD Portager kit (this product)
- 33" Flush Axle wheelsets (NWSL or JB) - The car is designed for wheelsets with a 3/32" axle
- Kadee couplers
- 2-56 screws (x2)
- .010" styrene sheet - to make side skirts
- 18" grab irons (drop and straight type)
- 2-step stirrups
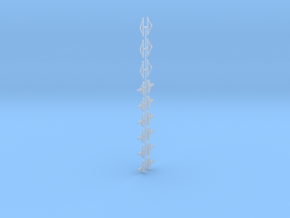
- Brake wheel
- Brake chain (40 links per inch)
- Etched metal end platforms (Plano spine car platforms would be good candidates.)
- Brake hose with glad-hands
- Coupler cut lever
- Gloss black paint
- Canadian Pacific freight car decals
Assembly Instructions:
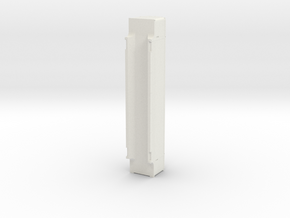
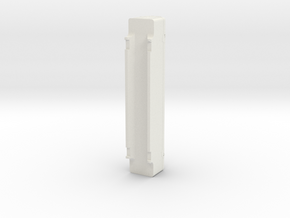
- Separate detail part sprue from the Portager spine
- File the joint smooth
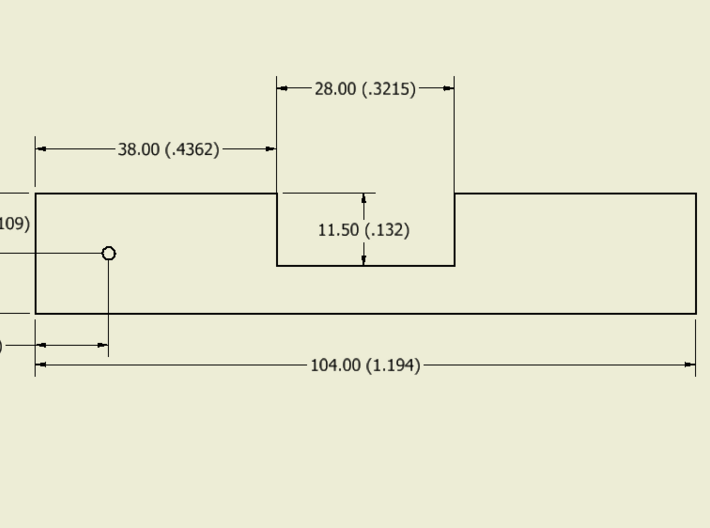
- Cut out the side skirts from the .010" styrene using the given dimensions. See provided drawing.
- Attach side skirts to the rectangular mounting pads on each side of the end frames. The top edge of the skirt should be flush with the top edge of the end frame.
- Cut end platform to fit using given dimensions. Only the B-end of the car had a platform. See provided drawing.
- Insert grab irons into provided holes. Be aware, the holes may need to be re-drilled out after printing. Straight grabs go on the sides while drop type go on the ends.
- Glue stirrups to backside of end frame so they line up with the side grab iron. I prefer Bethlehem Car Works etched stirrups.
- Add brake wheel and chain. The chain can pass though the molded-on brackets. I do not know where the chain terminates due to limited photographs and information on the car, so the modeler may need to improvise. The brake wheel was a vertical stem-winder type, but it was on a short staff very close to the deck so as to not get in the way of the trailer that would have been right above it.
- The car had a straight cut lever that was mounted directly on the end frame. There was no standoff bracket like modern cars have. It may be easy to make one out of wire and eye bolts. There are two mounting holes provided on the end sills for this purpose.
- Paint car and detail parts gloss black.
- Add the 33" wheelsets and secure them using the four retainers that are on the sprue. You may want to file the bearing cup smooth and lubricate the axles to maximize rolling ability. The retainers simply glue to the bolsters, sandwiching the axle.
- Add the brake beams. The square brake shoe hanger brackets should hang off the drop equalizer slightly. The angle bracket on the brake cylinder should glue to the inside of the opposite equalizer. See product photos.
- Decal the model
- Add couplers and screw on the cover plate.
- Add trailer load
Details
What's in the box:
GMD Portager Early HO

Dimensions:
Success Rate:
First To try.
What's this?
Rating:
Mature audiences only.