
Clear Ultra Fine Detail Plastic

SECR_20T_6w_Diag_1558_Goods_Brake_86_Added_Veranda
Made by
Print With Shapeways
 Choose Your Material
 Choose your color and finish
$18.88
Have a question about this product?
contact the designerYou must be logged in and verified to contact the designer.
Product Description
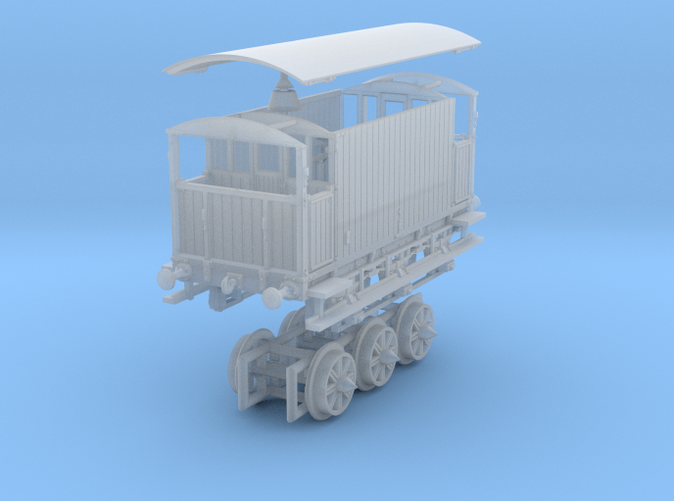
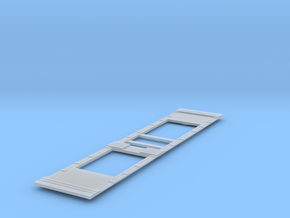
This is an N-gauge / 2mm:1ft model of an SE&CR 20T 6-wheeled good brake van to diagram 1558, just like the other one I have uploaded, but if you take a close look at the verandah at the other end (rotate it in tools) you'll see that it is in the style of the verandahs that were added later to the initially open platform end of the early build of these brake vans (which were very similar to the one-ended MR brake vans, though those had 4 wheels). Apart from that, there is a tiny detail difference on the original verandah too, compared to the ones built with two verandahs, and this can be seen at the top of the cabin corner posts (there's a teeny-weeny bit of it on the roof part, since that includes the top of the frame of the entrance). If you know about these vans, you may notice that I have put the stovepipe closest to the end with the original verandah. Drawings put the stove closer to the open platform end (i.e. the added verandah end) and while a few photographs back this up, most of the ones in books on my shelves have it the other way round, so that's how I've done it. Let me know if you'd rather it was the other way, or you like the early build with an open platform at one end (do say which end).
Oh and on this model I have decided to try out some NEM couplers to a revised design, but my other couplers will fit just the same and you don't have to use either. (NOTE now removed these)
As with the other model, if you don't fancy split-spoke 3D printed wheels, change them for Peco Parkside Dundas 8-straight-spoked 6.2mm wheels, or whetever else takes your fancy on 14.8mm axles. Whatever you use, please clean out the pinpoints until you can get the axles in without forcing things, and then clean them some more until they rotate freely. Fitting metal ones first is a good idea even if you do like the 3D printed ones, because that way you won't blunt the 3D printed plastic pinpoints while getting the fit right.
As usual, it's not for sale until I have tried it, or someone tells me they want to go for it.
UPDATE 2021-01-06 The CAD for this in Shapeways shows that it has somehow uploaded, or processed, with a shifted shell: there is a fine horizontal gap between the body and the chassis that is not present in the original uploaded .stl file (and the CAD itself has a fine overlap here to avoid things like this arising from digital resolution mismatch). This doesn't seem to have ruined the first print, but I don't like it so I will re-upload the same file and see if it fixes it. If not, it's a possible Shapeways support ticket. It looks like I have aready made this available for sale, so I have reversed that for now.
UPDATE 2021-04-11 Removed the NEM coupler pocket sprue as I have redesigned this part and it is still in development, maybe available as a separate model. Re-uploaded hoping the funny gap doesn't get introduced again this time, but it was. Re-uploaded with the body moved down 0.1 mm (overlap now 0.2mm) to ensure no gap if its shell gets shifted up by the same amount (~0.1mm) as it was in the previous 2 uploads - and that seems to have fixed it (for some reason even though all objects were manifold, Blender refused to union the body and chassis to make me a single object). Made available for sale again, with optionally removable sprues between the verandah eaves and the body, so it is less prone to breakage while you are working on the model to clean it, paint it and fix handrail wires. Take them out before you fit the roof, or leave them in forever. You'll be first to try this rework so please understand the risk of there being a mistake.
Details
What's in the box:
SECR_20T_6w_Diag_1558_Goods_Brake_82_Added_Veranda
Dimensions:
Success Rate:
First To try.
What's this?
Rating:
Mature audiences only.
