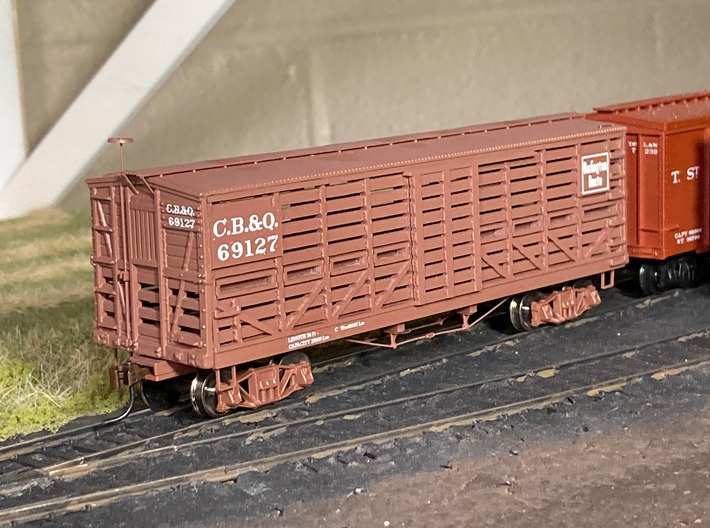
Completed car modified from a Roundhouse 36' stock car using these sides. Paint and decals not included.


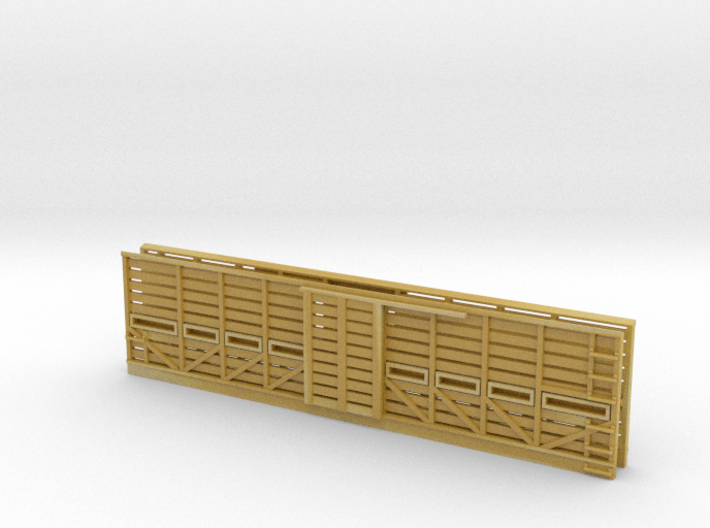
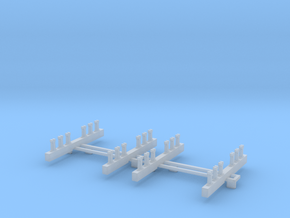
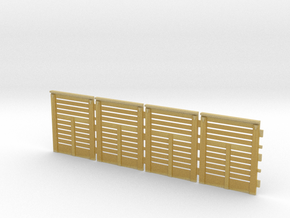
HO scale CB&Q SM-9 stock car sides
Made by
Print With Shapeways
 Choose Your Material
 Choose your color and finish
$34.53
Have a question about this product?
contact the designerYou must be logged in and verified to contact the designer.
Product Description
This item contains two car sides (one car's worth) of stock car sides. These are meant to replace the sides on a Roundhouse RTR 36' stock car (procedure below). The prototype is the CB&Q class SM-9 stock car built c1908, which was fitted with built-in water troughs. Level of detail is generally similar to the level of detail on the Roundhouse stock car. Side door is fixed in place and grab irons are molded on. Siding for lettering and herald placards is not included and can be added as desired using styrene.
Procedure for building an SM-9 stock car using these car sides:
1. Separate floor from car body on the Roundhouse car
2. Using a razor saw, carefully cut the sides vertically at each end, flush with the INSIDE face of the ends. If necessary, cut slightly inboard of the ends and then sand smooth. Make sure the car ends stay intact.
3. Using a knife, scribe the sides lengthwise along their top, just underneath the edges of the roof boards. Also scribe along the top edges of the car sides in the corner. Gently flex the sides until they break off. The roof and ends should remain intact.
4. The 3D printed car sides are fitted in place. Glue around the top and ends from interior of car as necessary. Some sanding along the underside of the car's roof may be necessary prior to gluing in place.
5. Paint the inside of the car body and then reattach to the car floor.
6. Glue on pieces of flat styrene as desired to accommodate lettering of prototype, then paint and letter car.
Details
What's in the box:
SM9-sides

Dimensions:
Success Rate:
First To try.
What's this?
Rating:
Mature audiences only.
