
Clear Ultra Fine Detail Plastic


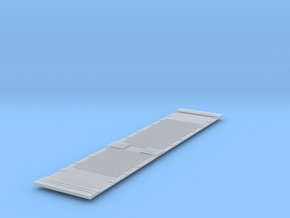
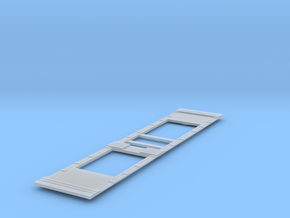
British Railways 40t Armour Plate Truck
Made by
Print With Shapeways
 Choose Your Material
 Choose your color and finish
$14.34
Have a question about this product?
contact the designerYou must be logged in and verified to contact the designer.
Product Description
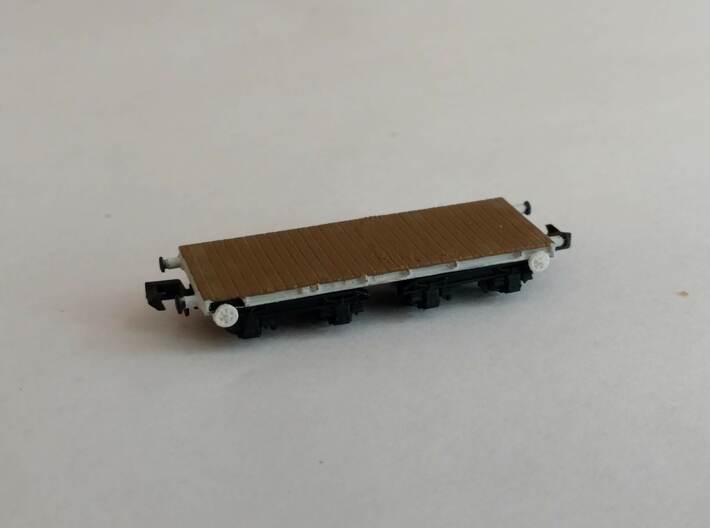
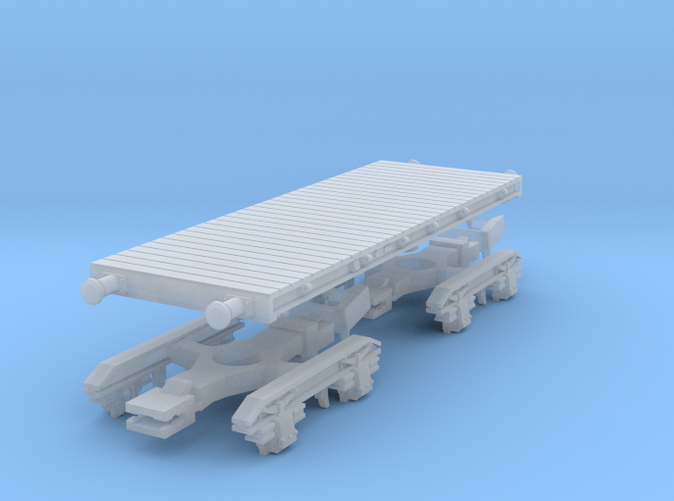
British Railways 40t armour plate truck, built by the LMS and (maybe??) LNER to the same design before the second World War, for carrying heavy loads such as steel plates to make battleships. Used in peacetime to carry other heavy loads such as concrete beams. Parkside/Romford wheels should work nicely though the ideal would be 5.5mm 3-hole disc, which they don't make as far as I know. Use their 5mm or 6.2mm 3-hole discs, near enough, or 5.5mm curve-spoked (it should hardly show) or go for my 3D printed ones. Clean out the inside of the pinpint cones with tiny drills and burrs to get the wheels turning freely. My 3D printed four-spoke, or 5 curve-spoke, brake handwheels may come in handy if you don't have any nice brass etch ones in your spares box. You'll need four of them, one at each corner, which is slightly unusual, threaded onto, say 0.25mm diameter brass wire and glued into the locating points on the body. As usual I have added NEM coupling pockets AND N-gauge couplers to the bogies, and you will have to cut off the ones you don't want to use, because the bogies are too close together to fit on without doing that. The N-gauge couplers are not rigid in this model, they should lift and fall if you manage to clean them carefully and not break them. Never force them. Warm them up in hot water and brush them top and bottom with a drop of washing up liquid on a wet toothbrush. Rinse them and let them dry (the plastic swells a little when wet). Once free, if they need a little springing to return to the flat position, there are slots above and below the joint where a small shim of brass or plastic should fit in and do the trick.
Let me know if you would rather the 55t version, or one without the planked floor (all the girders are there underneath in the CAD).
UPDATE see photos. More notes about cleaning and putting together - the bogie stretchers distorted (bent upwards) in the hot water when I cleaned them, and tended to catch slightly on the underside of the wagon. This was fixed by getting them hot again and bending them straight by hand. Don't break the coupler. You could put washers on the bogie mounts to increase the clearance if you need to. I also scraped the rectangular top edge of the coupler hook side, and the coupler spring slot, with a sharp scalpel to reduce the chances of snagging under the wagon and the buffers if they touch when rounding curves. Coupler return springing works pretty well - cut a narrow strip of thin clear plastic to width, slot it in above the coupler from the front (use tweezers), trim it to length in situ with fine scissors, and if you've managed to bend it up a bit doing that and it doesn't work all that well, take it out and put it back in again the other way up! *Simples!* There is no need to use the slot below the coupler unless it sags below horizontal for some reason, such as a chipped backstop. Assuming you intend to use the N-gauge couplings, still don't cut off the NEM pockets until you have finished working on the bogie. That way, if you break the moving coupler you can still fit an N-gauge hook in the NEM pocket as a fall back. If you need spare bogies, let me know and I'll load them up without the body (DONE NOW).
Winsor & Newton black India ink undercoat or similar, and some weathered-wood-coloured paint, will stop the girder pattern (see the photo) from showing through the plank detail of the thin floor.
Details
What's in the box:
ArmourPlate_40
Dimensions:
Success Rate:
First To try.
What's this?
Rating:
Mature audiences only.
