Gray PA12


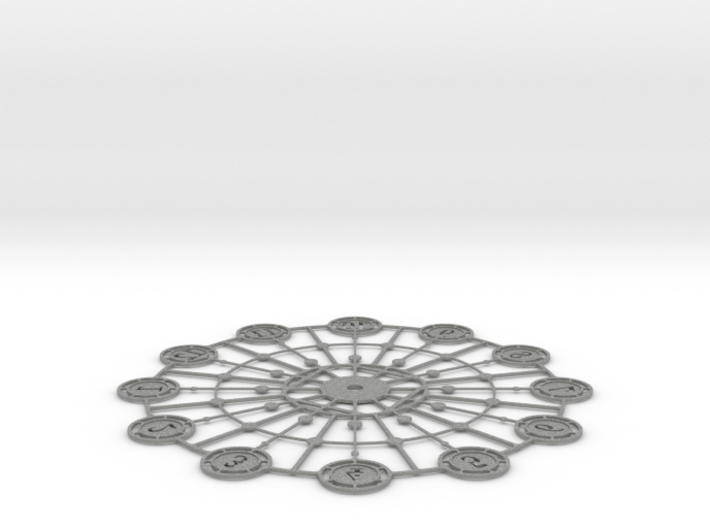
Kaleidoscope Clock - Part A
Made by
Print With Shapeways
 Choose Your Material
 Choose your color and finish
$70.20
Have a question about this product?
contact the designerYou must be logged in and verified to contact the designer.
Product Description
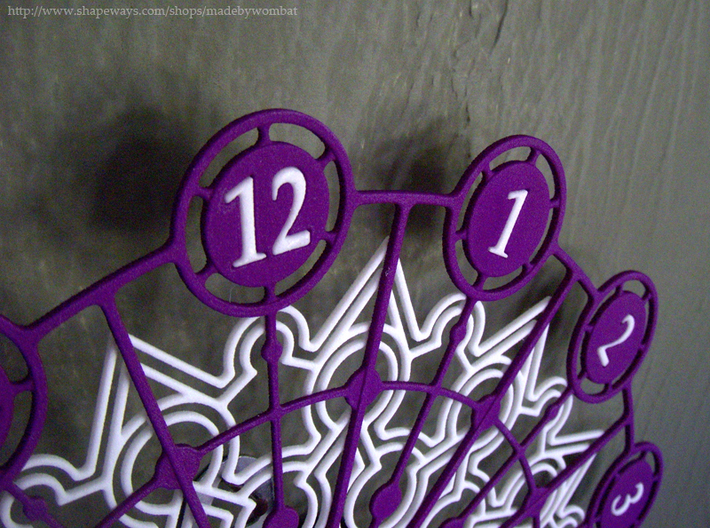
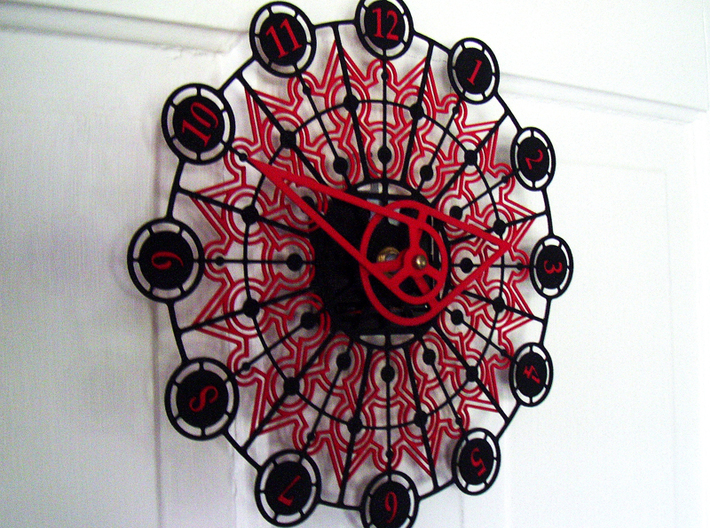
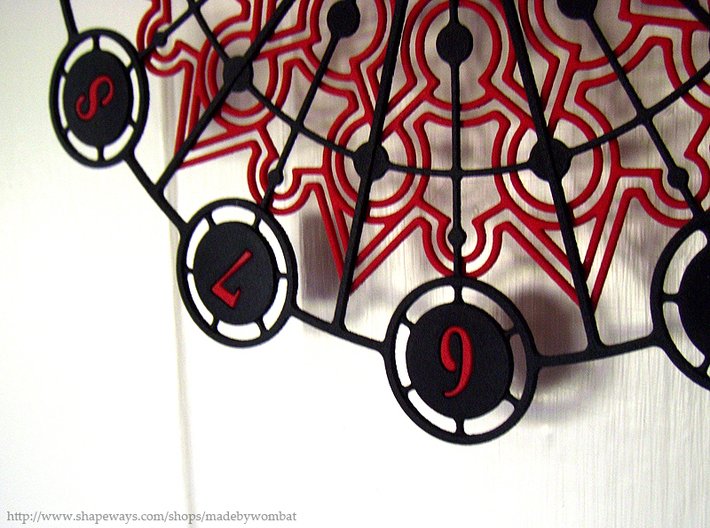
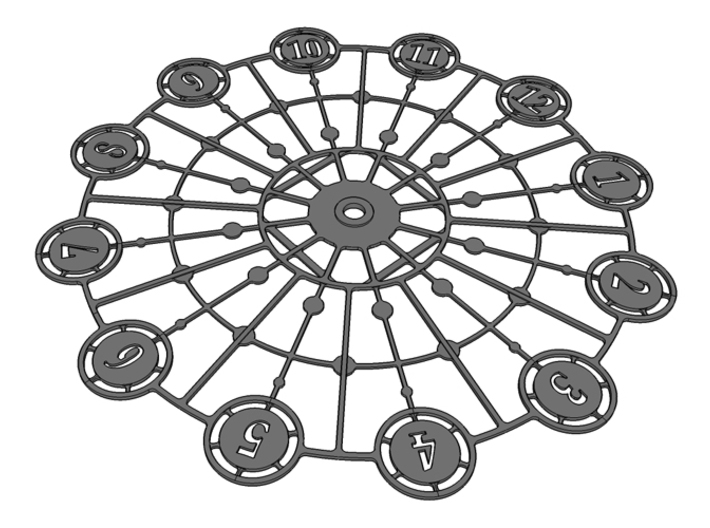
The Kaleidoscope Clock is a two-part model for constructing a clock face. This is Part A of the model, the main frame of the clock. Part B is the background, numbers, and hands of the clock and is available at https://www.shapeways.com/model/580493
You will also need a clock movement. The kit is designed to be used with a high-torque clock movement available at https://www.clockparts.com/clock-part/high-torque-movement-aa-cell/
Part A of the kit is ready to use out of the bag. Part B is sprued and will need to be clipped apart with nail clippers or utility blade. Use a gel super glue to assemble the model. Don't use regular super glue as the Strong & Flexible material is porous and will absorb the glue. The gel variety of super glue does not soak into the material. Assemble the clock as follows:
1. Apply a tiny dab of gel super glue to the flange around each number and insert in the appropriate place on the frame of the clock face.
2. Apply a tiny dab of gel super glue to each of the intersection grooves on the background piece, line it up with the frame, and squeeze together momentarily at each intersection point. Err on the side of less glue.
3. Push the shaft of the clock movement through the hole in the frame, add the rubber and brass washers (included with the clock movement), and add and tighten the brass hex nut (also included with the movement).
4. (Optional) Apply an acrylic spray clearcoat to the assembled face and hands.
5. Push the hour hand onto the protruding white post on the clock movement. You don't need glue to attach the hour hand. It's designed to be snug.
6. Push the minute hand onto the brass post at the end of the movement and thread the brass cap nut (included with the clock movement) onto the post.
If you have any questions about construction of the clock after you receive Part A, Part B, and the clock movement, please contact me at chuck@madebywombat.com
Details
What's in the box:
Kaleidoscope Clock - Part A

Dimensions:
Success Rate:
First To try.
What's this?
Rating:
Mature audiences only.

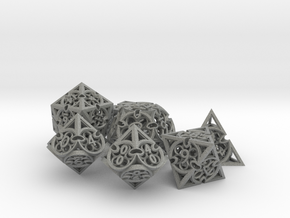
More From This Shop
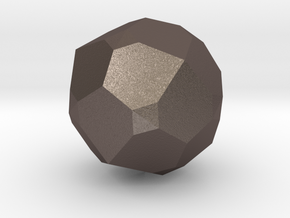
$84.10

$85.33
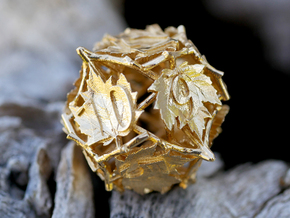
$31.73