White Natural Versatile Plastic

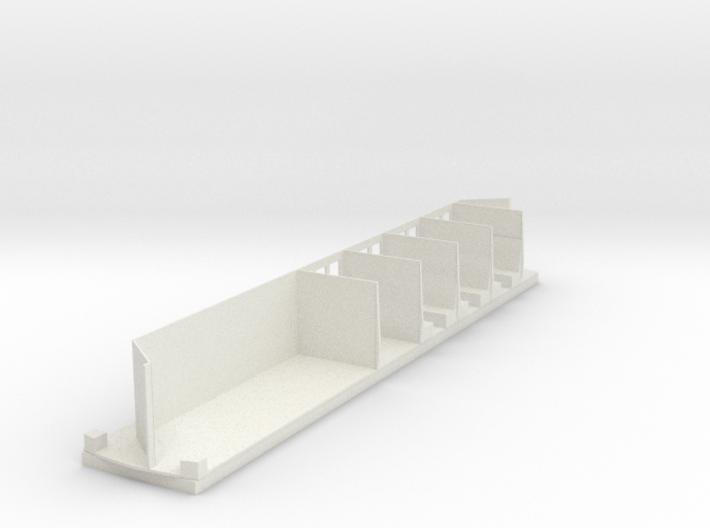
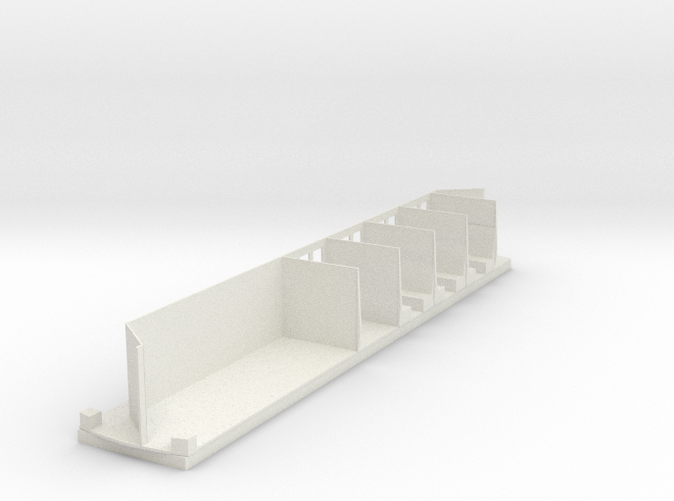
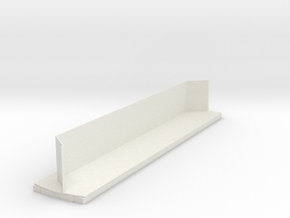
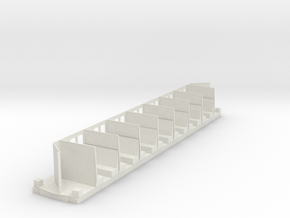
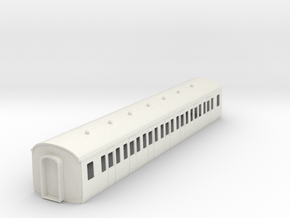
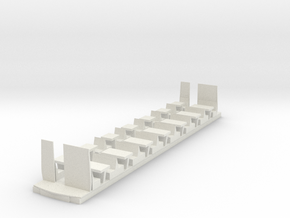
GWR Diagram D92 Brake Third Corridor Underframe
Made by
Print With Shapeways
 Choose Your Material
 Choose your color and finish
$67.21
Have a question about this product?
contact the designerYou must be logged in and verified to contact the designer.
Product Description
6 of Diagram D92 were built in 1925 making up 1/3 of the tiplet Third Class (C52+C51+D92)
No.s 10007, 10015, 10023, 10031, 10039, 10047,
Bogies were a 7' Bogie on the outer ends with a 8'6" Artulated bogie in the middle
All Cars were converted to Diagram D122 in 1936/7
a Common Set thes cars were in was as Follews
A17+A16, H30+H31+H32, and C52+C51+D92
No.s 10007, 10015, 10023, 10031, 10039, 10047,
Bogies were a 7' Bogie on the outer ends with a 8'6" Artulated bogie in the middle
All Cars were converted to Diagram D122 in 1936/7
a Common Set thes cars were in was as Follews
A17+A16, H30+H31+H32, and C52+C51+D92
Request a custom order
and get this product personalized just for you
Details
What's in the box:
Diagram D92 Brake Third Corridor Underframe
Dimensions:
Success Rate:
First To try.
What's this?
Rating:
Mature audiences only.