Green Processed Versatile Plastic


Product Description
Ver 1.0 (18650 Battery / 22mm 510)
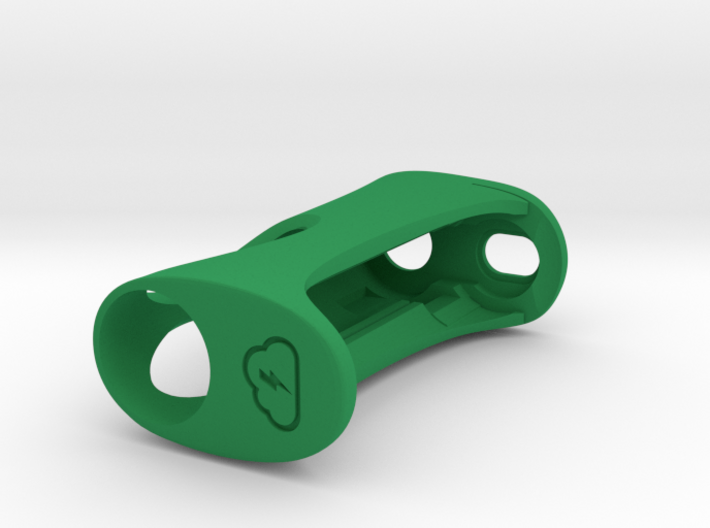
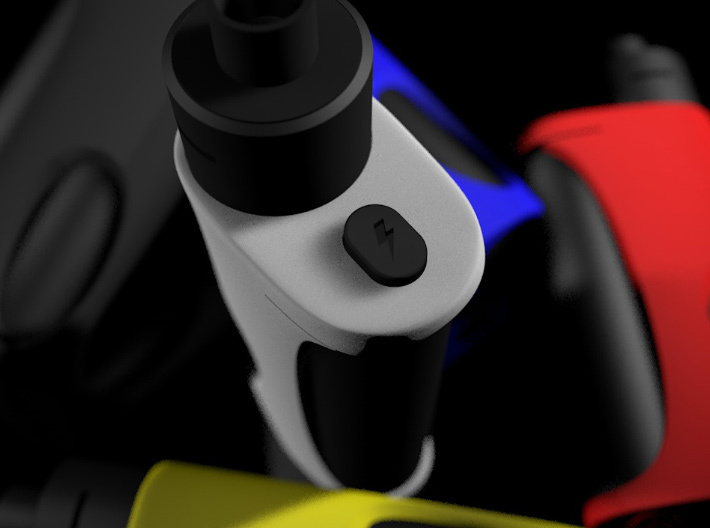
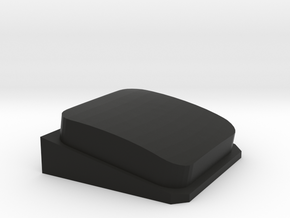
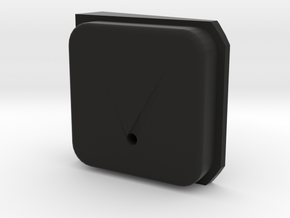
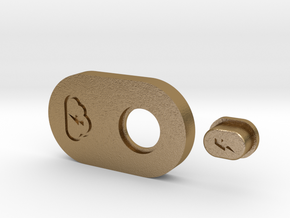
Y_mod_S is a pure mech mod that uses ModDog components with a 22mm 510. Its is made up of two parts, the body and the fire button. ONLY body is included here. You will also need to print a button, please see links below.
Dimensions: H73mm x W42mm x D26mm
FOR ADVANCED USERS ONLY –– REFER TO OTHER SOURCES FOR UNDERSTANDING OHMS LAW AND BATTERY SAFETY. NOT FOR BEGINNERS. SAFETY ALWAYS COMES FIRST!
WHAT IS INCLUDED:
1. Body of the mod that holds the 510, battery and bottle
YOU WILL ALSO NEED:
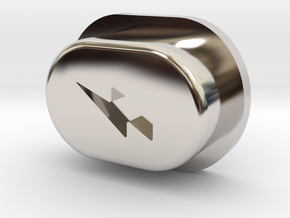
→ Y_mod_S BUTTON ONLY - printing in other colours/materials.
→ ModDog Nano V2 510 22mm Connector from Stealthvape or from ModDog direct.
→ Cloud Laboratory Silver Contact Plates from Stealthvape.
Alternative Plates (need bending and drilling)
– ModDog Flat Bottom Contact Plate in Silver Plated Copper or 999 Silver
– ModDog Dimpled Top Contact Plate in Silver Plated Copper or 999 Silver
NOTE: If ModDog Nano V2 are not available in the requied size on their store, you can get any other size (16mm/18mm/22mm) and one of their top plates "flatter" in required size. Please check ModDog website for more information.
RECOMMENDED BOTTLES:
– GOLDILOCKS BOTTLE 7.15ML - 46MM X 18.5MM BLACK
– Sunbox Cappy R 8ml (Medium)
– Also fits any other 18.5mm maximum diameter bottles (round)
For custom build contacts, see this drawing here .
BUILDING THE MOD (using CloudLab contacts):
– Place the long contact plate in the designated groove in the body
– Check that the 510 hole on the plate is perfectly in the centre when looking through the 510 hole in body
– Turn the mod upsidedown and place the button in position (note logo orientation)
– Place the supplied washer (0.5mm thick) on top of the button
– Place the negative(short) contact plate and align with 510 hole
- Place the 510 nut over the top plate and align
- Attach the 510 to the 510 toolkit and feed through the body 510 hole turning it so it catches the nut
- Keep turning until fixed - making sure that 510 is also gone through the positive plate and there is enough room to tighten the small positive nut on the 510.
- Pick up the small nut with long tweezers, hold tight and feed through the bottle hole into the 510 and turn until it catches.
- Tghten the positive nut on the 510.
- Your mod is now complete.
IMPORTANT NOTE: DO NOT PRESS THE FIRE BUTTON WITHOUT HAVING BATTERY IN POSITION. IT WILL OVER BEND AND WEAKEN THE TOP PLATE. ALWAYS HAVE BATTERY IN MOD WHEN PRESSING THE FIRE BUTTON, EVEN WHEN TESTING.
MODIFIYING MODDOG CONTACTS:
– Create a template from carboard (0.5mm thick) for the plate by positioning it in the body.
– Once measured the location for folds and the hole for 510, either bend the ModDog flat bottom plate or cut a brand new plate from your template.
- Drill a 6mm hole (for 510) in the widest part of the plate (this goes through the positive on the 510 and its fixed by the nut)
For information on components and build photos and video see here.
CAUTION/NOTES
GENERAL: The key is that battery has some movement up and down — ie not touching the top and bottom contact at the same time. There should be no need to dimple the bottom contact and if you do (a little) please bear in mind there is risk it will be too much and will touch pos and neg at the same time. Touching post and negative plate at the same time will cause the mod to autofire. The contact should ONLY be made when the fire button is pressed.
THROW ADJUSTMENT:
If you would like to reduce the throw on the button, you can do this in any of the following ways:
3D PRINT RESIDUE: Please clear any small gaps of residue left by the 3d printing. This is especially the case with the recessed areas that hold the bottom plate in place. There maybe some dust leftover preventing the plate to be in perfect position. Similarly, if there are any slight burls in the print around the edges, please do not sand them, leave them and they wear down with use. The colour finish on nylon plastics in particular is very thin and they have a white core to them, if you sand too much you’ll reveal the white.
TOLERANCES: If you find that there is some tolerances issues like for example the fire button doesn't smoothly go through the opening, please DO NOT sand it, its just residue from the 3d printing and will smooth out after use. Simply running the button through the opening a few times will sort this out. Same goes for the gaps where the long contact plate sits.
FIXING THE 510: I also recommend using MM 510 510 Tightening Kit or ModDog 510 Assembling Tool with 510 Connectors Wrench Keychain otherwise you may lock up your atty in 510 as you are screwing down the 510.
SAFETY: There are no locks on this mod so safety comes first. The contacts are known to bend over time and dirt may collect on the plates. This dirt can also act as a bridge and cause autofire. This is the case with ALL mech mods so regular cleaning of your contacts is a must. If silver coated contacts, use rubber ereaser to remove any residue/dirt that has collected. For colid copper contacts (custom made) please follow guidlines on maintaining copper. Finally, REMOVE BATTERY FROM YOUR MOD WHEN NOT IN USE – which is the only way to ensure 100% safety.
Q/A
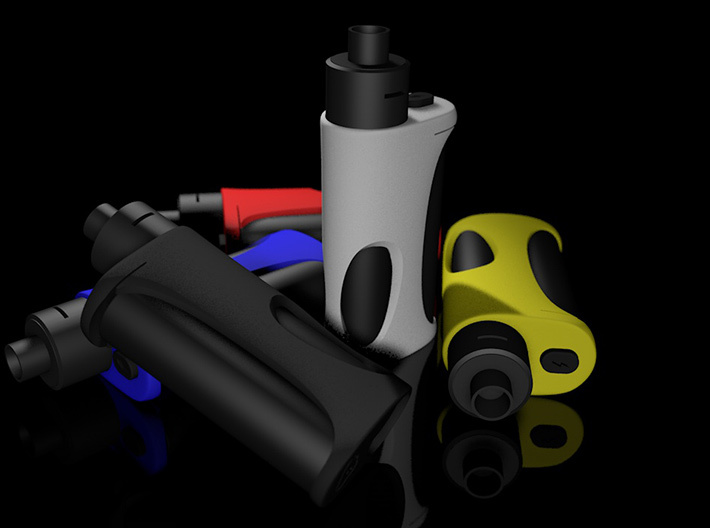
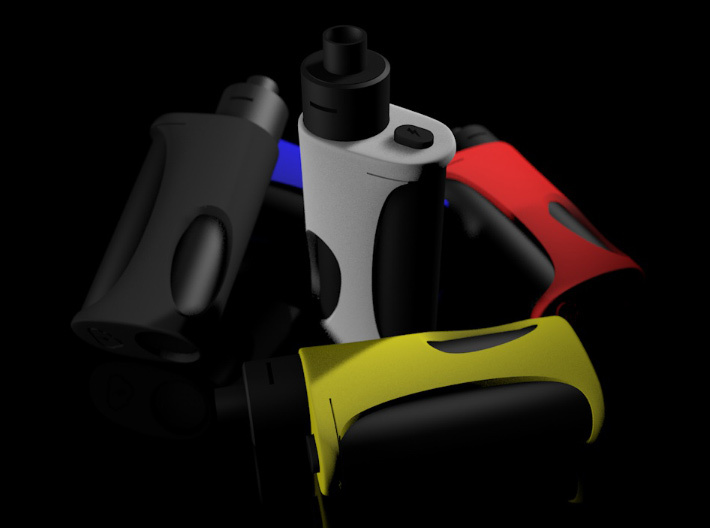
Q: Are there more pictures of the mods so I can see how they look IRL?
A: Yes, see link above for making of photos or join our Facegroup for regular updates and pictures from users.
Q: Is there a tube that hides the battery?
A: No, the battery is exposed in this version.
Q: My fire button is a bit wobbly, how do I fix this?
A: Bend the contact plate slightly towards the button. This will force it into place and hold it there nice and tight.
Q: Can I adjust the trow on my button?
A: To reduce throw, bend the positive (bottom) slightly towards the battery. You can also try to dimple your bottom contact slightly more to reduce the throw. To increase the throw, reduce the dimple on your bottom contact.
Need more help? Join the Facebook Group → https://www.facebook.com/groups/174399370002485/
Improvements planned for Ver 1.1
- None at the moment
Y_mod_S is a pure mech mod that uses ModDog components with a 22mm 510. Its is made up of two parts, the body and the fire button. ONLY body is included here. You will also need to print a button, please see links below.
Dimensions: H73mm x W42mm x D26mm
FOR ADVANCED USERS ONLY –– REFER TO OTHER SOURCES FOR UNDERSTANDING OHMS LAW AND BATTERY SAFETY. NOT FOR BEGINNERS. SAFETY ALWAYS COMES FIRST!
WHAT IS INCLUDED:
1. Body of the mod that holds the 510, battery and bottle
YOU WILL ALSO NEED:
→ Y_mod_S BUTTON ONLY - printing in other colours/materials.
→ ModDog Nano V2 510 22mm Connector from Stealthvape or from ModDog direct.
→ Cloud Laboratory Silver Contact Plates from Stealthvape.
Alternative Plates (need bending and drilling)
– ModDog Flat Bottom Contact Plate in Silver Plated Copper or 999 Silver
– ModDog Dimpled Top Contact Plate in Silver Plated Copper or 999 Silver
NOTE: If ModDog Nano V2 are not available in the requied size on their store, you can get any other size (16mm/18mm/22mm) and one of their top plates "flatter" in required size. Please check ModDog website for more information.
RECOMMENDED BOTTLES:
– GOLDILOCKS BOTTLE 7.15ML - 46MM X 18.5MM BLACK
– Sunbox Cappy R 8ml (Medium)
– Also fits any other 18.5mm maximum diameter bottles (round)
For custom build contacts, see this drawing here .
BUILDING THE MOD (using CloudLab contacts):
– Place the long contact plate in the designated groove in the body
– Check that the 510 hole on the plate is perfectly in the centre when looking through the 510 hole in body
– Turn the mod upsidedown and place the button in position (note logo orientation)
– Place the supplied washer (0.5mm thick) on top of the button
– Place the negative(short) contact plate and align with 510 hole
- Place the 510 nut over the top plate and align
- Attach the 510 to the 510 toolkit and feed through the body 510 hole turning it so it catches the nut
- Keep turning until fixed - making sure that 510 is also gone through the positive plate and there is enough room to tighten the small positive nut on the 510.
- Pick up the small nut with long tweezers, hold tight and feed through the bottle hole into the 510 and turn until it catches.
- Tghten the positive nut on the 510.
- Your mod is now complete.
IMPORTANT NOTE: DO NOT PRESS THE FIRE BUTTON WITHOUT HAVING BATTERY IN POSITION. IT WILL OVER BEND AND WEAKEN THE TOP PLATE. ALWAYS HAVE BATTERY IN MOD WHEN PRESSING THE FIRE BUTTON, EVEN WHEN TESTING.
MODIFIYING MODDOG CONTACTS:
– Create a template from carboard (0.5mm thick) for the plate by positioning it in the body.
– Once measured the location for folds and the hole for 510, either bend the ModDog flat bottom plate or cut a brand new plate from your template.
- Drill a 6mm hole (for 510) in the widest part of the plate (this goes through the positive on the 510 and its fixed by the nut)
For information on components and build photos and video see here.
CAUTION/NOTES
GENERAL: The key is that battery has some movement up and down — ie not touching the top and bottom contact at the same time. There should be no need to dimple the bottom contact and if you do (a little) please bear in mind there is risk it will be too much and will touch pos and neg at the same time. Touching post and negative plate at the same time will cause the mod to autofire. The contact should ONLY be made when the fire button is pressed.
THROW ADJUSTMENT:
If you would like to reduce the throw on the button, you can do this in any of the following ways:
- Increase the size of dimples.
- Lift bottom of the plate using something (like a washer) under it.
- Put something (like a washer) between the button and top plate. See washer example here.
- Pushing a little bit of paper between the button and top plate will reduce the travel.
- Putting a small o-ring around the button and then putting it in place will not only reduce the travel but also reduce the amount the fire button protrudes.
3D PRINT RESIDUE: Please clear any small gaps of residue left by the 3d printing. This is especially the case with the recessed areas that hold the bottom plate in place. There maybe some dust leftover preventing the plate to be in perfect position. Similarly, if there are any slight burls in the print around the edges, please do not sand them, leave them and they wear down with use. The colour finish on nylon plastics in particular is very thin and they have a white core to them, if you sand too much you’ll reveal the white.
TOLERANCES: If you find that there is some tolerances issues like for example the fire button doesn't smoothly go through the opening, please DO NOT sand it, its just residue from the 3d printing and will smooth out after use. Simply running the button through the opening a few times will sort this out. Same goes for the gaps where the long contact plate sits.
FIXING THE 510: I also recommend using MM 510 510 Tightening Kit or ModDog 510 Assembling Tool with 510 Connectors Wrench Keychain otherwise you may lock up your atty in 510 as you are screwing down the 510.
SAFETY: There are no locks on this mod so safety comes first. The contacts are known to bend over time and dirt may collect on the plates. This dirt can also act as a bridge and cause autofire. This is the case with ALL mech mods so regular cleaning of your contacts is a must. If silver coated contacts, use rubber ereaser to remove any residue/dirt that has collected. For colid copper contacts (custom made) please follow guidlines on maintaining copper. Finally, REMOVE BATTERY FROM YOUR MOD WHEN NOT IN USE – which is the only way to ensure 100% safety.
Q/A
Q: Are there more pictures of the mods so I can see how they look IRL?
A: Yes, see link above for making of photos or join our Facegroup for regular updates and pictures from users.
Q: Is there a tube that hides the battery?
A: No, the battery is exposed in this version.
Q: My fire button is a bit wobbly, how do I fix this?
A: Bend the contact plate slightly towards the button. This will force it into place and hold it there nice and tight.
Q: Can I adjust the trow on my button?
A: To reduce throw, bend the positive (bottom) slightly towards the battery. You can also try to dimple your bottom contact slightly more to reduce the throw. To increase the throw, reduce the dimple on your bottom contact.
Need more help? Join the Facebook Group → https://www.facebook.com/groups/174399370002485/
Improvements planned for Ver 1.1
- None at the moment
Details
What's in the box:
Y_mod_S_Classic_B003_BODY_STD001

Dimensions:
Success Rate:
First To try.
What's this?
Rating:
Mature audiences only.

More From This Shop
$35.00