Black Natural Versatile Plastic


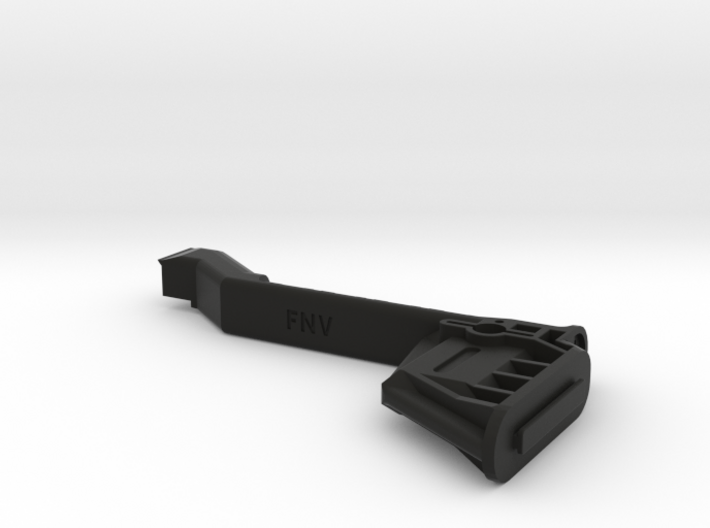
Uzi pro pistol stock for KWC mini uzi 2;body
Made by
Print With Shapeways
 Choose Your Material
 Choose your color and finish
$159.98
Have a question about this product?
contact the designerYou must be logged in and verified to contact the designer.
Product Description
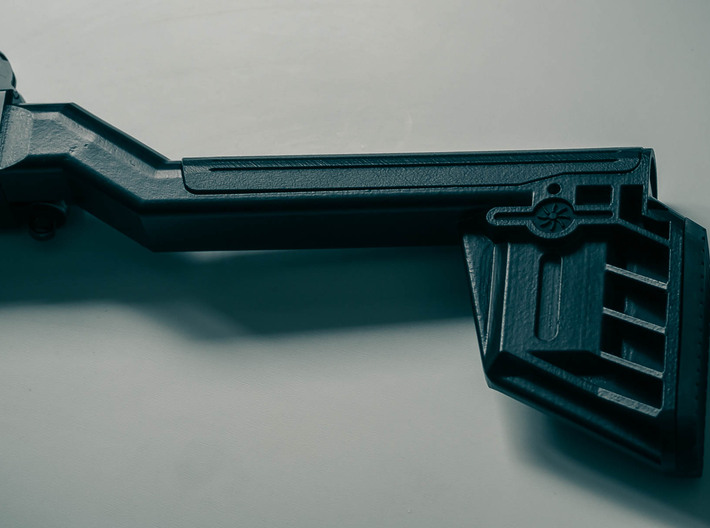
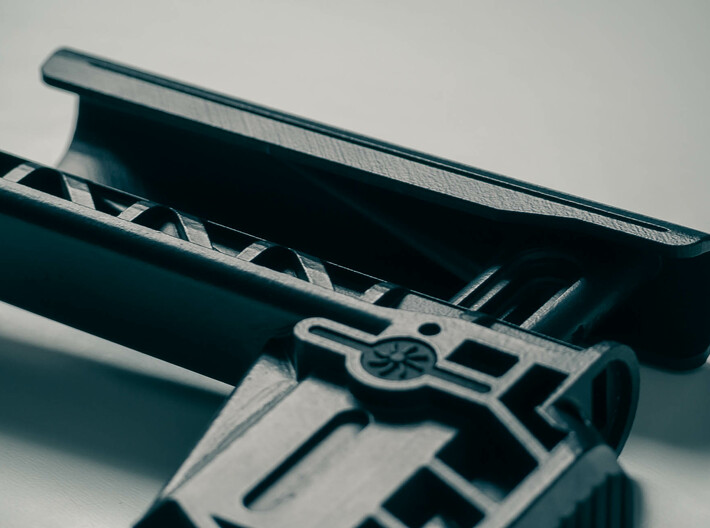
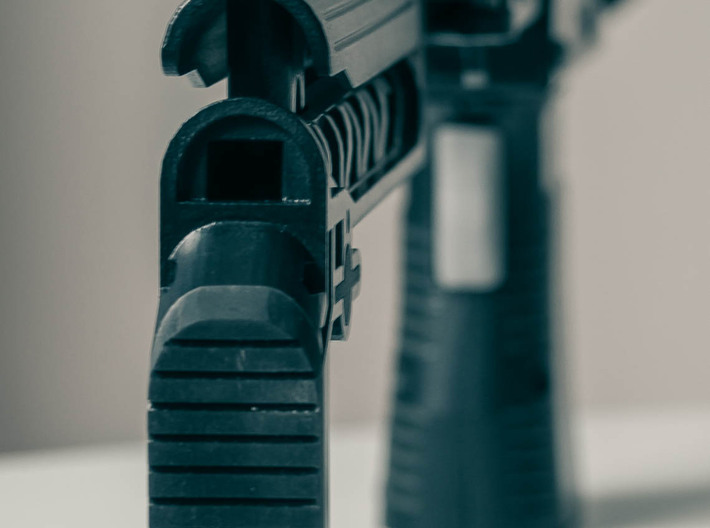
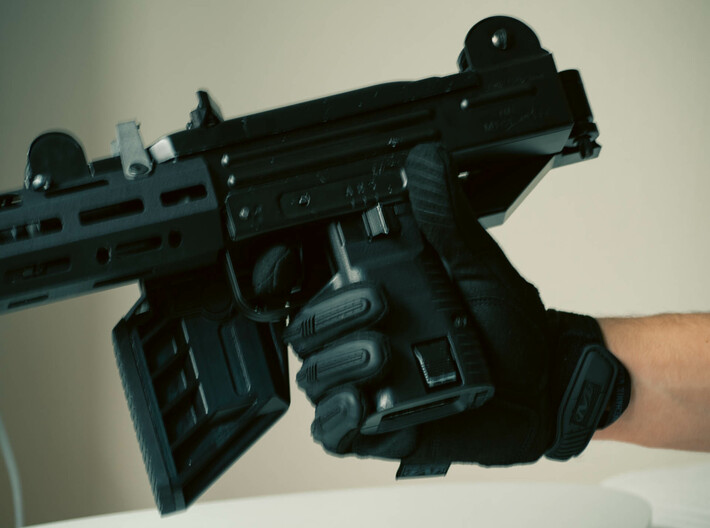
Uzi pro pistol style tactical stock for KWC mini uzi.
-Foldable
-5 position adjustable cheek rest
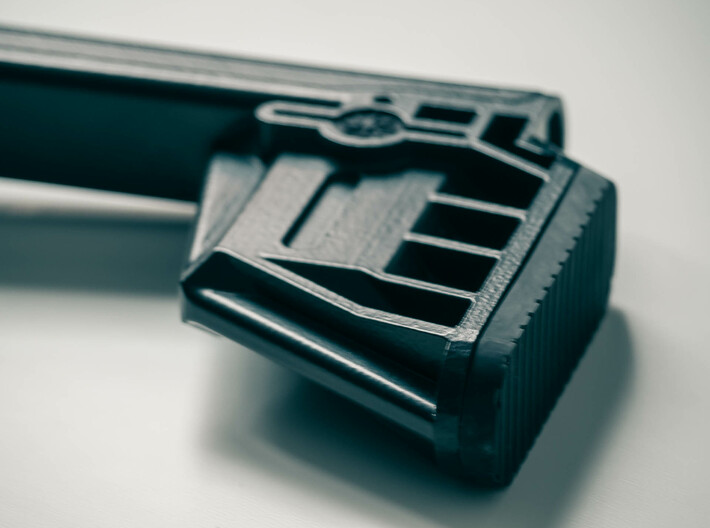
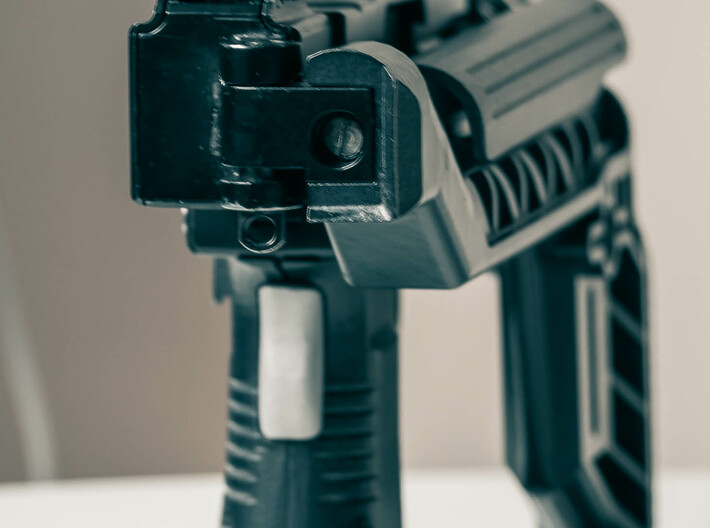
-rubber backpad
This is part no. 2
-no.1
-no.3
-no.4
-no.5
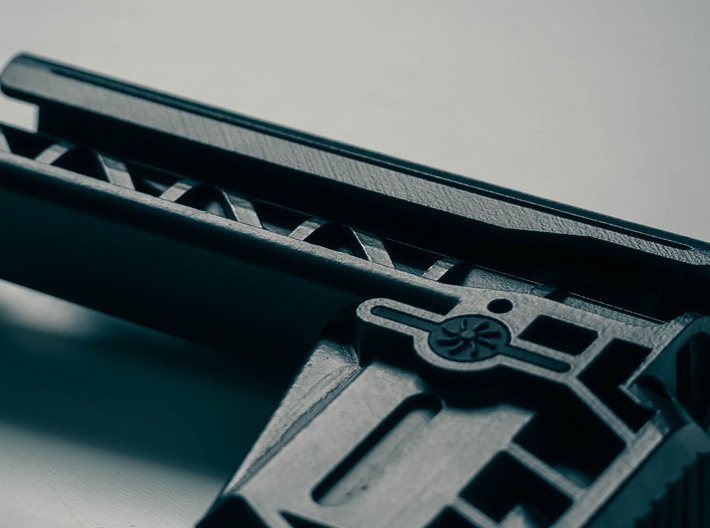
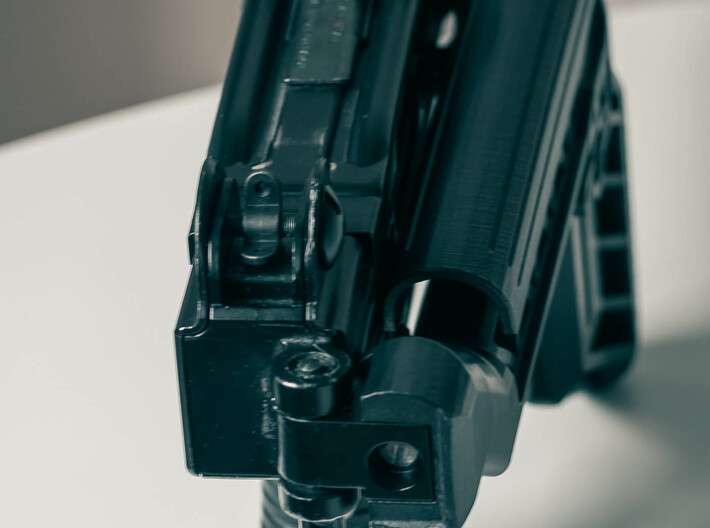
Pictures show vapor smoothed SLS nylon 12 (which is called black smooth versatile plastic here).
The spring guide is optional. You will be able to reach the trigger and shoot with this stock folded.
Instructions:
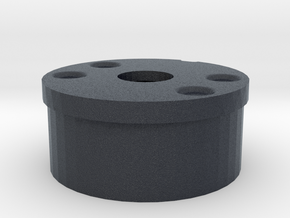
1. Slide the connector (1) into the main body, fix it with az M5 screw (M5x16mm or 20mm is perfect)
2. Put the rubber backpad (3) on by bending the rubber.
3. a) (optional) put a fitting compression spring into the spring guide (it's on the cheek pad, you break it off) (11mm long 8mm outer diameter is the perfect, smaller outer diameter ones will also work. You can find such springs in various soap, dishwashing gel, shampoo etc dispensers. I've found that even without the the spring, the button will keep the cheek pad in position.
3. b) (optional) put the spring guide (with the spring inserted) into the left side of the cheek pad rod.
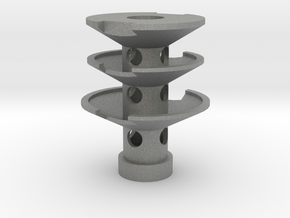
4. Slide the button (5) into the body. The flower like relievo side should face left. Push it in slightly so that it comes out about 5 mm (0.2 inch) on the other side. This is how you will set the cheeck pad later.
5. Put the cheek pad (4) (optionally with the spring and spring guide) into the body. (You need to get the spring into the button. This will be quite difficult.)
6. Fix the cheek pad with an M4x25mm grub screw by inserting it in the hole above the button. you can use M4x10mm grub screws as well if you thread them in from both ways. This will keep the cheek pad in the body.
-Foldable
-5 position adjustable cheek rest
-rubber backpad
This is part no. 2
-no.1
-no.3
-no.4
-no.5
Pictures show vapor smoothed SLS nylon 12 (which is called black smooth versatile plastic here).
The spring guide is optional. You will be able to reach the trigger and shoot with this stock folded.
Instructions:
1. Slide the connector (1) into the main body, fix it with az M5 screw (M5x16mm or 20mm is perfect)
2. Put the rubber backpad (3) on by bending the rubber.
3. a) (optional) put a fitting compression spring into the spring guide (it's on the cheek pad, you break it off) (11mm long 8mm outer diameter is the perfect, smaller outer diameter ones will also work. You can find such springs in various soap, dishwashing gel, shampoo etc dispensers. I've found that even without the the spring, the button will keep the cheek pad in position.
3. b) (optional) put the spring guide (with the spring inserted) into the left side of the cheek pad rod.
4. Slide the button (5) into the body. The flower like relievo side should face left. Push it in slightly so that it comes out about 5 mm (0.2 inch) on the other side. This is how you will set the cheeck pad later.
5. Put the cheek pad (4) (optionally with the spring and spring guide) into the body. (You need to get the spring into the button. This will be quite difficult.)
6. Fix the cheek pad with an M4x25mm grub screw by inserting it in the hole above the button. you can use M4x10mm grub screws as well if you thread them in from both ways. This will keep the cheek pad in the body.
Details
What's in the box:
probody

Dimensions:
Success Rate:
First To try.
What's this?
Rating:
Mature audiences only.

