White Natural Versatile Plastic


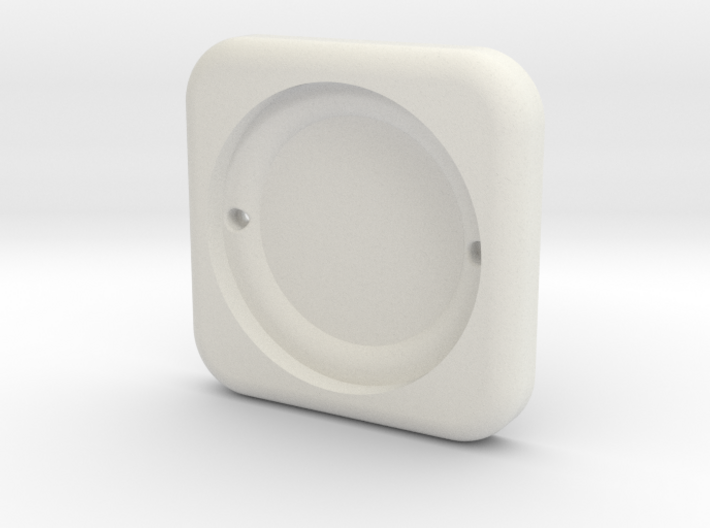
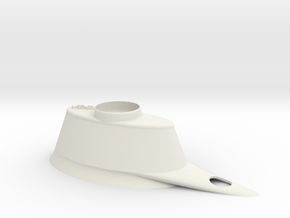
Ikea Tradfri remote wall mount (E1524)
Made by
Print With Shapeways
 Choose Your Material
 Choose your color and finish
$40.78
Have a question about this product?
contact the designerYou must be logged in and verified to contact the designer.
Product Description
Tradfri integrates nicely in your home. It makes the originally installed switches in your house unnecesary.
The tradfri remote E1524 comes with a holder cup you can mount to the wall. Now you have 2 switches for your lighting, and one of them you dont want to use anymore (if you do, the tradfri bulbs become unpowered and the remotes dont work anymore). To solve all this i made an adapter that fixes all eyework when you remove the original switch.
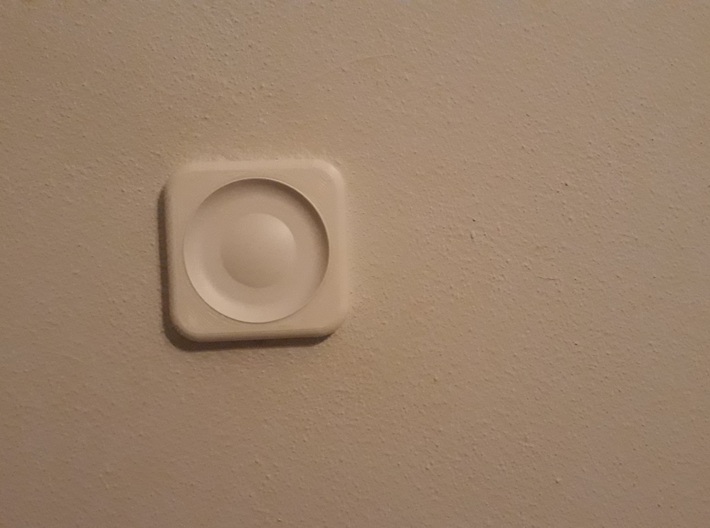
The photos are my own printed parts. the parts ordered on Shapeway will be better quality!
Installation instructions:
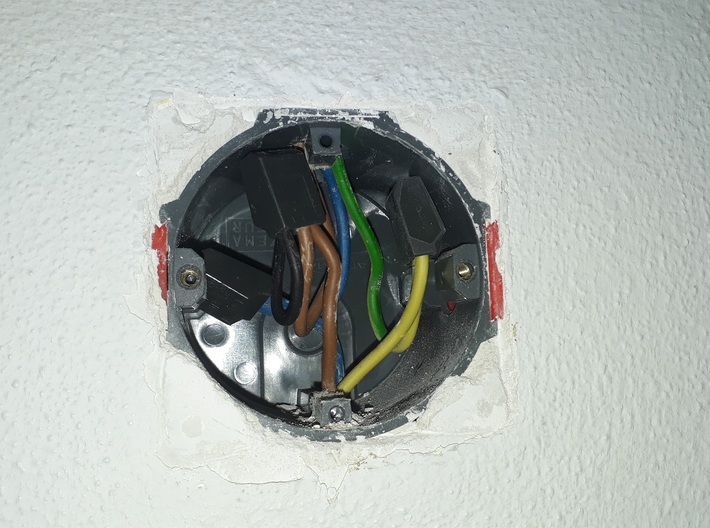
1. Power down switch te be removed (remove/toggle fuse in central fuse cabinet).
2. Remove switch.
3. Connect wires (that were connected to switch) together (will make bulbs always powered).
4. Install my adapter/faceplate with bolts m2/m3.
5. Fix the Ikea remote holder cup into the faceplate.
6. Your done!
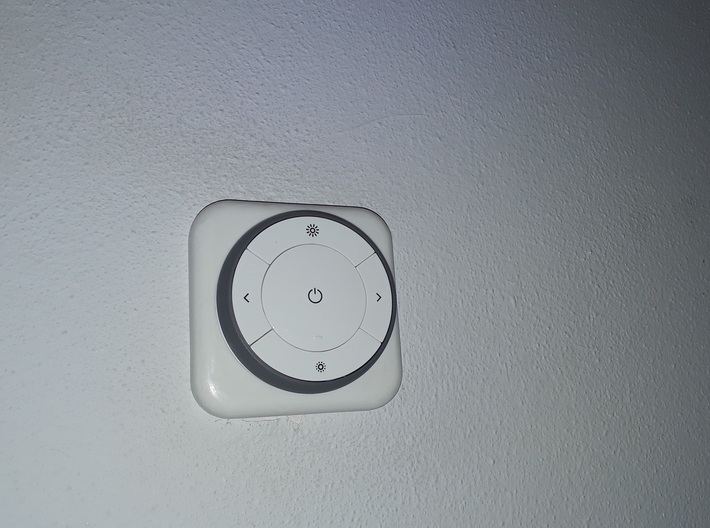
I use this system in my study room. When i enter the room i take the remote with me and put it on the table.
I use warm light most of the time, but when i need to solder things i tap the remote for bright white light.
When i leave the room i put the remote back on the faceplate. that way u still have all functionality (and more) from When there was a real switch on the wall!
The tradfri remote E1524 comes with a holder cup you can mount to the wall. Now you have 2 switches for your lighting, and one of them you dont want to use anymore (if you do, the tradfri bulbs become unpowered and the remotes dont work anymore). To solve all this i made an adapter that fixes all eyework when you remove the original switch.
The photos are my own printed parts. the parts ordered on Shapeway will be better quality!
Installation instructions:
1. Power down switch te be removed (remove/toggle fuse in central fuse cabinet).
2. Remove switch.
3. Connect wires (that were connected to switch) together (will make bulbs always powered).
4. Install my adapter/faceplate with bolts m2/m3.
5. Fix the Ikea remote holder cup into the faceplate.
6. Your done!
I use this system in my study room. When i enter the room i take the remote with me and put it on the table.
I use warm light most of the time, but when i need to solder things i tap the remote for bright white light.
When i leave the room i put the remote back on the faceplate. that way u still have all functionality (and more) from When there was a real switch on the wall!
Request a custom order
and get this product personalized just for you
Details
What's in the box:
mainV2

Dimensions:
Success Rate:
First To try.
What's this?
Rating:
Mature audiences only.

