


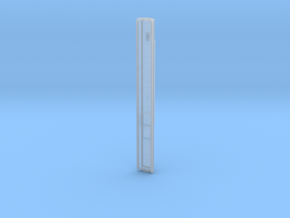
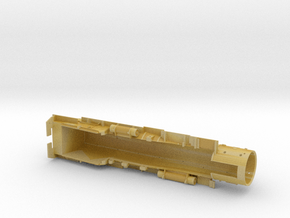
14-section Tourist Sleeper (Plan 4061C) - Core Kit
Made by
Print With Shapeways
 Choose Your Material
 Choose your color and finish
$36.13
Have a question about this product?
contact the designerYou must be logged in and verified to contact the designer.
Product Description
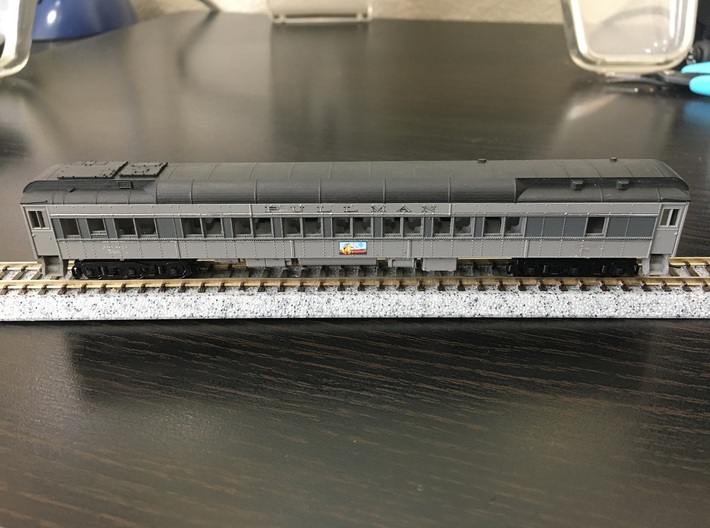
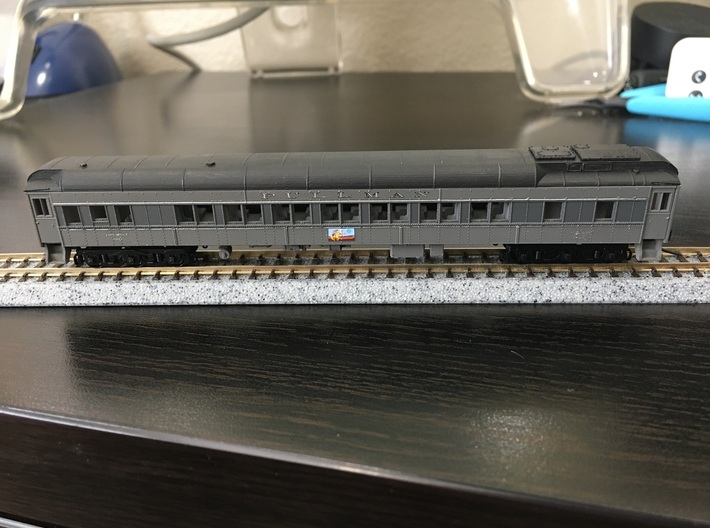
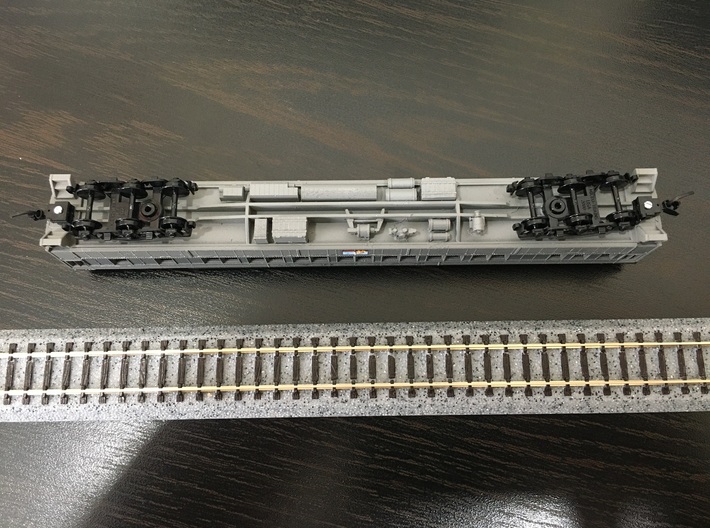
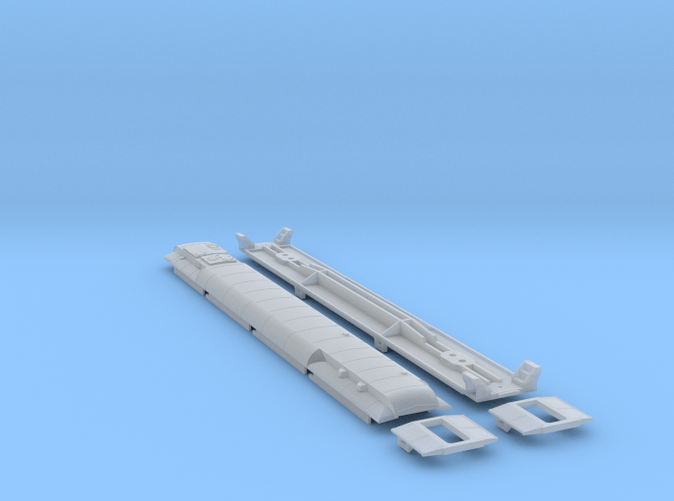
Core Kit for Pullman Plan 4061C - 14-Section Tourist sleeper. Includes roof, floor, and ends. These cars were rebuilt in the late 1930s from 12-1 pullman cars for use on Santa Fe's "Scout" train. These represented the most basic overnight accomodations from Pullman, though they were equipped with air conditioning.
The complete kit will require the following:
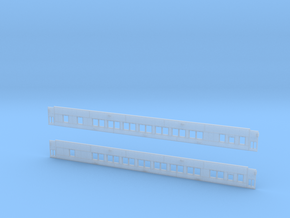
- 14-Section Tourist Sleeper (Plan 4061C) - Car Sides
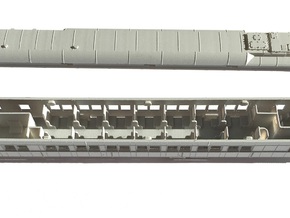
- 14-Section Tourist Sleeper (Plan 4061C) - Interior
- Pullman Underframe Details - Steam Ejector Air Conditioning
Core Kit and sides are designed with strategically placed tabs and slots to compensate for warping.
Cleaning Instructions:
All parts should be cleaned immediately before assembly for best results.
1. Cure in sunlight for a few hours; rotate every half hour or so. Be careful to not let the parts get too hot - the melting point of the wax is 140 F.
2. Soak for at least 30 minutes in Simple Green (Can dilute if desired).
3. Clean with warm (not hot) soapy water to remove the residual Simple Green.
4. Rinse with water, then dip parts in Isopropyl Alcohol to remove residual oils.
Assembly Instructions:
End, Floor, and car sides can be glued together if desired; however, be sure to use a product that won't attack the material. CA or similar should work. The roof can be attached loosely to allow for interior modification.
1. Attach ends to floor - the ends have a dovetail cutout and should slide onto the floor with a very small amount of clearance. If desired, use CA glue to secure the ends to the floor. Attach the sides (next step) before the CA sets.
2. Attach sides to end and floor. The side tabs have a slight friction fit - gently press into place using firm pressure (avoid wiggling). The car sides are fragile, and can be damaged if forced too much.
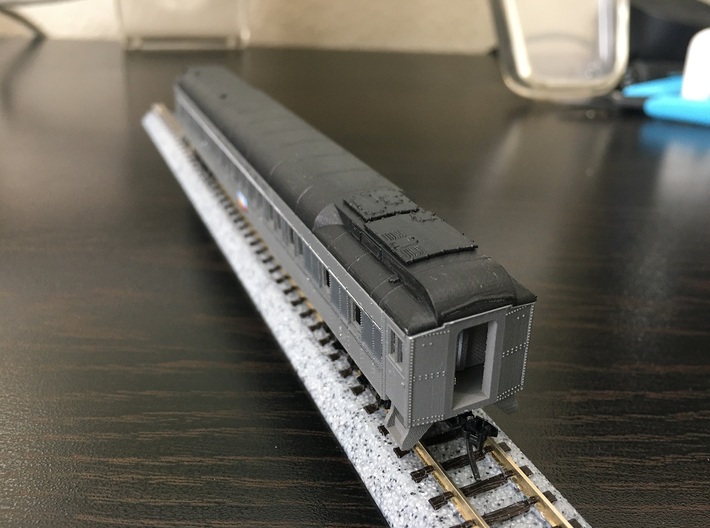
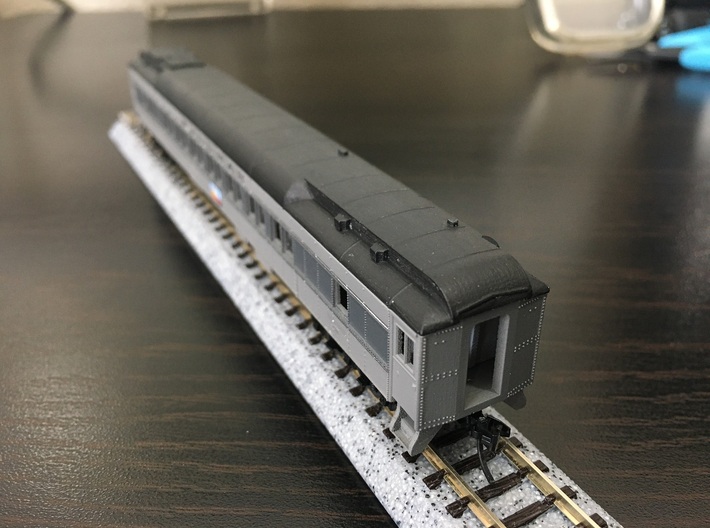
3. Roof does not need to be glued into place. Use photos to verify roof orientation. Align the slots with the side tabs, push the roof down onto the sides, and slide it into its final position. The roof shouldn't require any pressure like the sides.
4. Interior can be dropped in - be sure to match the open sections to the window pattern. If desired, there's clearance for a 0.010" thick weight between the floor and interior.
5. Prime all parts after assembly - Tamiya Fine Surface Primer works well.
The complete kit will require the following:
- 14-Section Tourist Sleeper (Plan 4061C) - Car Sides
- 14-Section Tourist Sleeper (Plan 4061C) - Interior
- Pullman Underframe Details - Steam Ejector Air Conditioning
Core Kit and sides are designed with strategically placed tabs and slots to compensate for warping.
Cleaning Instructions:
All parts should be cleaned immediately before assembly for best results.
1. Cure in sunlight for a few hours; rotate every half hour or so. Be careful to not let the parts get too hot - the melting point of the wax is 140 F.
2. Soak for at least 30 minutes in Simple Green (Can dilute if desired).
3. Clean with warm (not hot) soapy water to remove the residual Simple Green.
4. Rinse with water, then dip parts in Isopropyl Alcohol to remove residual oils.
Assembly Instructions:
End, Floor, and car sides can be glued together if desired; however, be sure to use a product that won't attack the material. CA or similar should work. The roof can be attached loosely to allow for interior modification.
1. Attach ends to floor - the ends have a dovetail cutout and should slide onto the floor with a very small amount of clearance. If desired, use CA glue to secure the ends to the floor. Attach the sides (next step) before the CA sets.
2. Attach sides to end and floor. The side tabs have a slight friction fit - gently press into place using firm pressure (avoid wiggling). The car sides are fragile, and can be damaged if forced too much.
3. Roof does not need to be glued into place. Use photos to verify roof orientation. Align the slots with the side tabs, push the roof down onto the sides, and slide it into its final position. The roof shouldn't require any pressure like the sides.
4. Interior can be dropped in - be sure to match the open sections to the window pattern. If desired, there's clearance for a 0.010" thick weight between the floor and interior.
5. Prime all parts after assembly - Tamiya Fine Surface Primer works well.
Details
What's in the box:
14-section Tourist (Plan 4061C) - Flat Core
Dimensions:
Success Rate:
First To try.
What's this?
Rating:
Mature audiences only.
