
Tan Fine Detail Plastic


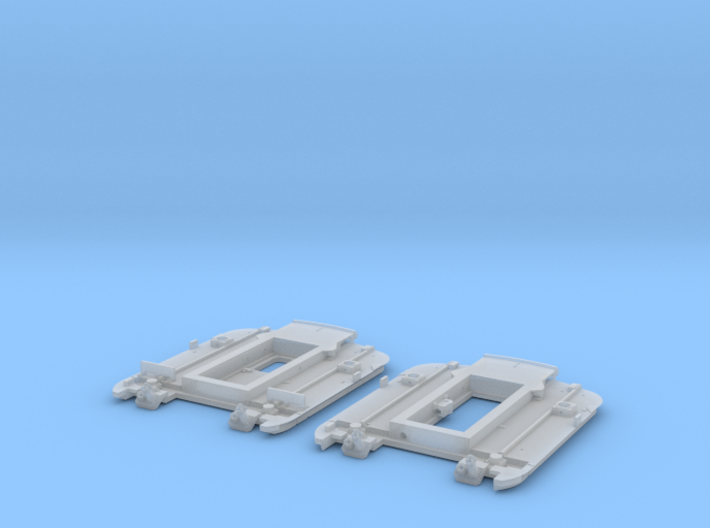
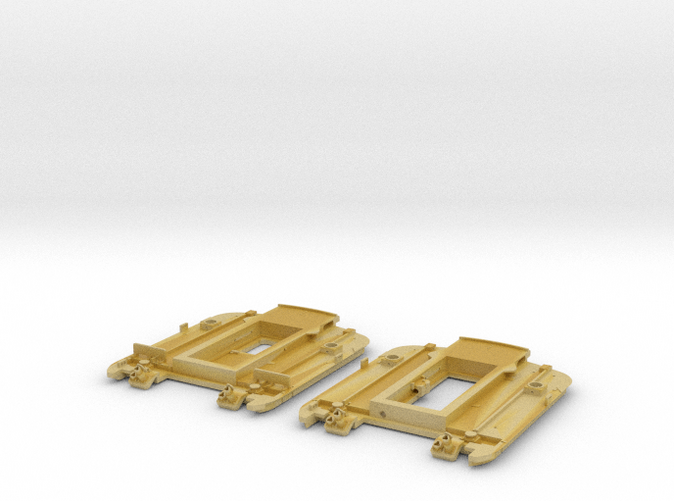
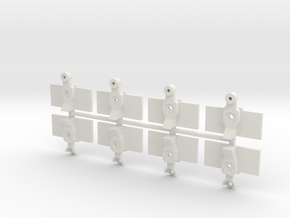
Modernized HEP Ends for Walthers Budd Big Dome
Made by
Print With Shapeways
 Choose Your Material
 Choose your color and finish
$17.00
Have a question about this product?
contact the designerYou must be logged in and verified to contact the designer.
Product Description
This kit is designed to replace the ends of the Walthers Proto Budd Big Dome. It represents the modernized ends used on the BNSF Bay View and ATSF 60 dome cars released as part of the Walthers business train series. The Walthers model has as-built ends and better represents the car as it appeared in the steam-heat era. The ATSF modified the car for their business train with HEP, so the ends and underbody of the car are different from the stock Walthers model.
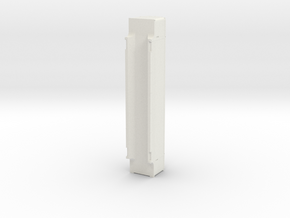
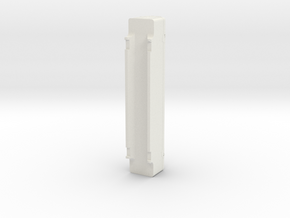
The new ends in this kit feature HEP sockets, marker light housings, and a new diaphgram/doorway area intended for modern tubular diapghrams.
To complete the model, the following additional parts will be needed:
3/32" heat shrink tubing for diaphragm material
.015" wire for grab irons and hand rails
red 2mm tower LEDs
28 gauge craft wire for HEP cables
small styrene strip for brake lever handle
optional brake chain
grey paint - main body color
red paint - HEP sockets on lower bracket
black paint- HEP cable
blue paint - COM socket on end sill
Instructions:
- assemble HEP cables: Cut 1/2" sections of craft wire and glue them into sets of three. Each three-cable bundle should have a triangular cross section.
- Dry-fit the ends to the Walthers model. A slight amount of sanding may be required in the corners.
- Add marker light conduit. There are small holes in the top and bottom of the marker light housing, as well as holes on the end for the conduit wiring.
- Paint ends with a light grey paint. The BNSF car does not have polished stainless steel ends, so there is no need to match the metal plating on the Walthers model
- Install red LEDs in marker light housing
- Remove window from Walthers end and install in the new 3D printed door end.
- Install grab irons and railings. The existing Walthers ends can be used as a reference.
- Add brake chain and a brake lever to the brake mechanism in the open vestibule end.
- Install heat shrink tube for diaphragm.
- Install HEP cables.
- Install on the model. The new printed ends must be glued in place, since they lack the clips used on the Walthers part.
Details
What's in the box:
Bay View Ends HO
Dimensions:
Success Rate:
First To try.
What's this?
Rating:
Mature audiences only.
