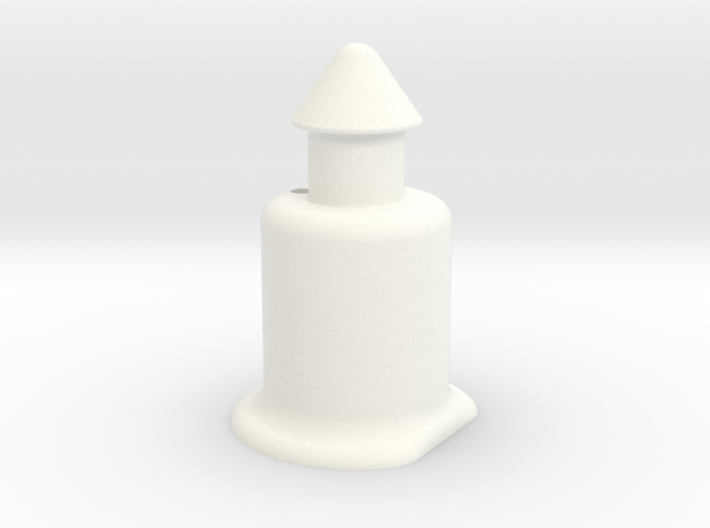

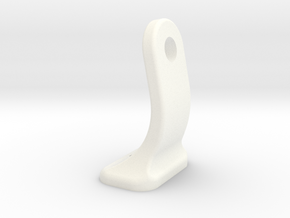
KLR 650 Radiator Shroud Standoff
Made by
Have a question about this product?
contact the designerProduct Description
If you should happen to break or crush the standoff that mounts the radiator shrouds to the gas tank on your 1987-2007 KLR 650, this replacement will glue in place.
THE RIGHT GLUE
Shapeways Strong and Flexible is polyamide-12 (i.e. nylon) and the KLR body panels are polypropylene (i.e. tupperware.) These materials have a “low surface energy” which means they are not easy to glue! If you find an adhesive in the local hardware store that claims to work on “most plastics,” chances are it won’t stick to these materials. Two adhesives that do work are:
1. JB Weld Plastic Bonder might be available at your LHS. (The two-part liquid, not the “Plastic Weld” putty.) I’ve tried this and it’s holding up so far. It has a 15 minute working time.
2. 3M Scotch-Weld DP8005 is reputedly the bee’s knees. You’ll have to order online and it’s quite a bit more expensive (don’t forget the 10:1 plunger, and to make the most of its quite short 3 minute working time you might want the single use 10:1 mixer nozzles and the applicator)
I have also tried the Loctite two part plastic bonding system which claims to work on polypropylene. This is a cyanoacrylate (superglue) with a surface-activator pen. It produces a strong bond if the fitup is very tight, but I found it was too brittle for this application. There is a more flexible version of cyanoacrylate used in medicine (Dermabond is one brand name) which may be worth trying in combination with the surface activator.
INSTALLATION
1. Completely remove the old brackets from the radiator shroud. To shave as close as possible, use a paint scraper blade or sharp wood chisel with a little water for lubrication.
2. Sand away all remnants of the old tabs using coarse (~80 grit) sandpaper.
3. If you have installed a radiator protector, remove it temporarily as well as the radiator screen.
4. Temporarily mount the bracket / standoff(s) to the bike, and hold the shroud cover on top. Use a scribe to mark the outline where the shroud naturally meets the brackets. (I am using a Sharpie in this photo, but this might contaminate the glue joint. Use a scribe to make a scratch mark instead.)
5. Clean both surfaces using denatured alcohol and let dry.
6. If not using a mixer nozzle, squeeze out both parts of the glue onto a piece of cardboard and mix it up with a popsicle stick. “Mix it up until you are sure that is thoroughly mixed, and then mix it that much again.”
[Two part glues have a “working time” which means that the glue must be mixed, applied and the parts put in position before that time expires – after the working time is up, the parts cannot be allowed to move until the glue has cured.]
7. Apply the glue onto the flat surface of the bracket making sure to wet the entire mating surface.
8. Place the bracket down onto the shroud matching it to your scribe lines. Wipe up excess glue but leave a smooth meniscus/fillet around the edge.
9. Let cure for several hours before attempting to re-mount the panel.
Details

