Polished Bronzed-Silver Steel


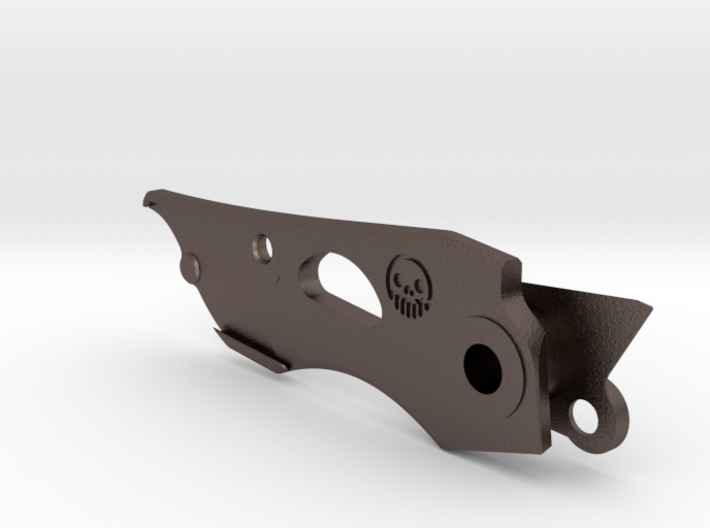
Leatherman Skeletool Mini Utility Knife Blade
Made by
Print With Shapeways
 Choose Your Material
 Choose your color and finish
$40.70
Have a question about this product?
contact the designerYou must be logged in and verified to contact the designer.
Product Description
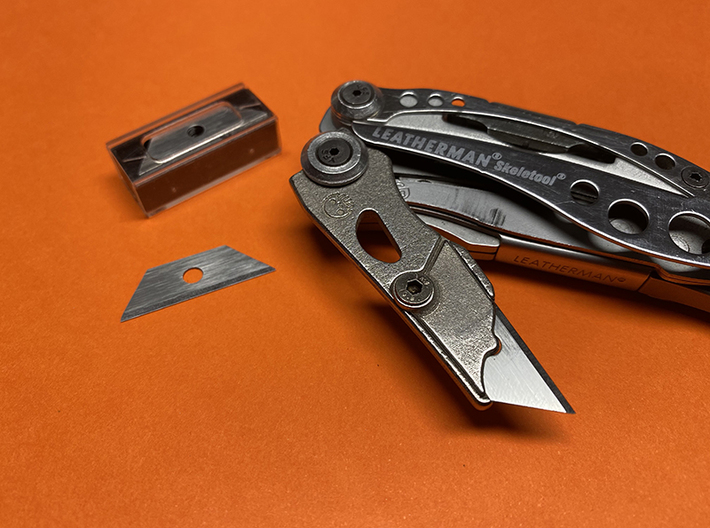
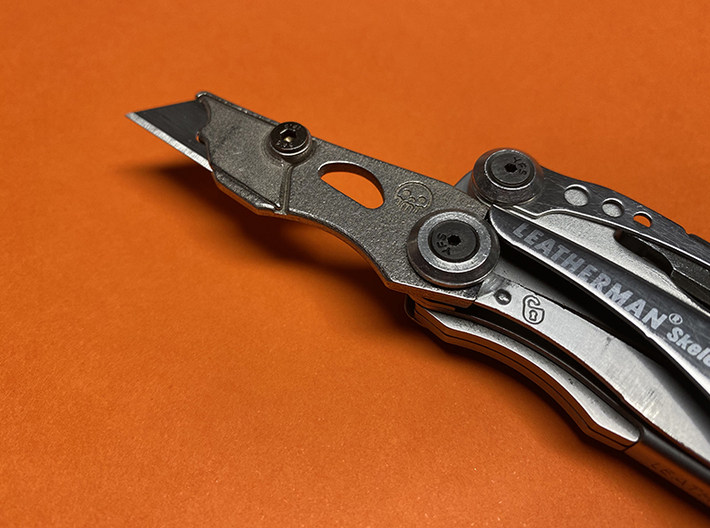
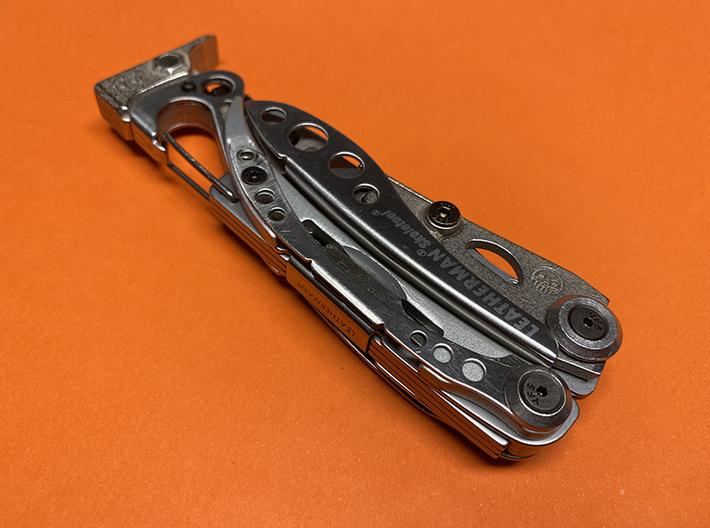
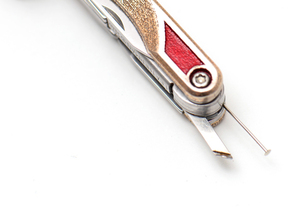
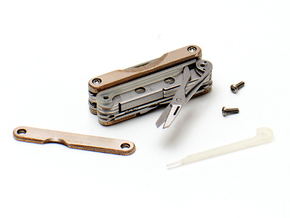
A direct replacement for the Leatherman Skeletool's main blade, this holder is designed for mini utility knife blades with a single hole profile.
This is a DIY project as the part arrives with several steps to complete it.
Difficulty level: 7/10
Assembly notes:
Resources:
10 pack Knife blades Amazon (prime and quickest)
50 pack on Aliexpress (best deal)
Metro Grade Goods Installation Hardware Kit
This is a DIY project as the part arrives with several steps to complete it.
Difficulty level: 7/10
- To complete this Utility Knife Blade holder, you need:
- M3 Tap (or 4-40)
- 5mm long M3 Countersunk screw (or 4-40 equivalent)
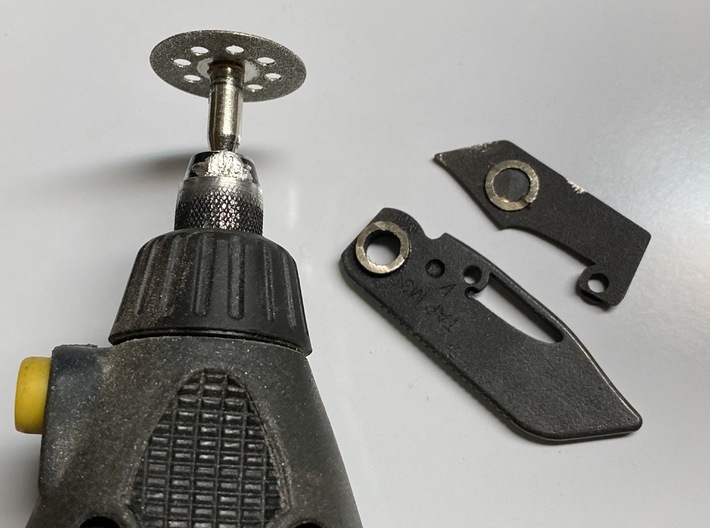
- Rotary tool with a diamond cut off disc
- Extra Fine files Medium to Fine grit sandpaper
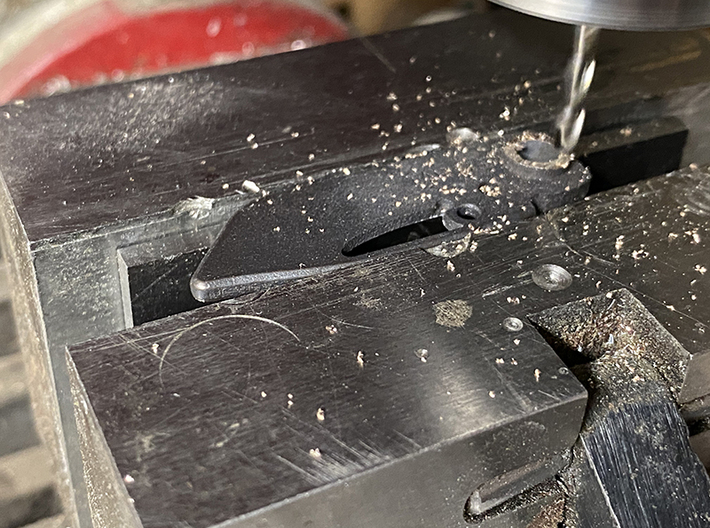
- 6. OPTIONAL: milling machine to mill off remaining tube from separating the parts.
Assembly notes:
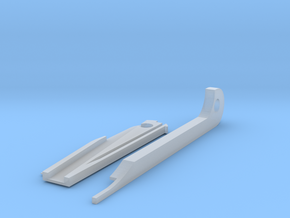
- Using rotary tool and a diamond coated cut off disc, carefully separate the two parts from each other. There is a generous amount of tube so the disc has room to fit and slowly chew through it.
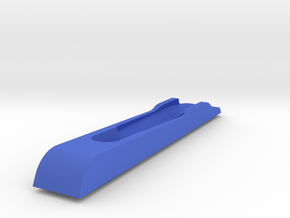
- Using a files, carefully remove most of the tube on the main body of the blade holder leaving a small, thin donut to double as a washer for smooth operation. The blade plate will also need to be filed down, the more flush the better. The plate may arrive slightly warpped due to the polishing process, you may want to straighten this out. ALTERNATIVELY, you can mill off the remaining tube on the main body with a flat end mill on a milling machine.
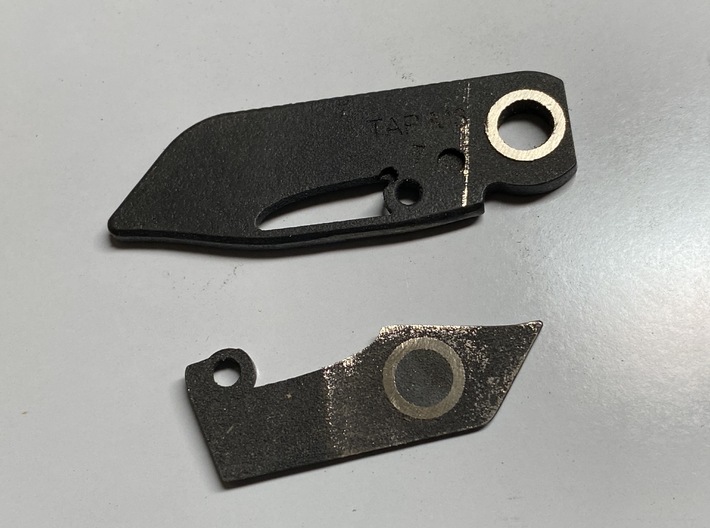
- Drill out the pivot hole to 3/16" diameter and check the pivot screw for clearance.
- Tap the hole marked TAP M3 (or 4-40).
- The contact locking ramp for the liner lock needs to be filed smooth and straight, refer to the Skeletool's blade for reference. This has to be done as carefully and with a few strokes of a fine file as possible, you DO NOT want to file away too much material as the lock up on is different on each and every tool. This is the single most difficult and tendious part of this project.
Resources:
10 pack Knife blades Amazon (prime and quickest)
50 pack on Aliexpress (best deal)
Metro Grade Goods Installation Hardware Kit

Details
What's in the box:
Skeletool Utilityedge Holder (102% Mono Hole)

Dimensions:
Success Rate:
First To try.
What's this?
Rating:
Mature audiences only.
