
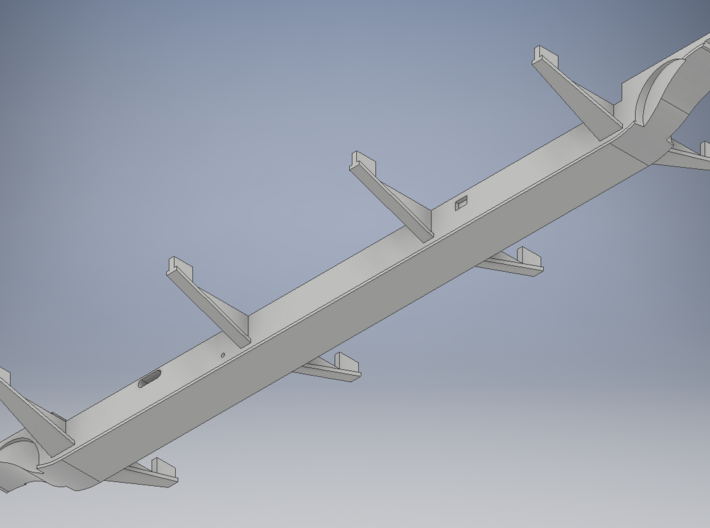
view of deck topside


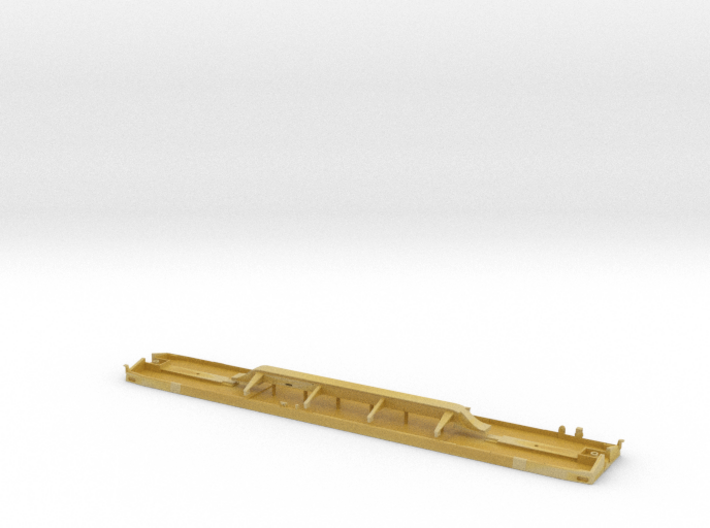
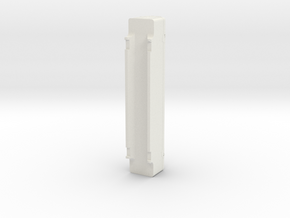
DODX Flatcar - Vehicle Deck and Frame
Made by
Print With Shapeways
 Choose Your Material
 Choose your color and finish
$64.06
Have a question about this product?
contact the designerYou must be logged in and verified to contact the designer.
Product Description
The DODX 68' Flatcar was developed in 1981 to transport the M1 Abrams Main Battle Tank. The cars have a 120 ton capacity and can be seen across the country in unit trains mixed in with other DODX equipment. The cars can carry other heavy equipment, such as M2 Bradley Fighting Vehicles or various armored cars. Four different manufacturers produced these cars: Fruit Growers Express (FGE), Ortner, Thrall, and General Railway Equipment (GRE). This model features straight side sills and was modeled mostly on photos of Ortner cars. Some cars have a top deck which curves down to the side sills. This model does not reflect those cars.
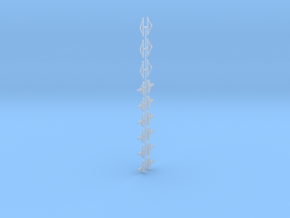
I have not produced the tie-down chains that would be used to secure the vehicles to the deck because those would be better suited to other production methods, not 3D printing.
In order to build a complete model, you will need to purchase:
DODX Flatcar body (this product)
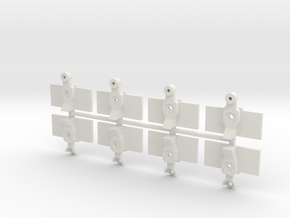
Buckeye Truck and DODX Flatcar Detail kit
1/8" x 1" steel bar (cut to 4" in length to use as weight)
36" wheelsets - x 6 (trucks were designed with Kadees in mind)
.02" brass wire (for brake pipe)
.012" brass wire (for other plumbing)
Eyebolts/lift rings (use as brake pipe hanger)
Small chain (40 links per inch?- for brake gear)
AB brake kit (Tichy Train Group)
Couplers (Kadee scale or standard head)
18" straight and drop type grab irons. (straight on sides, drop type on ends of car)
Corner stirrups (12 scale inch spaced holes provided)
Coupler cut levers
2-56 screws x 4 (for couplers and trucks- use the smallest length you have because the screws could come through the top of the deck if they are too long. 1/8” or 1/4” cut down shorter should work. The depth of the hole, including truck thickness is .195”)
Construction:
I have not produced the tie-down chains that would be used to secure the vehicles to the deck because those would be better suited to other production methods, not 3D printing.
In order to build a complete model, you will need to purchase:
DODX Flatcar body (this product)
Buckeye Truck and DODX Flatcar Detail kit
1/8" x 1" steel bar (cut to 4" in length to use as weight)
36" wheelsets - x 6 (trucks were designed with Kadees in mind)
.02" brass wire (for brake pipe)
.012" brass wire (for other plumbing)
Eyebolts/lift rings (use as brake pipe hanger)
Small chain (40 links per inch?- for brake gear)
AB brake kit (Tichy Train Group)
Couplers (Kadee scale or standard head)
18" straight and drop type grab irons. (straight on sides, drop type on ends of car)
Corner stirrups (12 scale inch spaced holes provided)
Coupler cut levers
2-56 screws x 4 (for couplers and trucks- use the smallest length you have because the screws could come through the top of the deck if they are too long. 1/8” or 1/4” cut down shorter should work. The depth of the hole, including truck thickness is .195”)
Construction:
- Separate the frame from the deck by cutting and sanding down the support wires that connect them.
- Secure weight to underside of car. It should fit in the rectangular depressed area in the middle of the floor.
- Orient the center sill properly- There is a oblong slot toward one end of the sill. It should be on the opposite side of the car as the handbrake equipment (the pulleys printed under the side sill)
- Glue the center sill to the bottom of the car. The steel weight should be encased by the cutout in the cross-braces
- Add brake pipe and eyebolts into small holes on the bottom edge of the side sills. The brake pipe crosses over to the other side of the car through the oblong slot in the center sill.
- Attach brake lever into rectangular depression in side sill. The round peg should rest on the weight. Glue the separate brake pulley to the side sill. There is a rectangular locating pad on the inside edge of the side sill.
- Glue the auxiliary air tank (see listing photo for location) to the steel weight and then add the rest of the AB brake equipment and plumbing.
- Glue the ratchet-type handbrake next to the two molded-in pulleys on the side sill. (see listing photo for location)
- Add chains and brake rod. Chain should wrap around the pulleys and be connected to the brake lever as well as the handbrake. There is a circular depression on the underside of the handbrake to secure the chain with glue. The brake rod should run straight under the side sill and connect the two lengths on chain together.
- Add grab irons and corner stirrups.
- Construct the trucks and install. There are wheel shaped depressions on the sides of the center sill that allow the car to negotiate 22" radius curves, but the larger the radius, the better.
- Paint and decal the car
Details
What's in the box:
DODX Vehicle Deck HO

Dimensions:
Success Rate:
First To try.
What's this?
Rating:
Mature audiences only.