Clear Ultra Fine Detail Plastic


1:8 BTTF DeLorean central console set
Made by
Print With Shapeways
 Choose Your Material
 Choose your color and finish
$10.50
Have a question about this product?
contact the designerYou must be logged in and verified to contact the designer.
Product Description
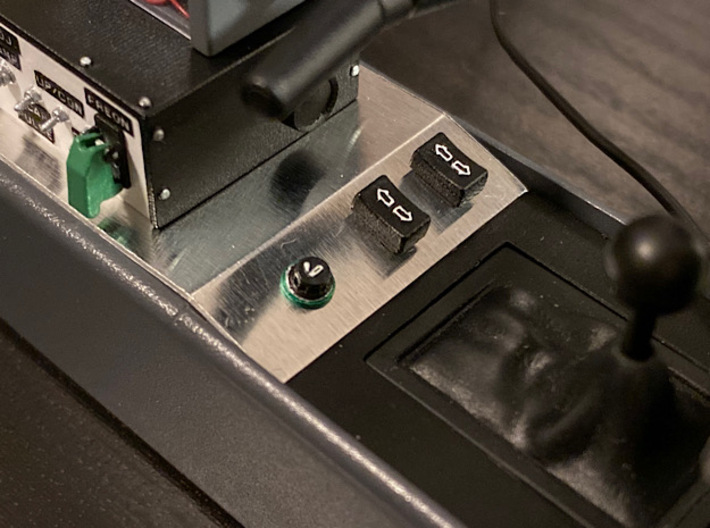
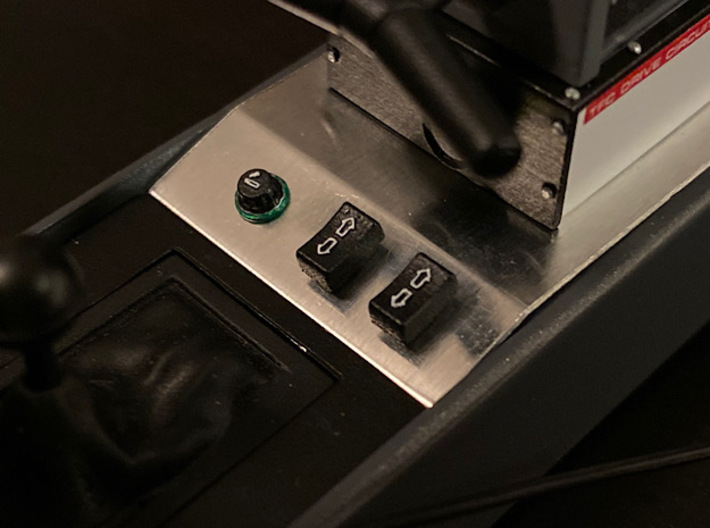
This set was designed in order to give you the possibility to make the central console (part 41A) accurate by adding a metal sheet and apply the window switches on top of that sheet just like in the DeLorean A-car.
What's in this set:
Painting instructions:
Assembly:
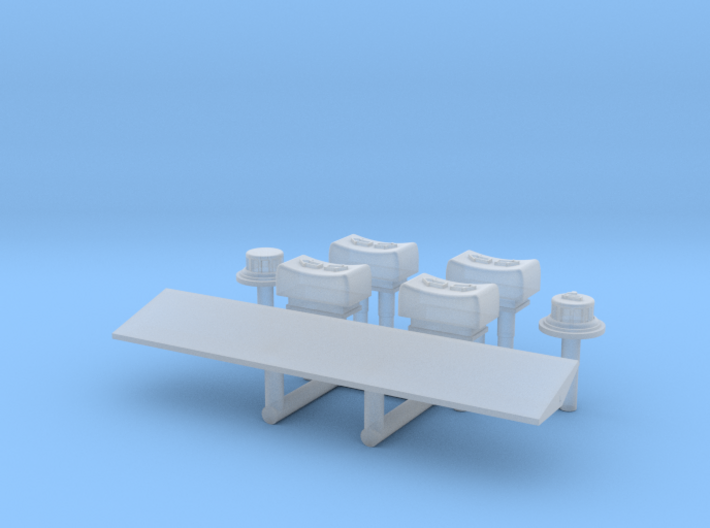
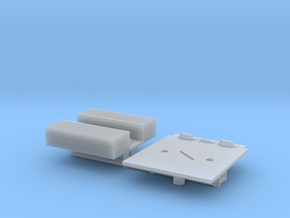
What's in this set:
- 2 window switches and 2 spare ones (for just in case)
- 1 cigarette lighter with cigarette symbol on it
- 1 cigarette lighter without cigarette lighter symbol on it (in mmy research, I found both of them on references of the DeLorean A-car, so choose the one you prefer most)
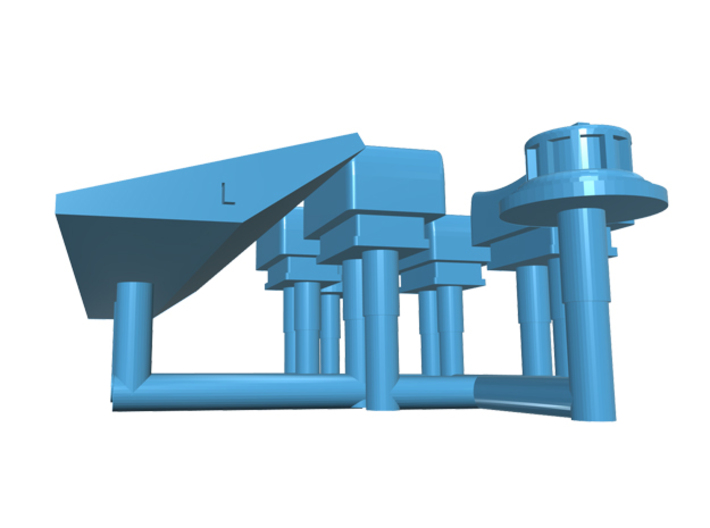
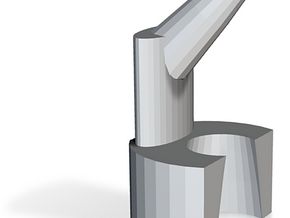
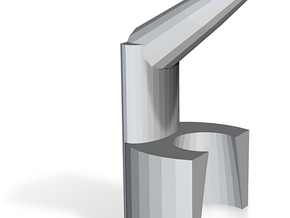
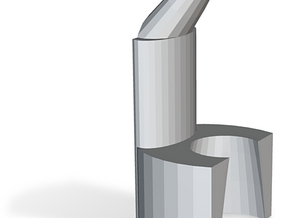
- 1 wedge to support a metal sheet (metal sheet not included)
Painting instructions:
- Wash the parts with cold water and mild soap. Rinse with clean water and leave to dry fully
- Prime the parts (I used Tamiya grey primer)
- Paint the parts with black ( I used Tamiya TS-6 Flat Black)
- Paint the arrows and cigarette symbols by drybrushing with a white paint (I used Vallejo White). If you accidentally touch the black area correct it by painting with black (I used Vallejo Black)
- When ready varnish with satin to protect the paint layers and give the parts a nice finish
Assembly:
- Remove the stock window switches and cigarette lighter with a xuron kife (or a hobby knife).
- The wedge corrects the gap in front creating a slope to support the metal sheet. Place the edge in place (there's an L indentation on the left side of the wedge, so that you know which side goes where), fill with putty until you have a nice slope. Paint this area or at least only the ends with the same color as the cntral console (I painted mine with Tamiya XF-24 Dark Grey) so that you don't see any unppainted material below the metal sheet
- Use the template available in the files section of my Facebook group https://www.facebook.com/groups/3DynamicsDesigns (or send me an email) to make the holes in the exact place needed for the window switches
- Put a small drop of glue in the holes that you made in the previous step and insert the window switches and the cigarette lighter
Details
What's in the box:
Buttons lighter wedge revK

Dimensions:
Success Rate:
First To try.
What's this?
Rating:
Mature audiences only.
