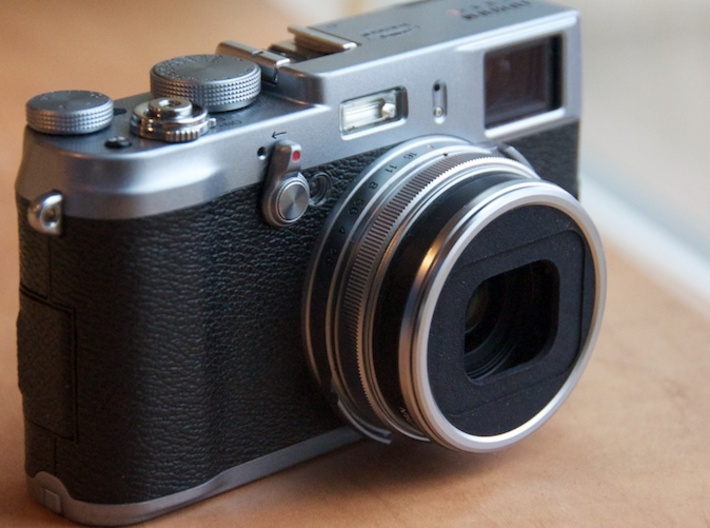
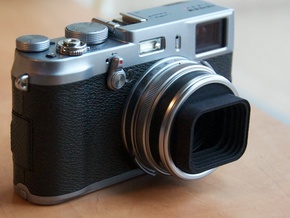
Attached to camera


X100s Minimal Hood
Made by
Print With Shapeways
 Choose Your Material
 Choose your color and finish
$14.70
Have a question about this product?
contact the designerYou must be logged in and verified to contact the designer.
Product Description
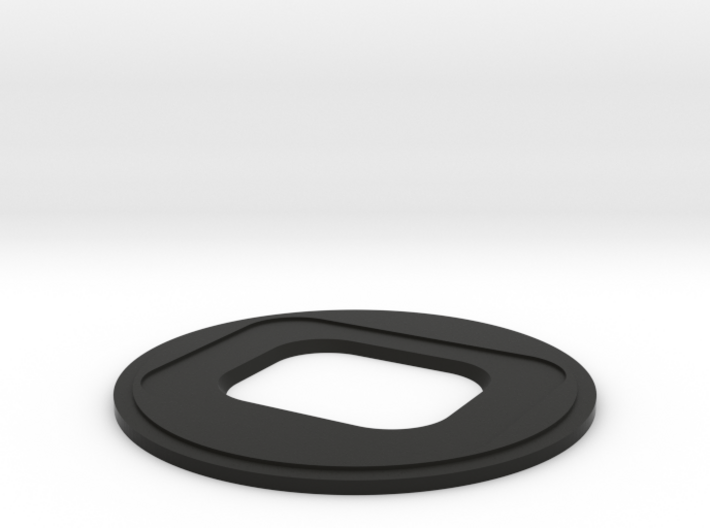
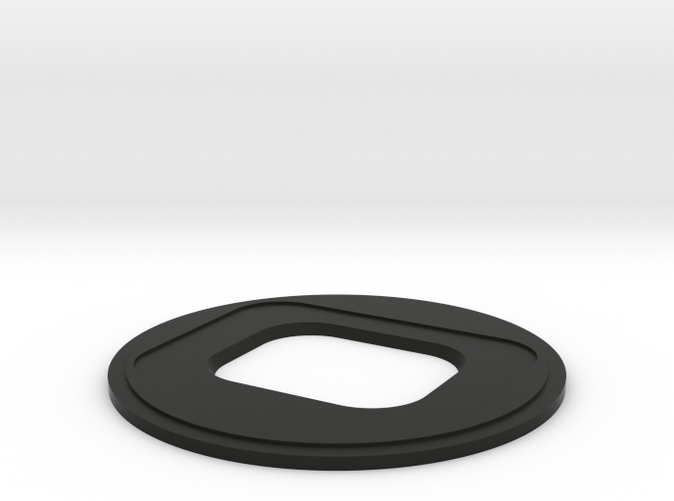
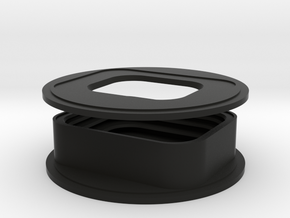
Provides good shading of lens and does not vignette but has the smallest possible opening to help avoid accidental finger contact with lens. Small enough to leave on all the time. Camera will still fit inside many cases.
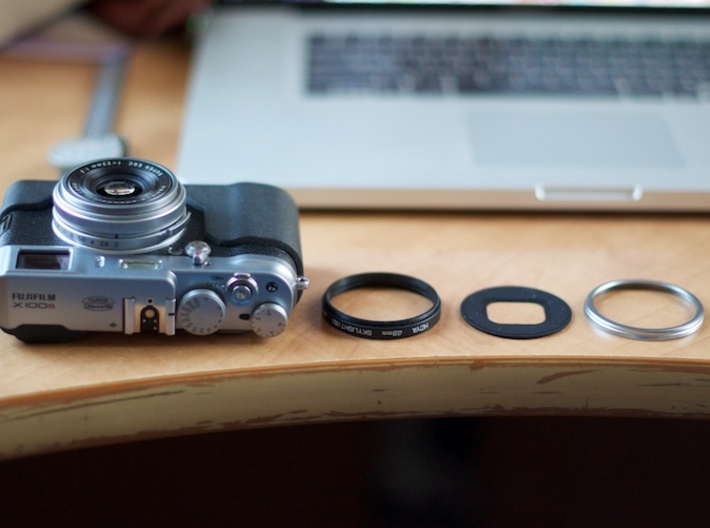
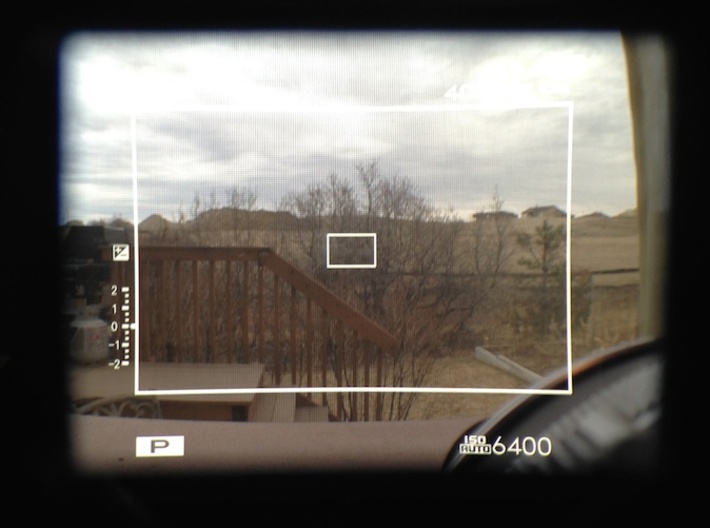
Does not work with a cap. Does not interfere with OVF (See photo). Requires a 49 mm empty filter ring to use as a spacer! Failure to use a spacer WILL cause the x100 lens assembly to collide with the hood and may DAMAGE THE CAMERA. Never put the hood on without the spacer. Never put a filter ring with glass in it directly on the camera. Empty filter rings only! Simple order of assembly: Camera->Empty Filter Ring->Hood->Original Trim Ring.
Does not work with a cap. Does not interfere with OVF (See photo). Requires a 49 mm empty filter ring to use as a spacer! Failure to use a spacer WILL cause the x100 lens assembly to collide with the hood and may DAMAGE THE CAMERA. Never put the hood on without the spacer. Never put a filter ring with glass in it directly on the camera. Empty filter rings only! Simple order of assembly: Camera->Empty Filter Ring->Hood->Original Trim Ring.
- Buy an empty filter ring (search for "49mm Empty Filter Ring (Non-Rotation)" like this one: http://www.camera-filters.com/index.php?main_page=product_info&cPath=592&products_id=7664
- Thread the empty filter ring (spacer) on the x100.
- Switch to manual focus.
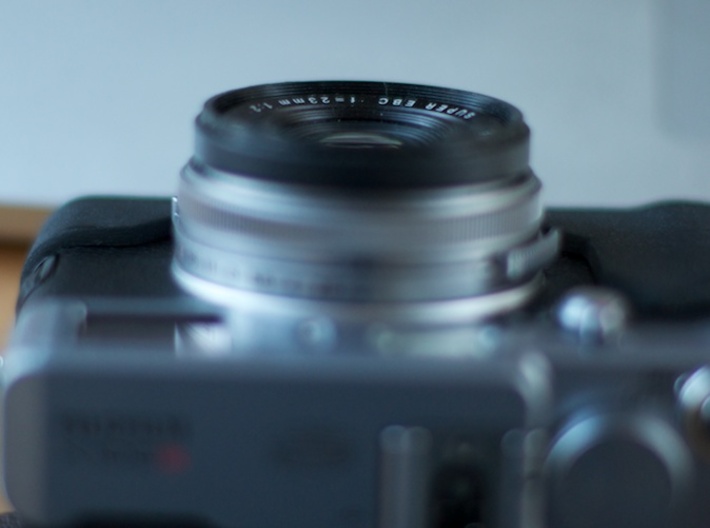
- Turn the focus so the lens is as far out as possible (focused full macro).
- VERIFY THAT LENS DOES NOT GO PAST THE END OF THE SPACER. IF IT DOES YOUR SPACER IS TOO SHORT. GO BACK TO STEP 1. Repeat steps 4 and 5 to make sure that the lens is really as far out as it goes and that the hood isn't going to hit it when you put it on the spacer.
- Gently place the Hood on the spacer.
- MAKE SURE THE HOOD ISN'T TOUCHING THE LENS.
- Add the trim ring to hold the hood in place
Details
What's in the box:
X100s Minimal Hood
Dimensions:
Success Rate:
First To try.
What's this?
Rating:
Mature audiences only.
