
Polished Bronze


Microcosm M5 Axle Pump Cam/Collar Upgrade - Part 1
Made by
Print With Shapeways
 Choose Your Material
 Choose your color and finish
$39.63
Have a question about this product?
contact the designerYou must be logged in and verified to contact the designer.
Product Description
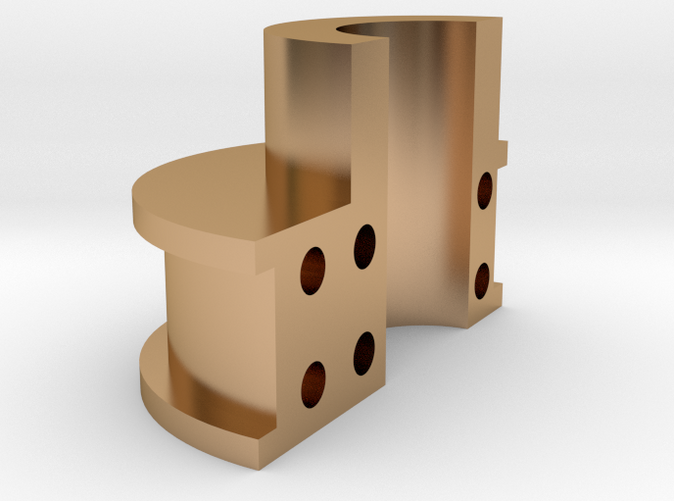
This is Part One of a three part set to upgrade the M5 axle water pump cam and collar available on eBay from Microcosm in China. You will need to buy all three prints to get the parts needed to upgrade one Microcosm axle water pump.
Part 2 Link
Part 3 Link
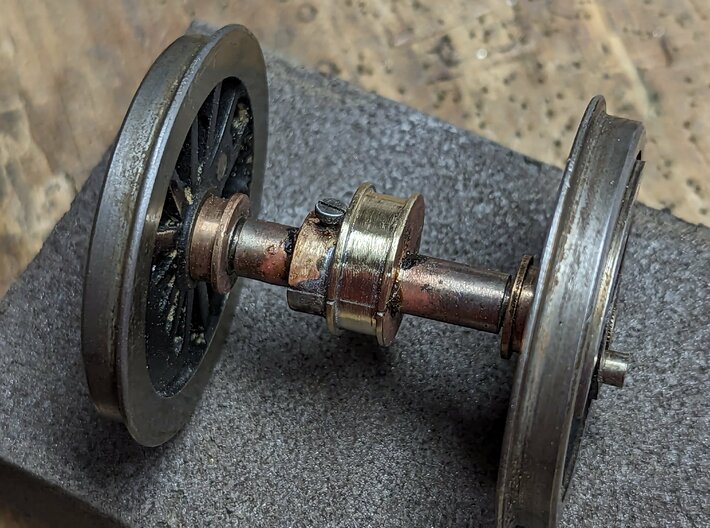
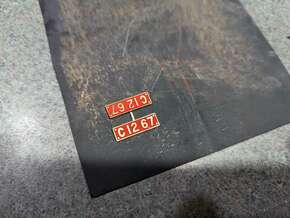
This part is designed for use on 7mm diameter axles like those found on the older Aster live steam locomotives (JNR Mogul, JNR C12, etc) and is a two-part design for both the cam and collar so that dissasembly of the locomotive axle is not necessary.
THE PREFERRED MATERIAL IS POLISHED BRASS! This is the material the cam and collar have been tested in, order all other materials at your own risk of fitment and/or performance issues.
Axle Pump Cam and Collar Set Assembly Notes:
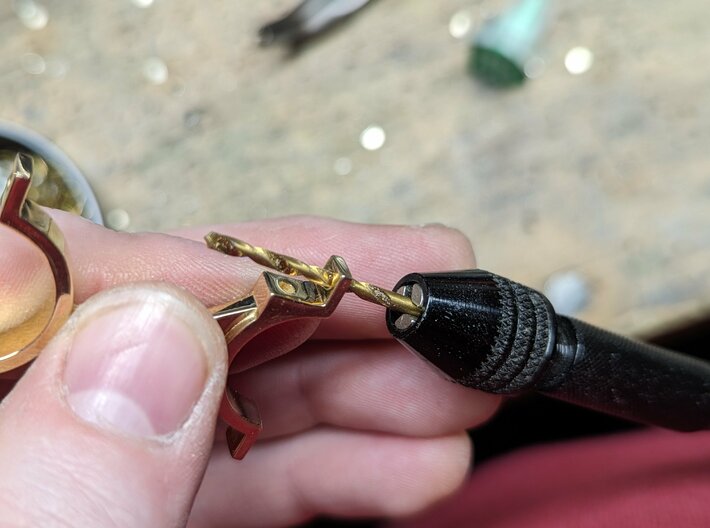
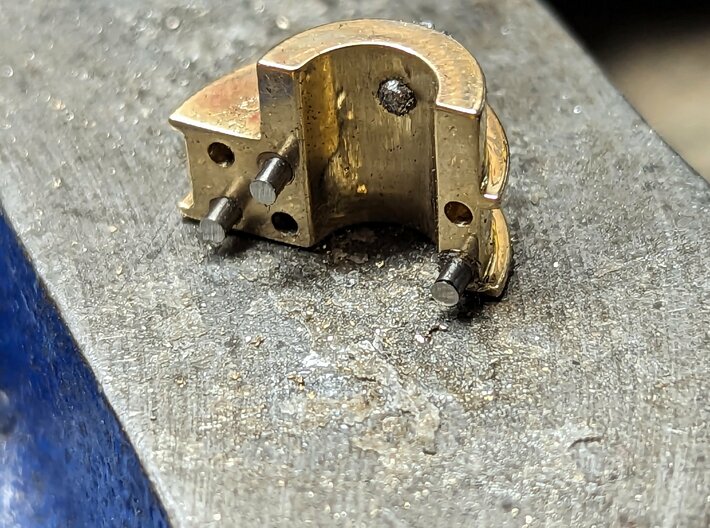
Registration Holes - There are six holes on both of the inside mating surfaces on the cams, you may use a 1.5mm drill bit and 1.5mm brass or steel rod to use as locating pins so that the two halfs of the cam are easier to get mated together around the axle. Using six rods is usually overkill, I suggest using three of the holes: one of each end and one in the middle.
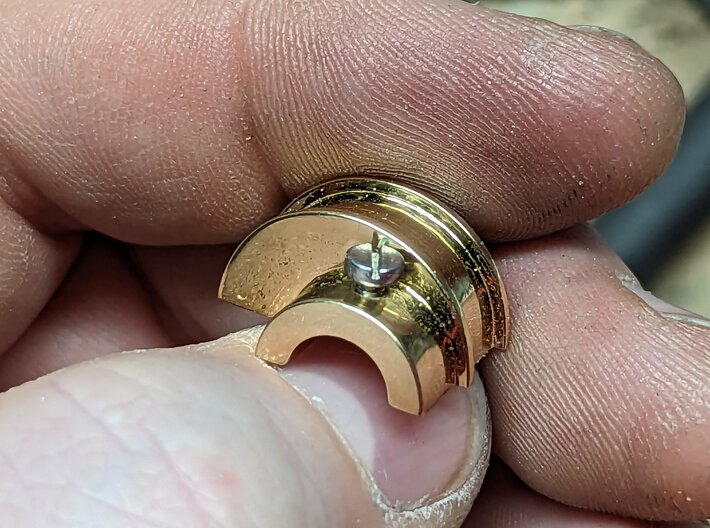
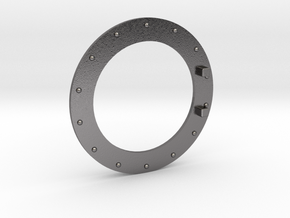
Oiling Cup Mortise: On one of the two-piece collar parts there is an embedded mortise that will fit the oiling cup tennon that comes with the stock Microcosm axle pump. To prevent issues with wax printing and casting, the oil feed hole is not present on the model. You will need to drill a hole from the bottom of the oil cup mortise into the center of the collar so that oil can travel through and into the gap between the cam and collar.
Soldering Required - Once the two cam halves are pressed together around the axle in the correct location for where you have the axle pump installed in the loco frame, you will need to solder the two cam halves together and to the axle. Silver bearing solder is reccomended.
Clean up Required - After soldering, clean up the solder with files and very fine grit sand paper (800+). It is essential to get the inside track where the collar will rotate around nice and smooth with no solder bumps or uneven surfaces.
Part 2 Link
Part 3 Link
This part is designed for use on 7mm diameter axles like those found on the older Aster live steam locomotives (JNR Mogul, JNR C12, etc) and is a two-part design for both the cam and collar so that dissasembly of the locomotive axle is not necessary.
THE PREFERRED MATERIAL IS POLISHED BRASS! This is the material the cam and collar have been tested in, order all other materials at your own risk of fitment and/or performance issues.
Axle Pump Cam and Collar Set Assembly Notes:
Registration Holes - There are six holes on both of the inside mating surfaces on the cams, you may use a 1.5mm drill bit and 1.5mm brass or steel rod to use as locating pins so that the two halfs of the cam are easier to get mated together around the axle. Using six rods is usually overkill, I suggest using three of the holes: one of each end and one in the middle.
Oiling Cup Mortise: On one of the two-piece collar parts there is an embedded mortise that will fit the oiling cup tennon that comes with the stock Microcosm axle pump. To prevent issues with wax printing and casting, the oil feed hole is not present on the model. You will need to drill a hole from the bottom of the oil cup mortise into the center of the collar so that oil can travel through and into the gap between the cam and collar.
Soldering Required - Once the two cam halves are pressed together around the axle in the correct location for where you have the axle pump installed in the loco frame, you will need to solder the two cam halves together and to the axle. Silver bearing solder is reccomended.
Clean up Required - After soldering, clean up the solder with files and very fine grit sand paper (800+). It is essential to get the inside track where the collar will rotate around nice and smooth with no solder bumps or uneven surfaces.
Details
What's in the box:
JNR Axle Pump Cam Larger Holes Pt1
Dimensions:
Success Rate:
First To try.
What's this?
Rating:
Mature audiences only.
