White Natural Versatile Plastic


Piezo Hotend z-probe for e3d v6 + Magnetic Delta P
Made by
Print With Shapeways
 Choose Your Material
 Choose your color and finish
$38.73
Have a question about this product?
contact the designerYou must be logged in and verified to contact the designer.
Product Description
Introduction
Here is the end result of a lot of hard work by a whole list of people: LeadingLights, DJDemonD, Moriquendi and Huntley. We just put the finishing touches to the design. So for the full description, check out DJDemonD's page.
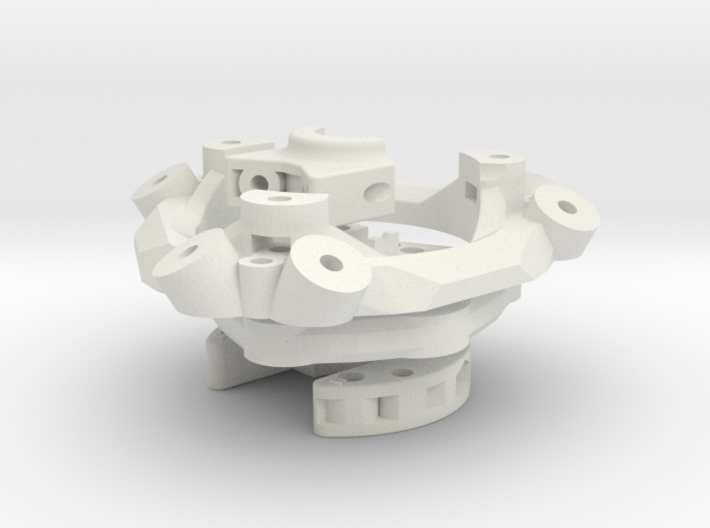
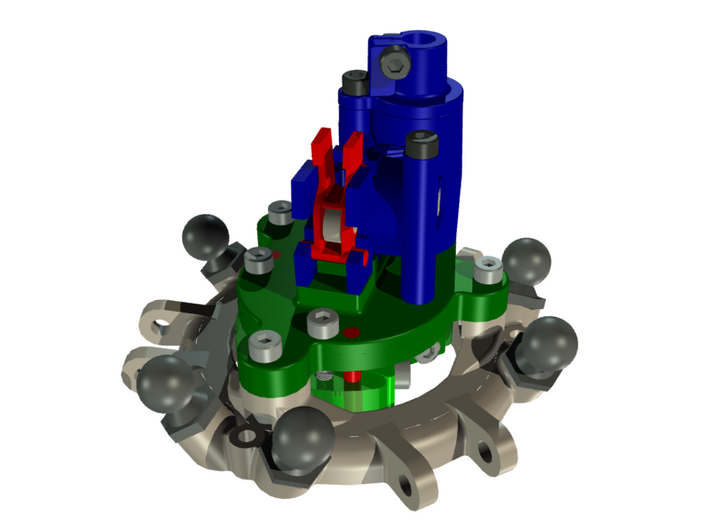
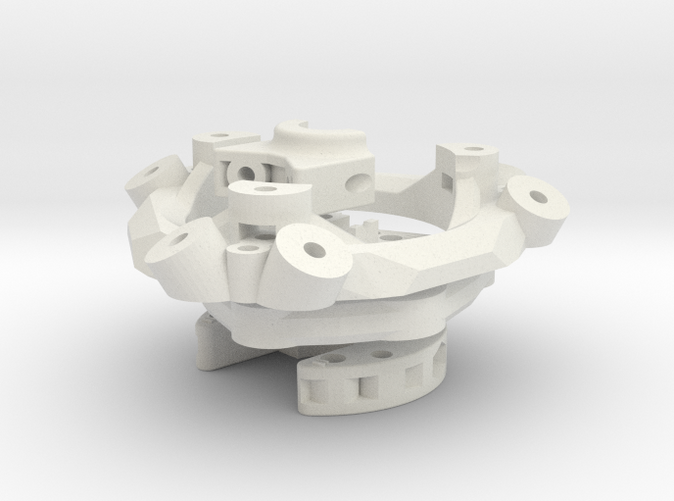
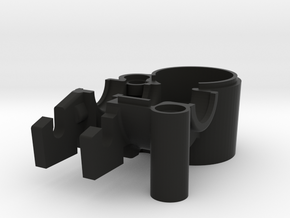
This is an effector with an integrated calibration sensor. The effector is designed to use Huntley's magnetic joints. The calibration sensor is a peizoelectric sensor mounting on top of the hot end. It senses when the nozzle touches the print surface and this can be registered and used for calibrating the print bed.
Building it
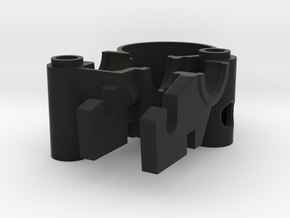
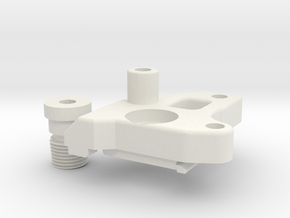
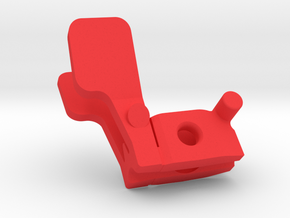
Make sure the holes for the bolts and for the pins are sized correctly. the screws should pass though the holes freely, the pins should be press fit into the Mount base and slide in the Clamp.
Here is a list of all the needed nuts and bolts:
All nuts and bolts are M3 and it is best to use cap screws.
You will probably need to widen the holes in the clamp for the pins. This will take a little bit of careful adjustments to get the pins sliding properly but not with too much play. As said before, make sure they fit tightly into the Mount base.
Using it with the Nimble
If fitting the Nimble. The 2 screws mounting the Nimble need to be modified, so they do not touch the peizo sensor when it is installed.
If you are not using the Nimble (yet) you can enlarge the hole a little to make the bowden tube easier to slide through. But remember to print the Mount bases again if you are going to use the Nimble.
The Nimble Extruder
With an installed weight of less than 27 grams on your carriage/effector the Zesty Nimble is smallest and lightest extruder you can buy, it has ample torque and can be mounted in multiple orientations.
The Nimble is available from Zesty Technology.
Here is the end result of a lot of hard work by a whole list of people: LeadingLights, DJDemonD, Moriquendi and Huntley. We just put the finishing touches to the design. So for the full description, check out DJDemonD's page.
This is an effector with an integrated calibration sensor. The effector is designed to use Huntley's magnetic joints. The calibration sensor is a peizoelectric sensor mounting on top of the hot end. It senses when the nozzle touches the print surface and this can be registered and used for calibrating the print bed.
Building it
Make sure the holes for the bolts and for the pins are sized correctly. the screws should pass though the holes freely, the pins should be press fit into the Mount base and slide in the Clamp.
Here is a list of all the needed nuts and bolts:
All nuts and bolts are M3 and it is best to use cap screws.
- 3 x 14 mm to fix base to effector
- 3 x 20 mm to mount clamp tight to base
- 2 x 20 mm to close the clamp on the hot end
- 10 nuts M3 (if also mounting the Nimble, otherwise 8 is enough)
You will probably need to widen the holes in the clamp for the pins. This will take a little bit of careful adjustments to get the pins sliding properly but not with too much play. As said before, make sure they fit tightly into the Mount base.
Using it with the Nimble
If fitting the Nimble. The 2 screws mounting the Nimble need to be modified, so they do not touch the peizo sensor when it is installed.
- 1 x 33 mm long,
this screw needs to be shortened a bit from the standard 35 mm supplied with the Nimble - 1 x 36 mm long,
this screw needs to be shortened a bit from a standard 40 mm screw
If you are not using the Nimble (yet) you can enlarge the hole a little to make the bowden tube easier to slide through. But remember to print the Mount bases again if you are going to use the Nimble.
The Nimble Extruder
With an installed weight of less than 27 grams on your carriage/effector the Zesty Nimble is smallest and lightest extruder you can buy, it has ample torque and can be mounted in multiple orientations.
The Nimble is available from Zesty Technology.
Details
What's in the box:
Peizo sensor effector
Dimensions:
Success Rate:
First To try.
What's this?
Rating:
Mature audiences only.

More From This Shop
$15.79
$15.80
$17.70
$16.00