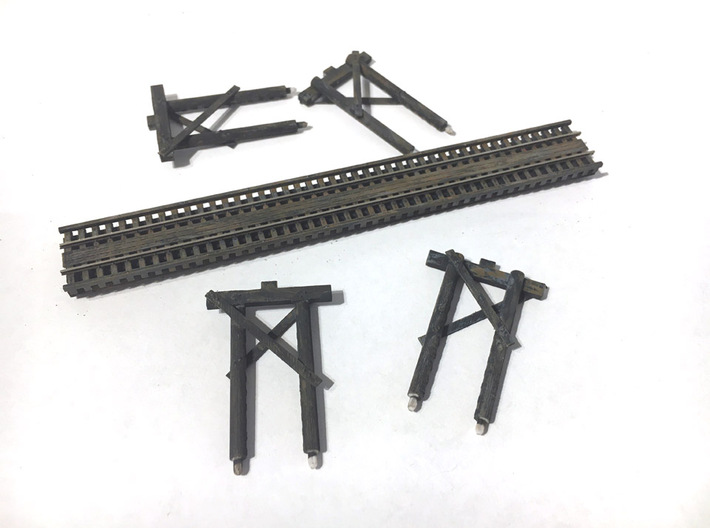
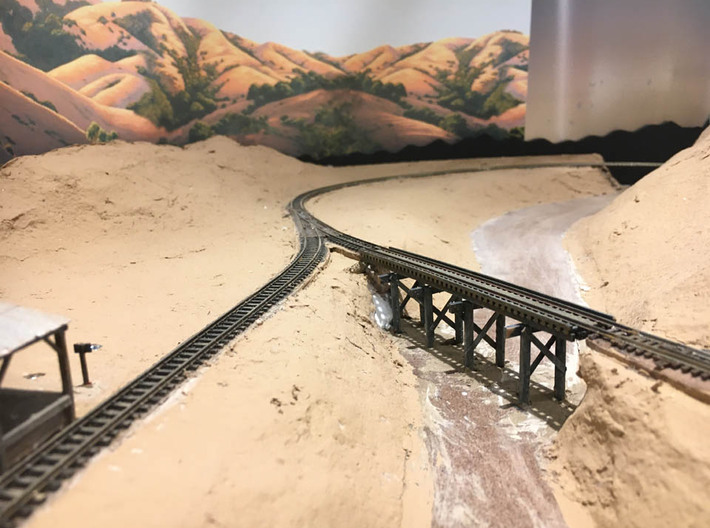
Installed bridge deck and four trestle bents.


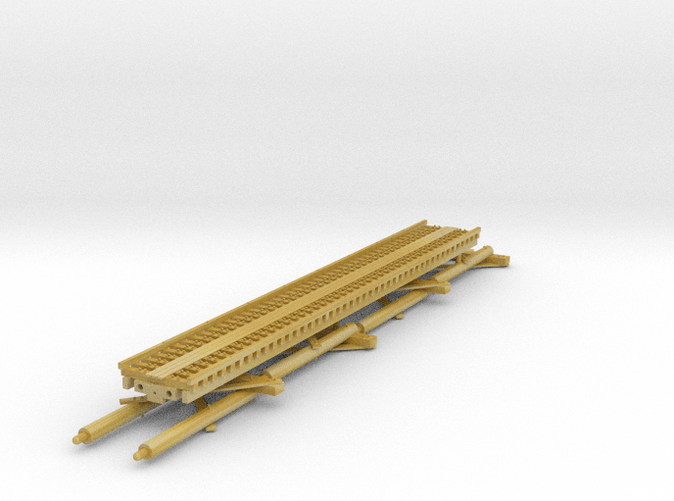
Nn3 Low Trestle Bridge Parts
Made by
Print With Shapeways
 Choose Your Material
 Choose your color and finish
$39.04
Have a question about this product?
contact the designerYou must be logged in and verified to contact the designer.
Product Description
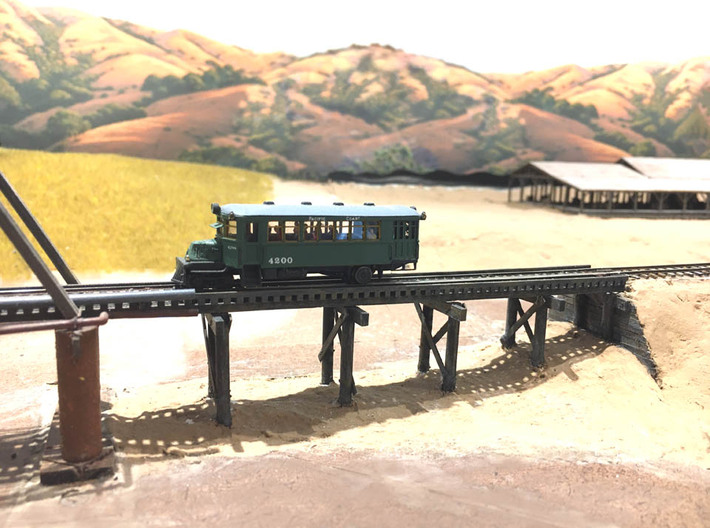
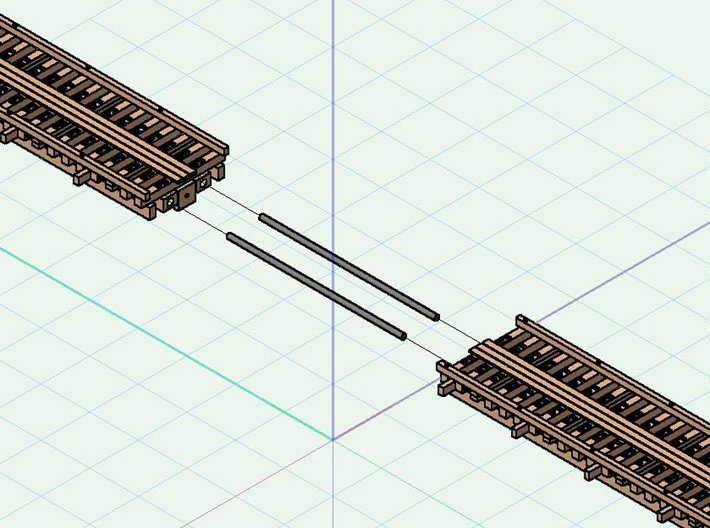
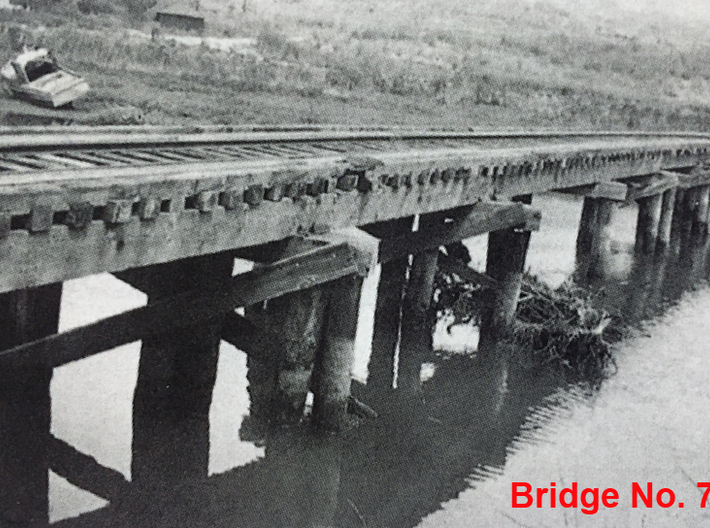
Bridge deck and four trestle bents for Nn3 (6.5mm gauge). Based on bridges 6 and 7 which ran across the wetlands at Avila on the Pacific Coast Railway. The deck is 5-1/8” long (68’-4” in N scale) and has holes in the stringers so adjacent sections can be aligned and connected with wire rods (not included). Designed so Code 40 or Code 55 rail can be inserted under spike heads. It is important to sharpen and “point” the bottom flanges of rail before sliding them slowly into the printed spike heads. Even so, some will be broken so it is advisable to add a few small drops of CA glue to the base of the rail after inserting it. This can be done from the bottom between the ties. Can also be used for Z scale. (Trestle supports-55-200927)
GENERAL NOTE: These kits and parts noted as consisting of 3D printed plastic are NOT as strong or flexible as the “engineering” plastics many of you will be used to in railway models, nor even as strong as conventional injection molded styrene. HANDLE THE PARTS CAREFULLY TO AVOID BREAKAGE. Wash the parts in isopropyl alcohol aided by a soft brush. Very thin parts of the kit can be strengthened by applying very small droplets of CA adhesive with the tip of a pin or needle to the back of the thin area after the parts dry.
GENERAL NOTE: These kits and parts noted as consisting of 3D printed plastic are NOT as strong or flexible as the “engineering” plastics many of you will be used to in railway models, nor even as strong as conventional injection molded styrene. HANDLE THE PARTS CAREFULLY TO AVOID BREAKAGE. Wash the parts in isopropyl alcohol aided by a soft brush. Very thin parts of the kit can be strengthened by applying very small droplets of CA adhesive with the tip of a pin or needle to the back of the thin area after the parts dry.
Details
What's in the box:
Trestle supports-55-200927
Dimensions:
Success Rate:
First To try.
What's this?
Rating:
Mature audiences only.