White Smooth Versatile Plastic

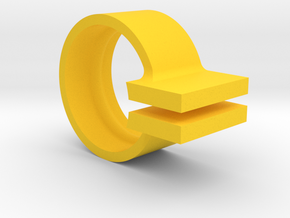
Dodge Jeep window regulator fix
Made by
Print With Shapeways
 Choose Your Material
 Choose your color and finish
$13.00
Have a question about this product?
contact the designerYou must be logged in and verified to contact the designer.
Product Description
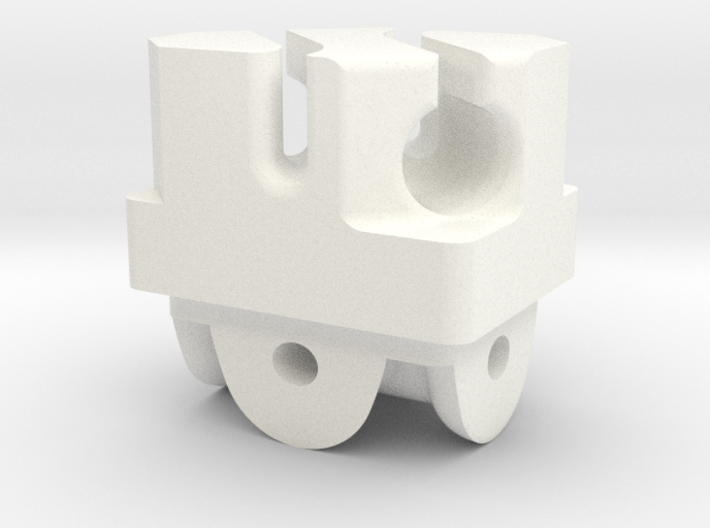
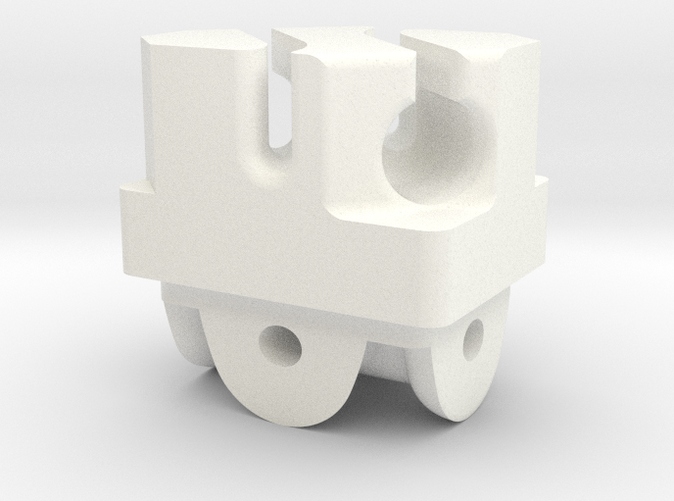
This is a replacement piece where the cables attach to the regulator. It's much strong and lasts a lot long from my personal experience. I've had piece that are still going strong 7 years later. Here are the steps to remove the old one, remove some material on the regulator for fitment, and install it. Let me know if you have any questions.
1. Remove the window regulator from the car(lots of good videos online). Biggest thing is get picture of the orientations of the motor, regulator, and track to prevent assembling it backwards (personal experience).
2. Remove the regulator (the silver metal piece that slides up and down) from the track (you'll have to remove the top half circle piece. If that is broken or breaks, you can use a small screw with a washer when reinstalling it or at least that's what I've done. I ended up having to drill my out a little for the screw to fit. Make sure the regulator isn’t going to hit it and it shouldn’t stick out too far from the backside but you can always fit check it)
3. Remove the plastic piece that is molded into place. You may have to get a little creative but it isn't too bad. I've used two sockets and a vice to get it out before. the small socket pushes it through and the larger socket should be bigger than the plastic piece to hold the plate.
4. Once the plastic piece is out, you will need something like a hacksaw or carbide bit to remove the extra edges that interfere with the fitment of the piece. It will be rectangular when you are done.
5. Next you will need a suitable cotter pin to secure the part in place. Hardware stores like Home Depot carry them. You want the fit to be snug and for the pin to go through plus a little so you can bend it so it won’t come out.
6. Now that the regulator is done, you can prepare the rest of it.
7. You probably need to remove the spool cover (3 bolts) on the motor because that usually gets bound up because of the slack.
8. Once the spool is rewound and placed back in the cover, reinstall the spool cover on the motor if you haven’t already.
9. Now you are ready to put it all back together. Lay out the track and orient the up direction away from you if that works best. Next sit the motor and regulator next to it in the proper direction as well. Attach the cables to the new plastic piece and you can slide the regulator back in the track.
10. Run the cable through the circular pulley (not the half circle).
11. Now for the hard part! You can try installing that half circle and run the other cable over It or running the cable over the half circle then installing it. Make sure the plastic cable covers don’t have any slack in them because the springs are hard enough to keep compressed while you do this.
12. The window regulator is now ready to be reinstalled. I would recommend plugging it in and running it and down a few times to makes sure there aren’t any issues that you can see at that point.
13. If that checks good you can finish installing it and test it a few more times.

Details
What's in the box:
jeep window regulator-h2 simplified
Dimensions:
Success Rate:
First To try.
What's this?
Rating:
Mature audiences only.
