Easy to twist, bend, flex, and install.


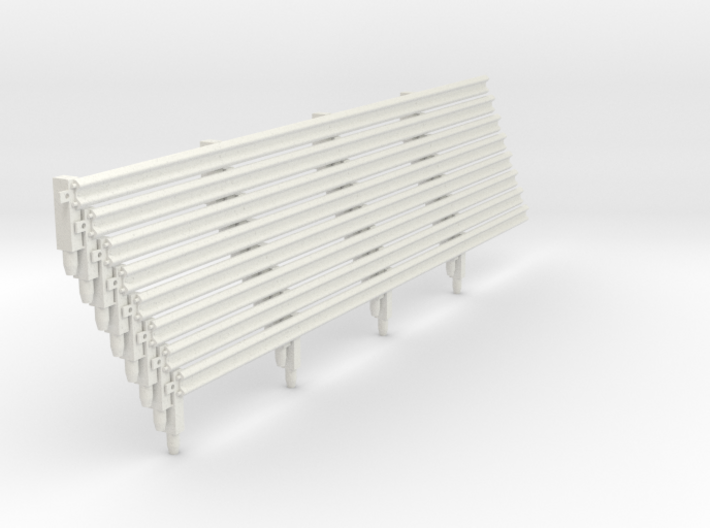
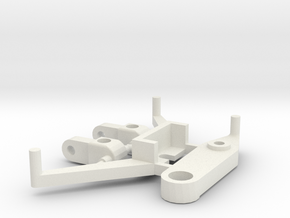
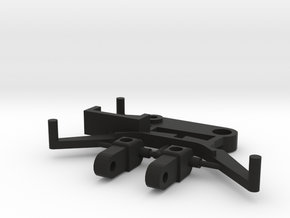
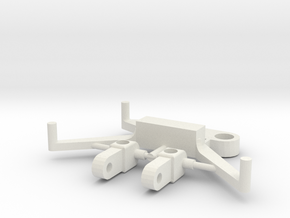
Armco Rail on 4 Wooden Posts, 8pcs
Made by
Print With Shapeways
 Choose Your Material
 Choose your color and finish
$58.65
Have a question about this product?
contact the designerYou must be logged in and verified to contact the designer.
Product Description
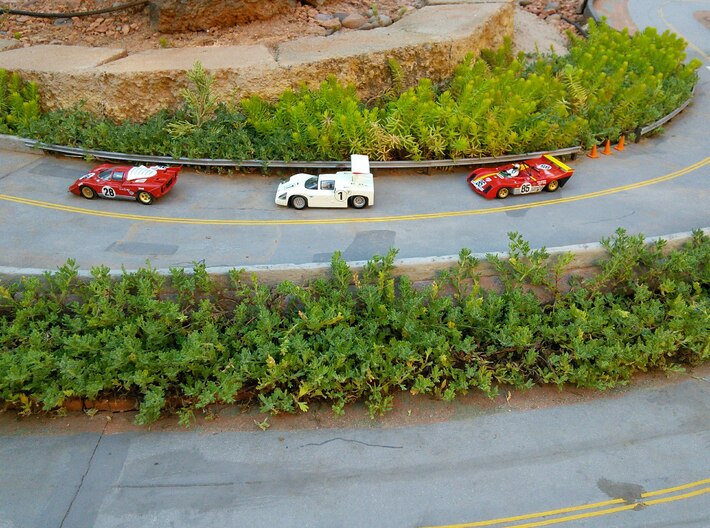
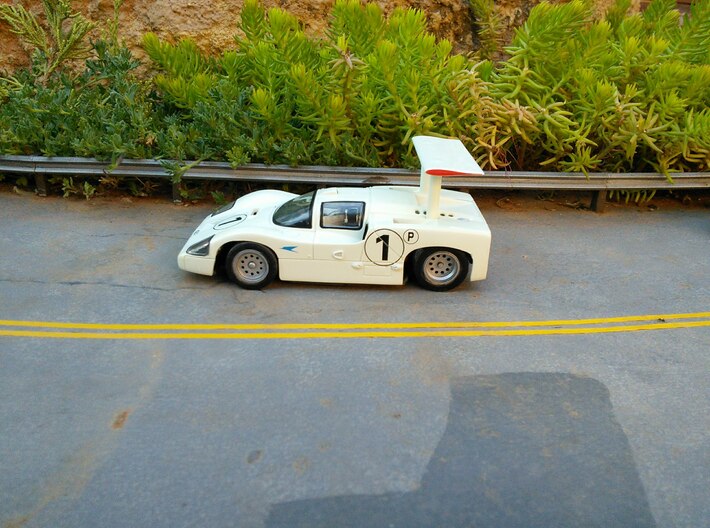
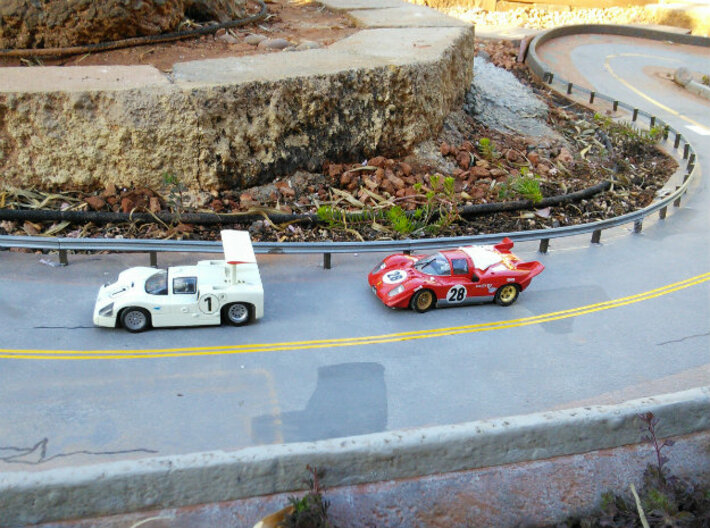
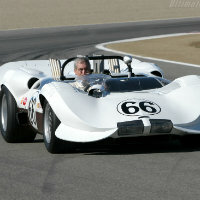
- Make your model road course or race track look like the real thing.
- Most accurate 1/32 scale replica of Armco guardrail available.
- Design based on extensive research in the field and online.
- Guardrail looks great and is effective at keeping cars corralled.
- Design is typical of guardrails installed on secondary roads in U.S. from 1940 to 2000, W-beam steel guardrail mounted on wooden posts.
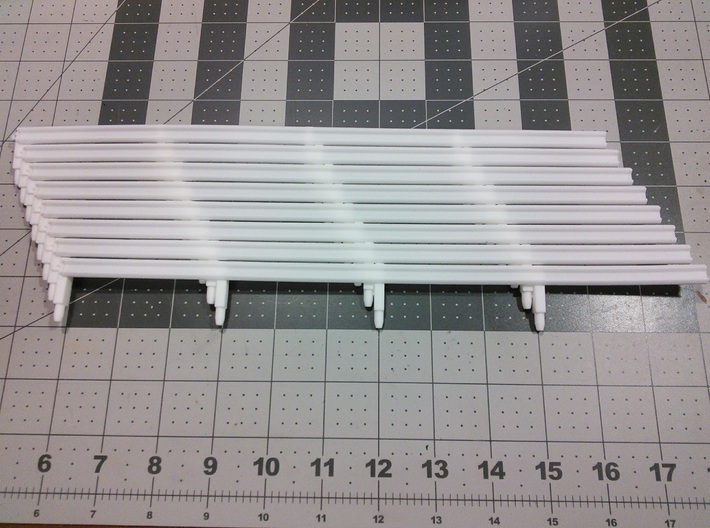
- At 1/32 scale, posts are 28"- 29” tall. Rail is 12” wide.
- Includes 8 pieces, each with 12" of rail connected to four posts.
- Pieces are easily glued together into multiples of 12”. Four pieces can be connected to make one smooth flexible rail 48” long, (128’ at 1/32 scale).
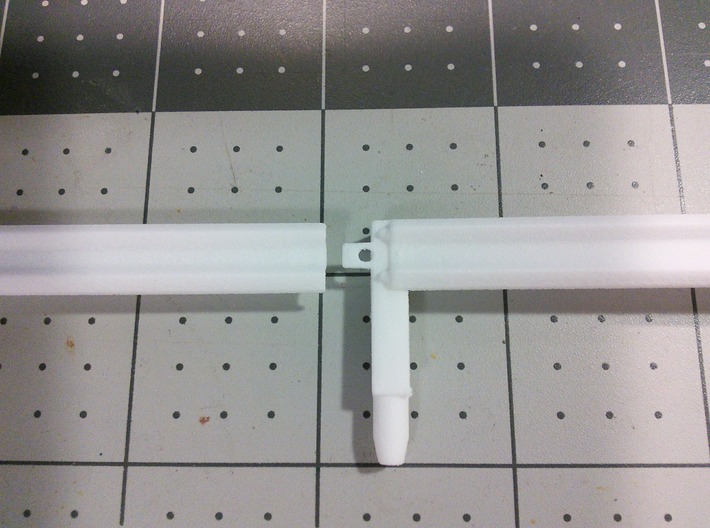
- Tapered pin is 3/8" long and molded to bottom of post for easy installation. Can be cut off if not needed.
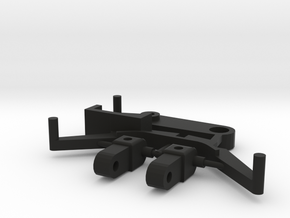
- Requires one pair of Armco Stubby Nose Ends on Wooden Posts, (sold separately) for finished look which increases total length of rail by about 3.75".
- Armco Rail as well as Stubby Nose Ends and Bullnose Ends on round wooden posts available upon request.
Installation Instruction
- Separate 8 pieces from sprue using sharp hobby knife or razor saw. (Do not remove posts from the rails.)
- Scrape excess nylon powder off of posts on faces where they were connected.
- To put a permanent twist or bend in a rail, heat the rail in very hot water. Quickly tape it to an object with the desired contour. When cool, remove it from object.
- Using cyanoacrylate (commonly sold under trade names such as "Super Glue" and "Krazy Glue"), join pieces of rail together. Apply glue to ends of both rails and to tab containing a small hole. Be sure to insert short pin into small hole in tab to ensure proper alignment and a secure connection.
- Paint or dye the pieces as desired.
- Drill holes where you want the posts located in your layout. These should be spaced about 3” (76.2mm) apart, and oriented vertically. Make the diameter of these holes a little larger than the diameter of the pin to accommodate any misalignment of the holes.
- Now glue posts, with attached rail, into holes in your layout.
Details
What's in the box:
Armco Rail on 4 Wooden Posts, 8pcs

Dimensions:
Success Rate:
First To try.
What's this?
Rating:
Mature audiences only.