

Since launching the RC Customization Series last week, we’ve been super excited to see such a positive response to this Tamiya Hornet customization project! In case this is the first time you’re hearing about the Shapeways RC Customization Series, together with our RC expert Tijs and Adéla behind the camera, the three of us have set out on a journey into the world of customizing remote-controlled cars for the best look and performance.
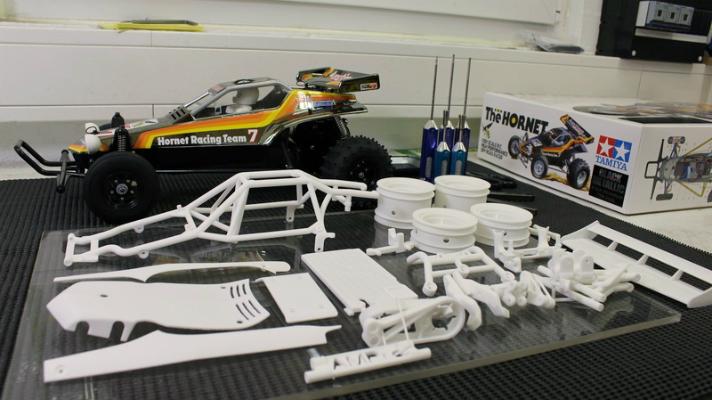
In the back you can see the assembled original Tamiya Hornet, in front all the parts printed in White Strong & Flexible plastic.
In the previous Lap of the series, we started with a default Tamiya Hornet and a set of 3D printed parts designed by Alberto Massarotto, better known as AMPro Engineering. But in order to use the 3D printed parts, we first need to make sure they fit on the original body of the Hornet. In this second Lap of the RC Customization Series, Tijs gives tips on how to remove the sprues, which drills you have to use to make sure the right screws fit, and how to tap the screw thread in the Strong & Flexible plastic parts without breaking them. While Tijs was busy preparing the parts for pre-assembly, I had a chat with Alberto in which he explains his design process and why he started in the first place! See how this all went Lap 2: RC Engineering in the video below.
Want to build your own AMPro Super Hornet? The list of parts we use for this car can be found here.

After all the preparations, the parts fit nicely on the Hornet. Next step is finishing them with colors and stickers.
EDIT: Tijs did a massive update of the building with lots of close up images on our forums – read more here!
Note we release new episodes regularly, so if there’s anything you’d like to see, make sure to share that with us in the comments below and maybe we can explore that in the next Lap of the RC Customization Series.
Looking great guys! I am very flattered you chose to create what is my favorite build to date. I am excited to see what you have planned!