
Our How I Made It series takes us inside the projects that have inspired our designers, shoppers, and makers. Here, Shapeways Shop Owner Natalia shows us how she set out to recreate a beloved lost earring — and ended up improving the design in the process. Leave a comment if you’d like us to feature your latest project.

It’s the season of cold weather, scarves… and losing earrings. Fun winter fact: unwrapping a scarf is the most common way to lose an earring. Ask any earring-lover for confirmation!
One of the first things I made using 3D printing was the bubble earring design below. Everyone who saw them loved them, and I would always end up selling the ones I was wearing and making myself a new pair. Before Shapeways offered printing in metal, that involved getting a mold of the original bubbles-only, hook-free print (3D printing was expensive back then!) getting it cast in sterling silver at a casting house, cleaning it up by hand, soldering on a wire, bending that into a hook, and polishing them. Just by itself, the process of making each pair by hand took days of waiting for castings, then about an hour of work in the studio, which is not exactly cost- or time-effective. Thankfully, Shapeways makes it much easier now, as long as you start with a design file that is ready to be printed and shipped.
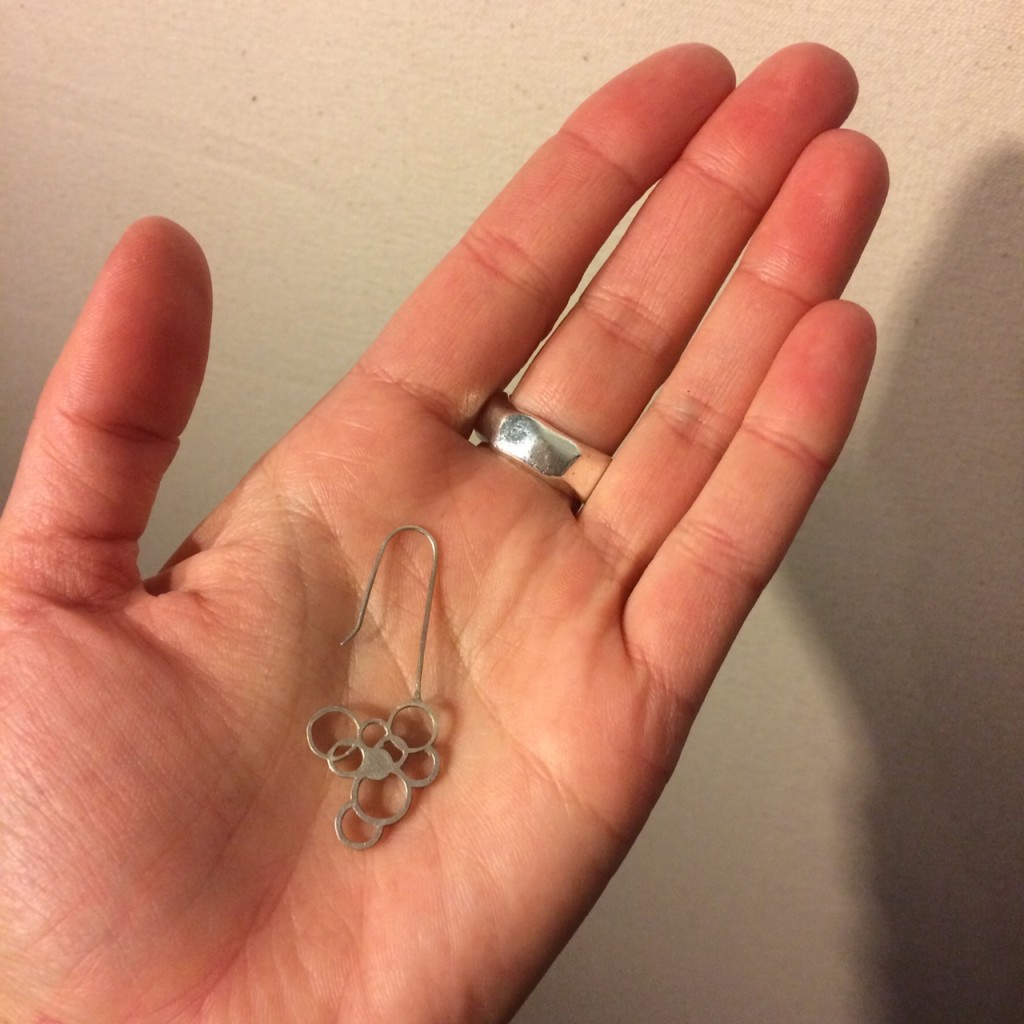
The lonely remaining earring
Recently, I finally lost one of my own pair (thanks, scarves!), and recreating the earring easily would mean reconfiguring the design for full 3D printing, hooks and all. I realized that this presented the perfect opportunity to go back to the drawing board and improve the design, this time using Fusion360 as my modeling software. This way, I would learn a new digital tool, while making this design fully 3D printable — and sellable in my Shapeways Shop.
The only real challenge to overcome was creating a 3D printable, integrated hook. I had seen a pair of earrings someone had printed where the hook was just an “unsupported wire,” so I wanted to test if this would work for these earrings with their long hook. If it was truly 3D printable as one piece, without any work on my part to hand-finish them afterwards, I would feel confident selling them in my Shapeways Shop.
First, I worked backwards, measuring everything on the earring I had left using my calipers, and integrating those measurements into a new 3D design file in Fusion360. Calipers could be the only tool you need for 3D printing besides a computer, so it’s worth buying the best. Accuracy is everything when going between the screen and the real world.
I measured the thickness of the earring, sizes of the circles, and the thickness of the ear hook. A standard ear hook is 0.8mm in diameter (as mine is) but you can go up to 1mm and it will remain mostly comfortable. I checked the design guidelines for sterling silver, and luckily an unsupported wire can be 1mm. I figured that after polishing it would be a little thinner, so would be more comfortable in the ear. (I was right: After Shapeways’ post-print polishing, the wire is 0.9mm thick, so there is a little material lost, as stated in the guidelines).

The remaining earring and render of the replacement earring
While recreating the earring in Fusion360, I took the opportunity to make adjustments for printability and visual appeal. In the original, there was a small gap between two circles that I know could cause material to get trapped and would be impossible to clean, so I joined them completely. I also made the whole design slightly larger and slightly thicker so they would feel more substantial and have a bit of weight to keep them in the ear.
When I solder on an ear hook at my studio, the solder forms a fillet around the wire, giving it a bigger surface area of attachment to the body. In 3D modeling, I wanted to recreate this strength, so I added a large fillet between the wire and the body. This will be the weakest part of the earring where it is most likely to break, and the fillet helps to strengthen it.
The long hook design means they hang down like dangling earrings but also have staying power. Unlike a shorter curved hook, they don’t come out easily. I added a small bend at the end of the hook to guide them into the ear hole. I also rounded the end of the wire to be smooth. You don’t want to forget this part — a wire that just ends will have a flat profile with sharp edges, but filleting the edges to be half-round makes it smooth and comfortable to put in your ear. A good rule once you have finished a model is to go over the design and fillet any joins and edges. I will often fillet all edges, but in this case the “sharp” edge definition is part of the design, so I left them on the body. I filleted the joint and the wire end.
Once I had the design finished, I uploaded it to Shapeways and used the 3D Tools to check for wall thickness and wire thickness. Since I used the design guidelines as I was modeling, all the checks were green.
I wish we could rush metals, but beauty takes time, so about two weeks later I got the box!

The updated design, fresh out of the box
Fresh out of the box, they look great! A beautiful, even polish and a lovely weight in the hand. I immediately put them on, and realized that despite all my measurements, I had missed a crucial measurement: the distance between the curved hook wire end and the body of the earring.

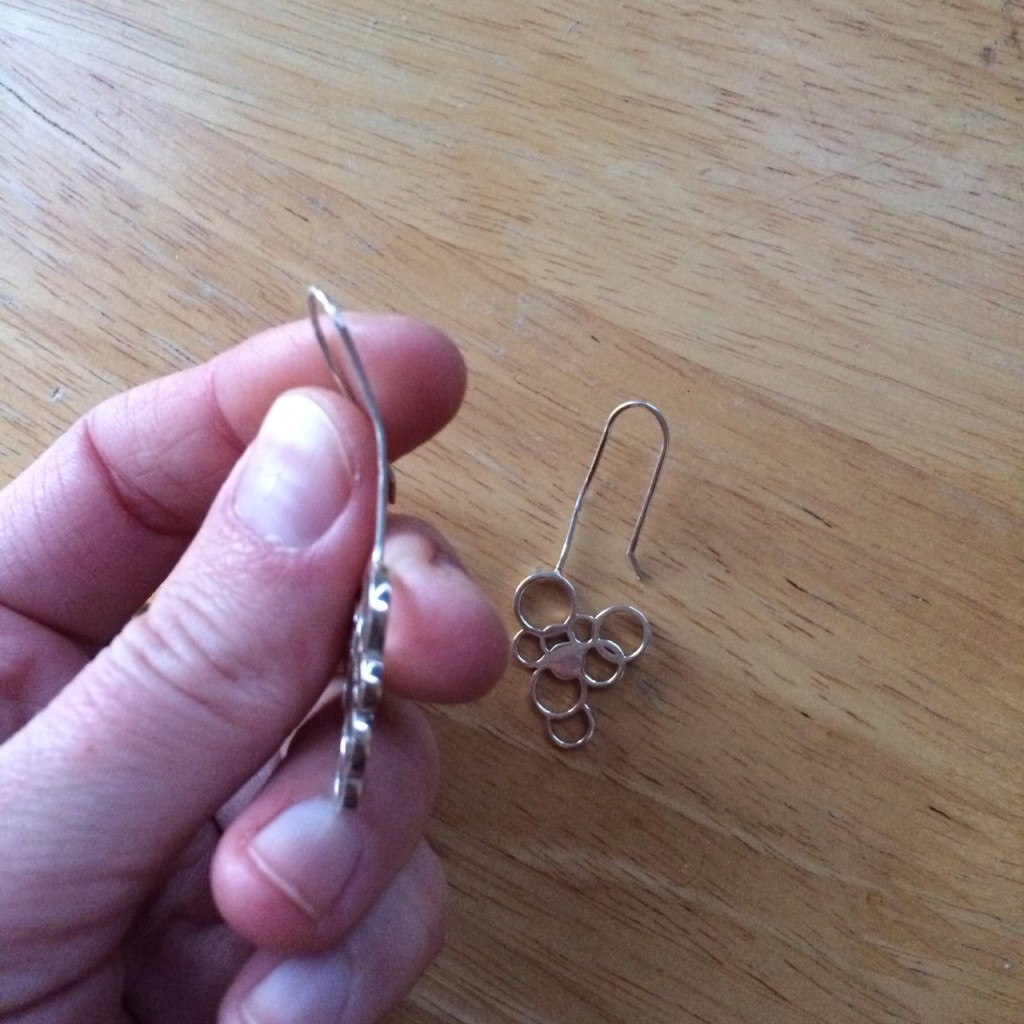
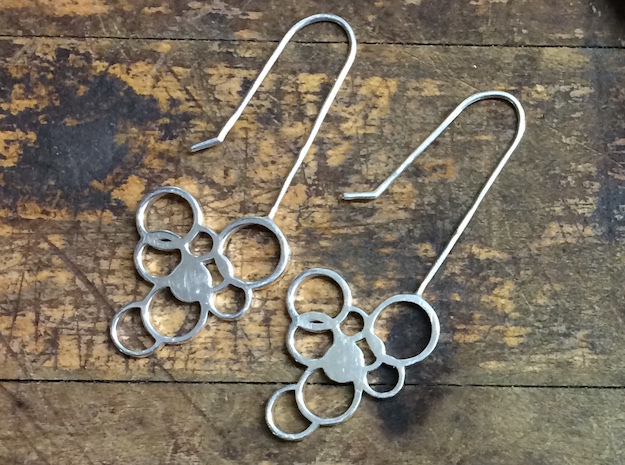
The updated design, left, and the original earring, right
As you can see, the original piece has a distance between the point and the body almost twice as big as the new pair. My earlobe doesn’t easily pass in that gap and it means they take a bit of wiggling to put on. For the final, in-shop iteration, I changed this, so they’re easier to put on.
The other major thing I noticed is how soft the wire is. While it is quite easy to bend it back into shape, it leaves a kink.
An unexpected consequence: wonky wires
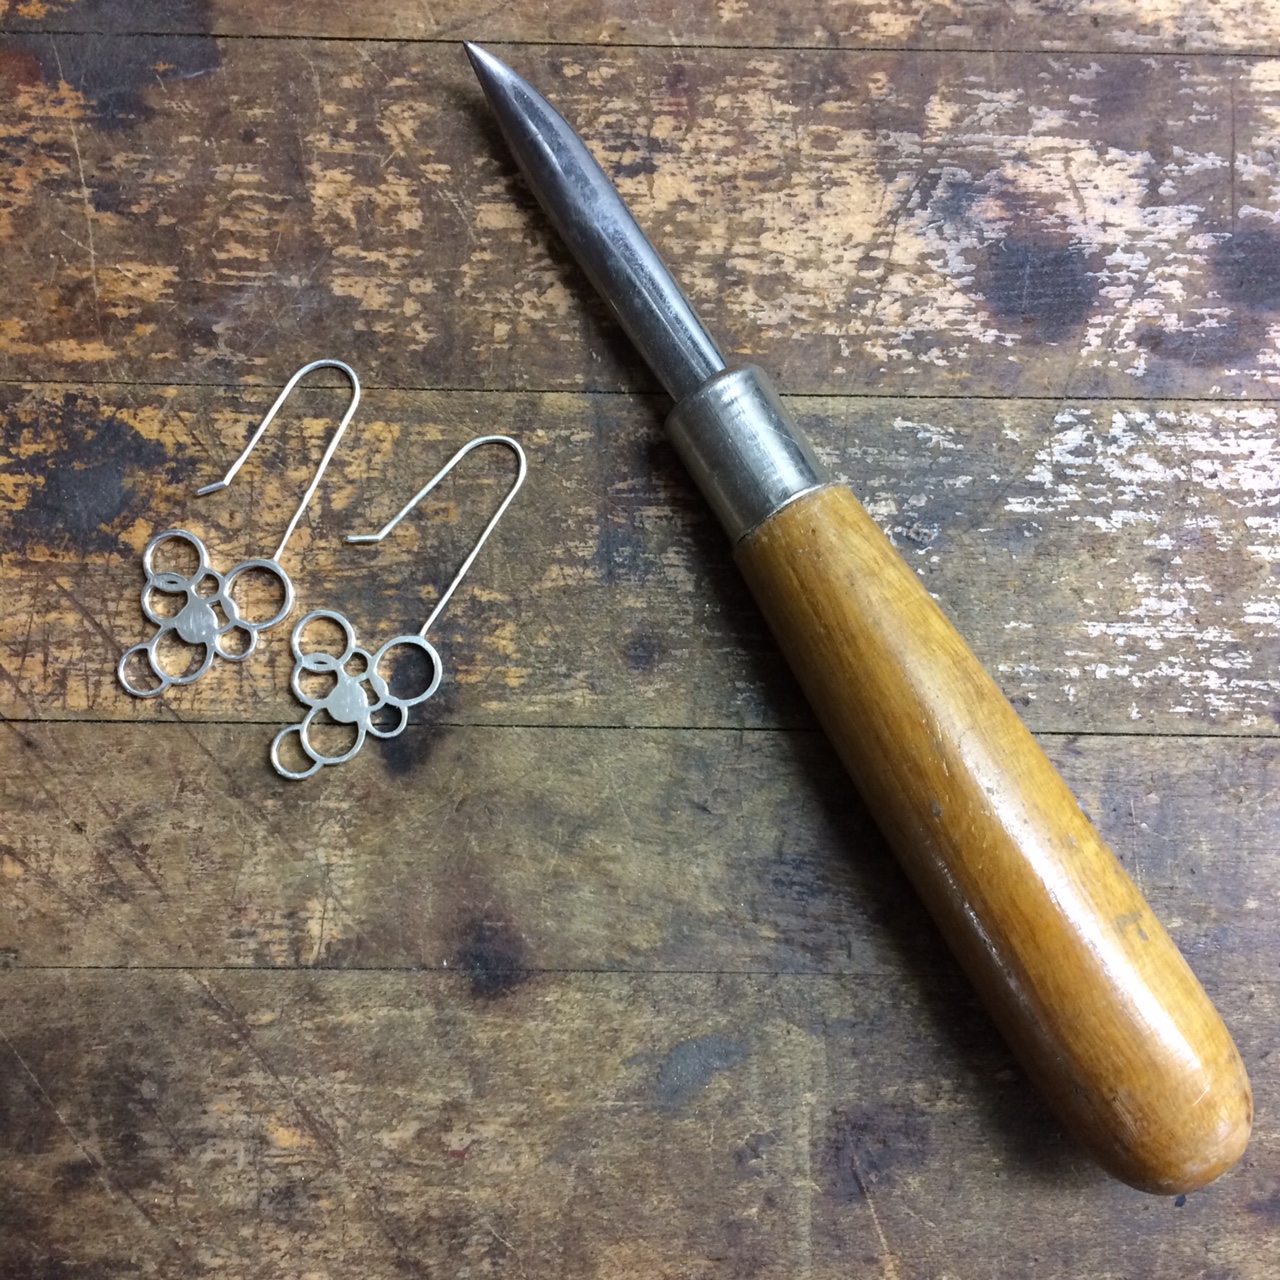
In the studio, I “work-harden” metal to make it rigid and stop it deforming. This is especially important for earring hooks, which see a lot of repetitive stress. There are many ways to work-harden silver. The easiest is burnishing, which involves running a smooth metal tool over the wire until it hardens. It takes about a minute and also polishes the metal.

Work hardening the wire with a burnishing tool
Since I had bent the wire I needed to straighten it too, quickly done with a set of parallel pliers. Squeezing the wire like this also work hardens it, but it’s not as effective as burnishing.
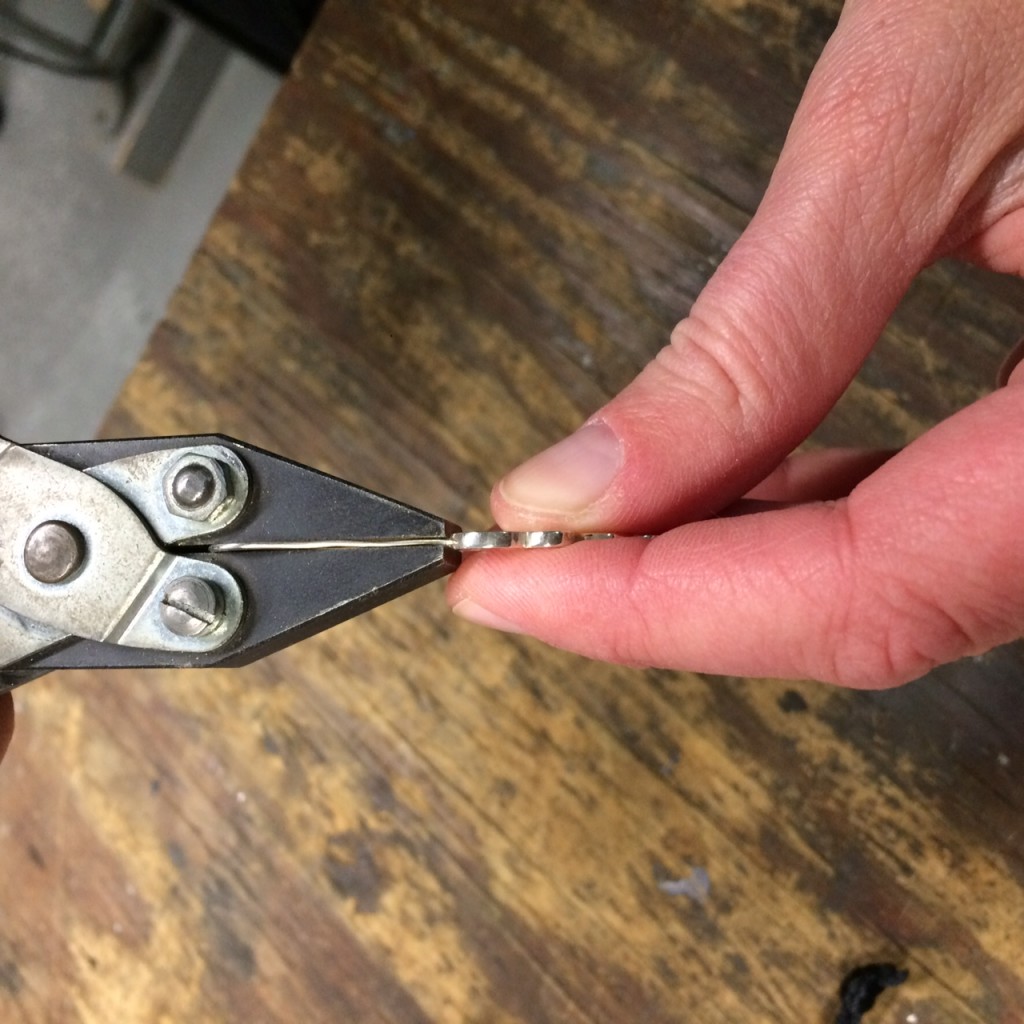
Straightening the wire with pliers
Once that was done, the earrings were perfect! All in all, I’m really happy with this experiment. And, if someone bought them, they would be pleased with them even without work-hardening the wire hooks.

After receiving the earrings, I shortened the hook in the design to make the earrings easier to put on. Here are the finished earrings, with the shortened hook:
Finally, they made it into my shop!
Now that we know how we can integrate hooks right into the design, what kind of winter-proof earrings will you make? Have you tried making hooks an integral part of your design?
This is very helpful, especially the tip about work hardening the silver, could I use the back of a spoon to do this or is the metal used important?