
Bo Lorentzen
bophoto
3D modeler,
Designer,
Product designer
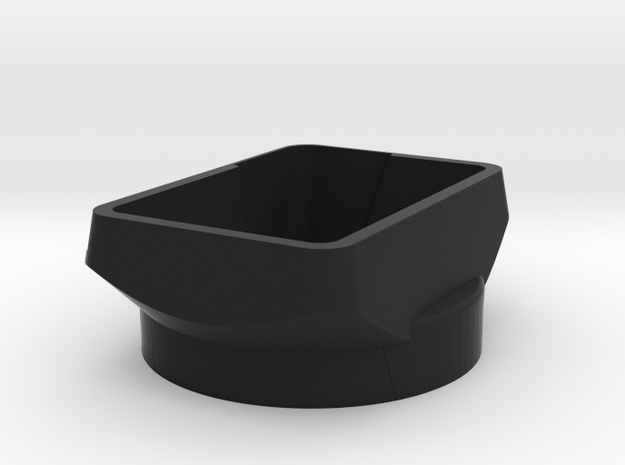
bophoto @kersbarranco its not that easy to make it work and sit correctly with a screw-on design. what works well about this hood is that the lens its made for have a bayonet mount. so its kinda click in place.