

Our new How I Made It series takes us inside the projects that have inspired our designers, shoppers, and makers. Last week, designer and Shapie Mitchell Jetten’s miniature roller coasters got lots of attention from the community. I asked him to share how they came to be. Leave a comment if you’re interested in having us feature your latest project.
Back in 2014, I got the idea to start 3D printing rides from a game I used to love, RollerCoaster Tycoon.
I had no idea how to paint this, and not having too much money in my pocket, I decided to make a small version in Full Color Sandstone.
I’m sure many people will still remember these rides and their iconic entrances and exits.
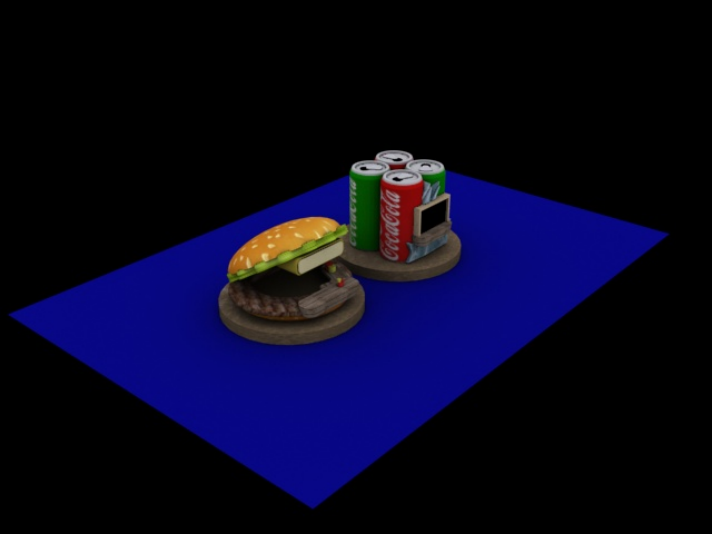
Same goes for these two renders of the burger and drinks stalls:
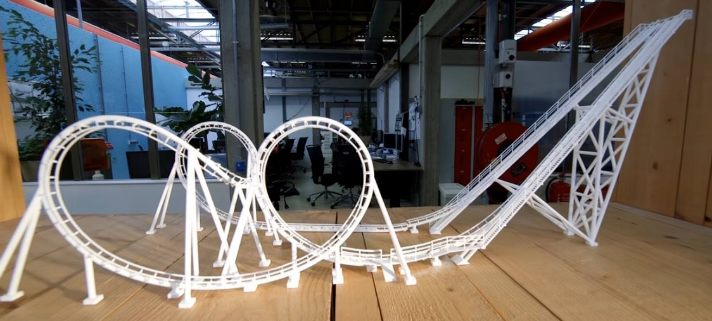
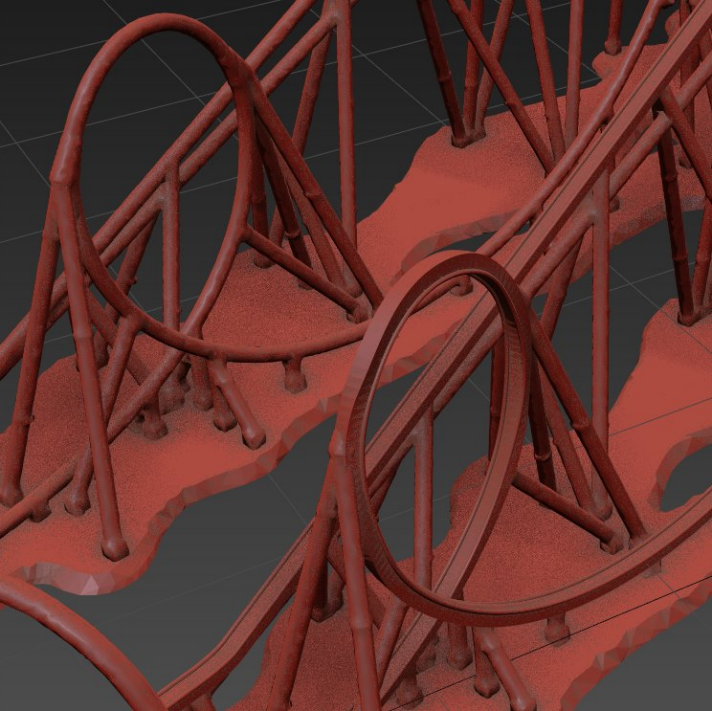
A couple of years ago I decided to go a bit bigger. I decided to 3D print a Boomerang Rollercoaster, which cost around $300.
Definitely worth every penny, as it was a staggering 60cm long.
I included some roller coaster cars, which as you can imagine were just static (you can move them by hand) as it wouldn’t be able to do a full run back and forth.
This was all great, but I didn’t expect that anyone would be willing to spend $350 on a 3D printed roller coaster.
Rescaling this roller coaster wouldn’t work; the rails would be too thin to print.
I designed around five or six rollercoasters back in 2014, but, with a Boomerang already coming out at $350, there was no way the others would be close to affordable.
This plan went in the fridge till last month.
It made me think about the issue: why couldn’t I rescale the coaster and sell it for a lot cheaper?
The tracks where too thin, so the the only option was to get rid of the detailed track, make a tube, and hope it would still have a coaster feeling.
As everything is done by using splines, changes were made easily to the track.
In the image below, on the left is the first prototype and, on the right, the second prototype with a flattened track.
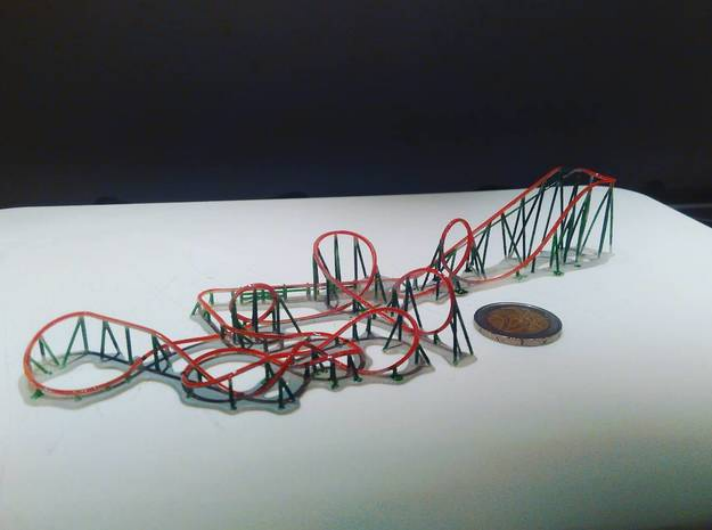
The test print of the second prototype arrived just days later.
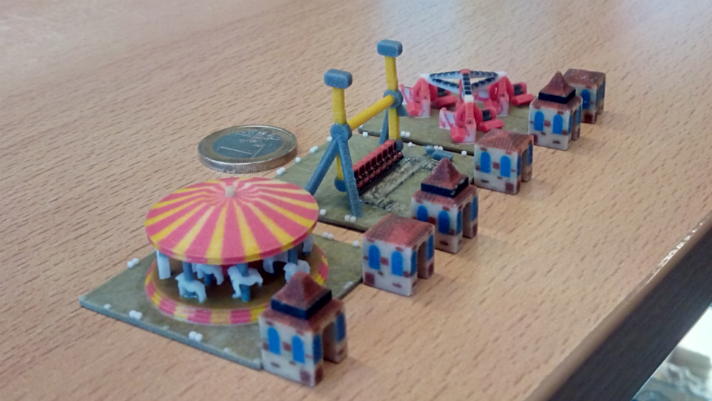
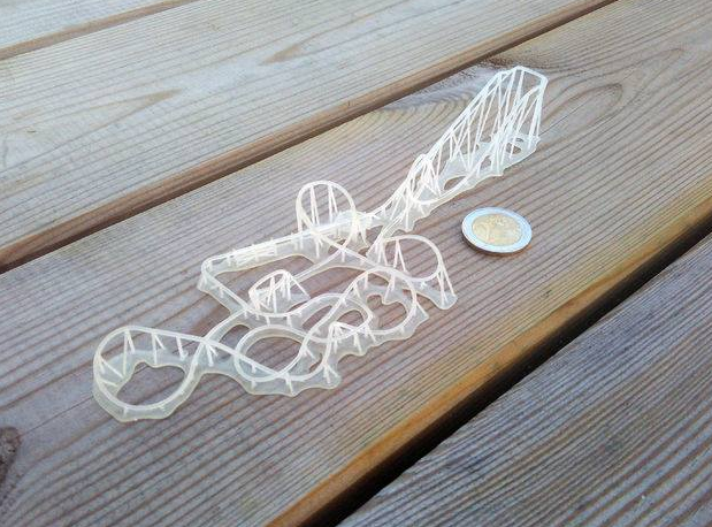
A quick picture of the model with a coin for scale and a post on Facebook in a roller coaster group was all it took to create a buzz — people loved it already.
Right away, I noticed that some supports had to be a bit thicker due to their length, but that wasn’t really a problem and it was fixed just minutes after detecting the problems.
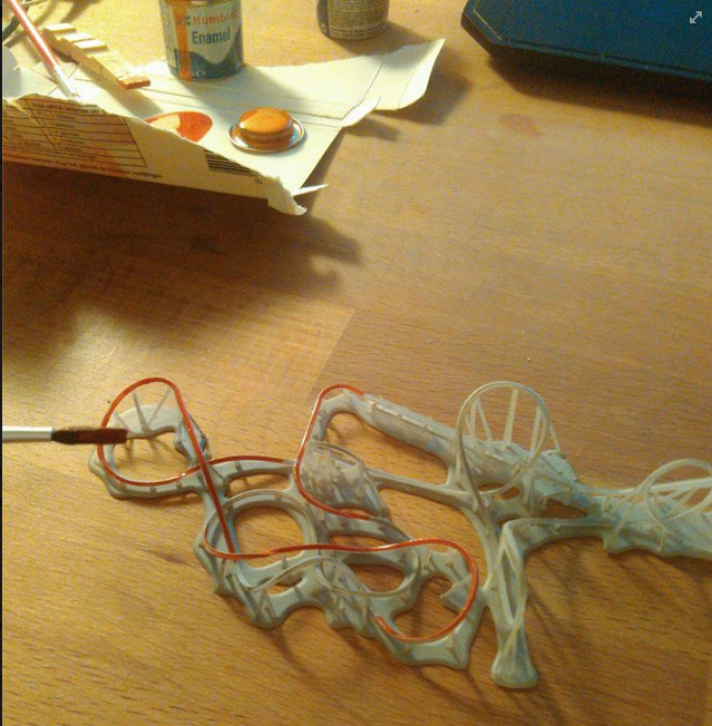
Here is a picture of my first attempt to paint the roller coaster:
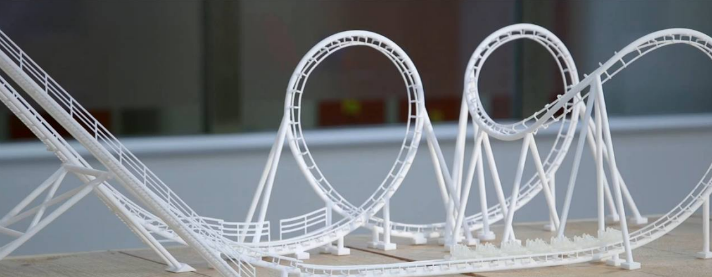
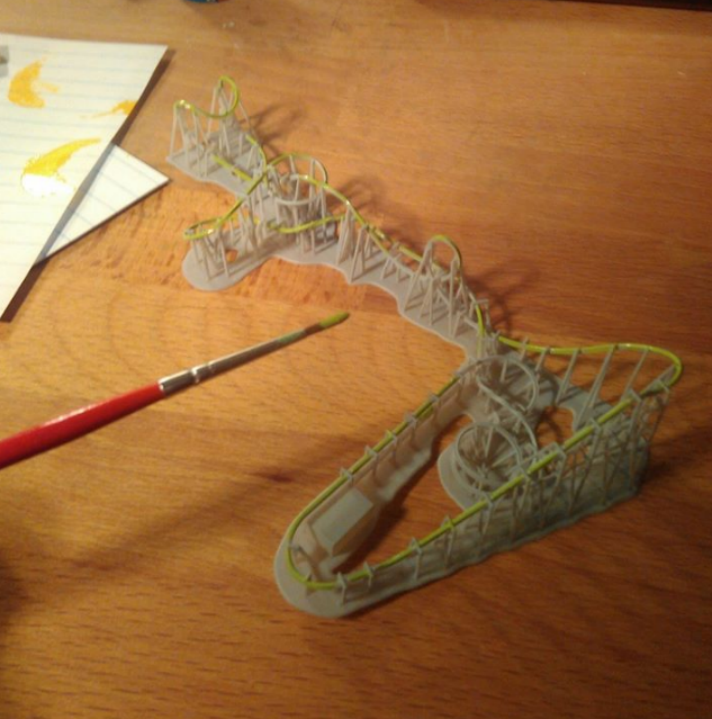
And a bonus picture of another coaster, the Raptor:
And the results:

A few more rollercoasters can be found here:
https://www.shapeways.com/
Thanks for sharing your story with us, Mitchell! Remember to leave any questions for Mitchell below, and let us know if you have a project you’d like to share.
Not of the graphs show up.
Yup noticed it too after it got published… It’s fixed now Bill! 🙂
What is this, a roller coaster for ants?!
This looks pretty close to something you could send a marble down …
If someone didn’t mind spending money on a large model like your boomerang, would you be willing to make one if asked?