


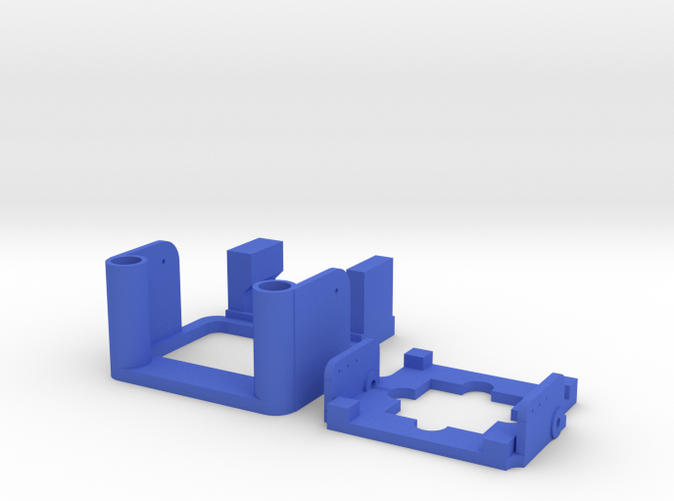
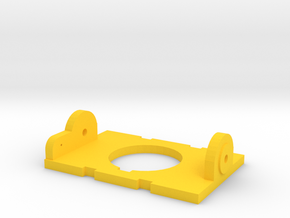
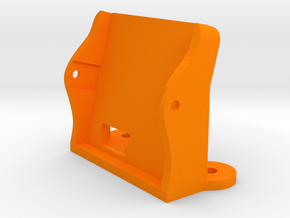
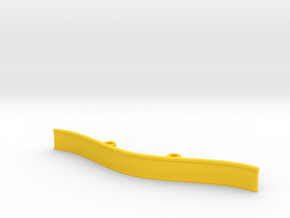
ZMR250 Tilt with frame v1
Made by
Print With Shapeways
 Choose Your Material
 Choose your color and finish
$32.17
Have a question about this product?
contact the designerYou must be logged in and verified to contact the designer.
Product Description
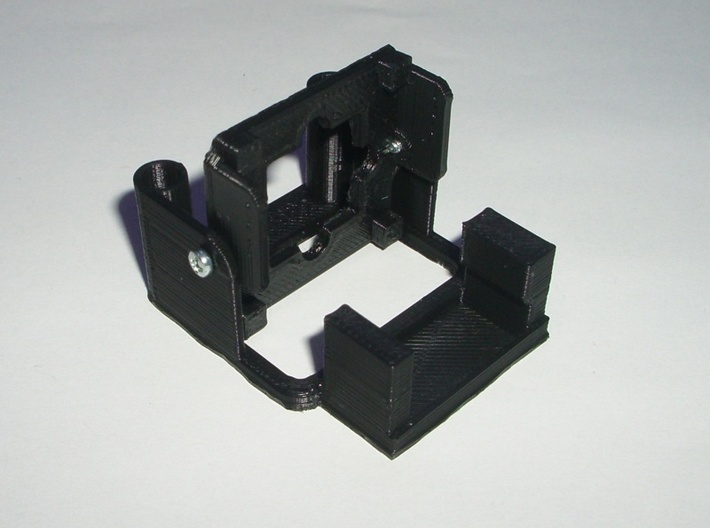
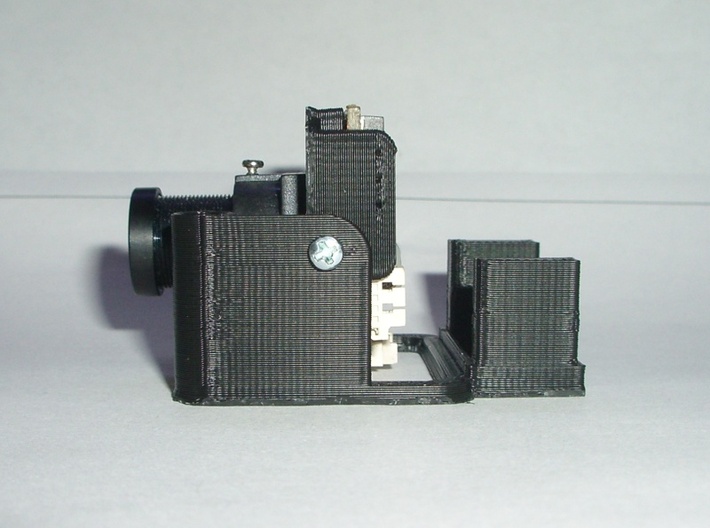
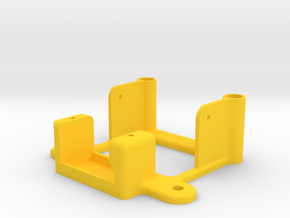
It's a DIY Tilt kit for ZMR250 frame.
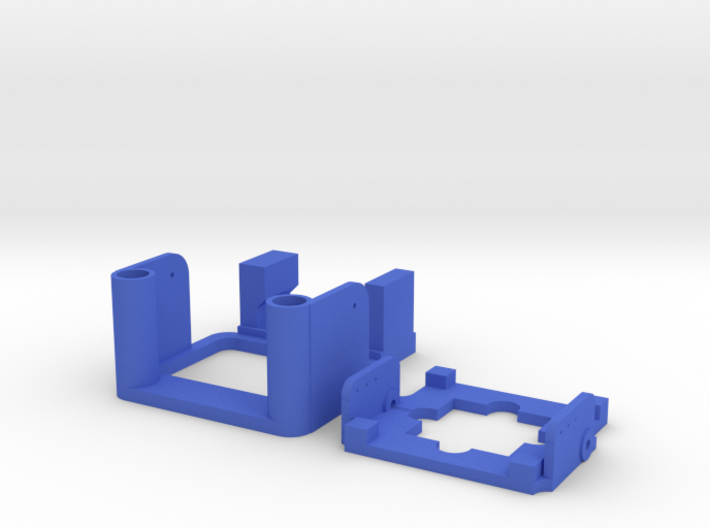
To assemble it you need two 2M 6mm bolts and one HXT500 servo.
Also it's required to drill the holes in frames. I use 1.8mm drill for frame that hold camera and 2-2.2mm drill for base plate. Also you may need small 0.5mm drill to have nice hole for push-rod.
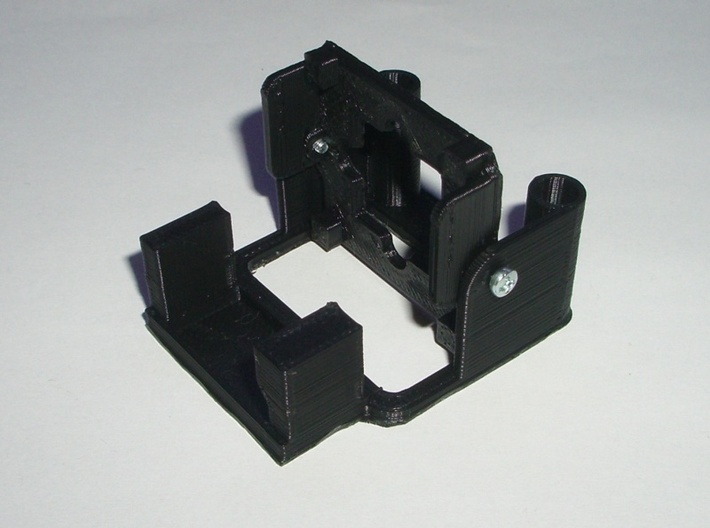
1) Drill needed frame with 1.8mm (for 2mm bolts)
2) Drill base plate with 2 or 2.2mm (bolt must be easy to turnaround, but without gapless)
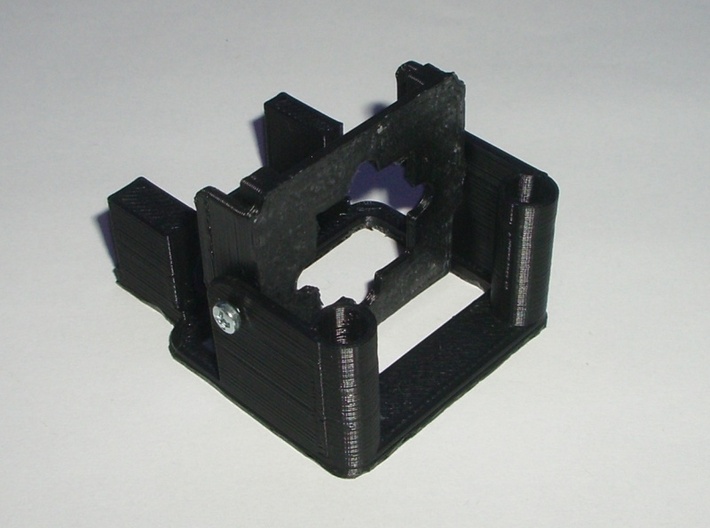
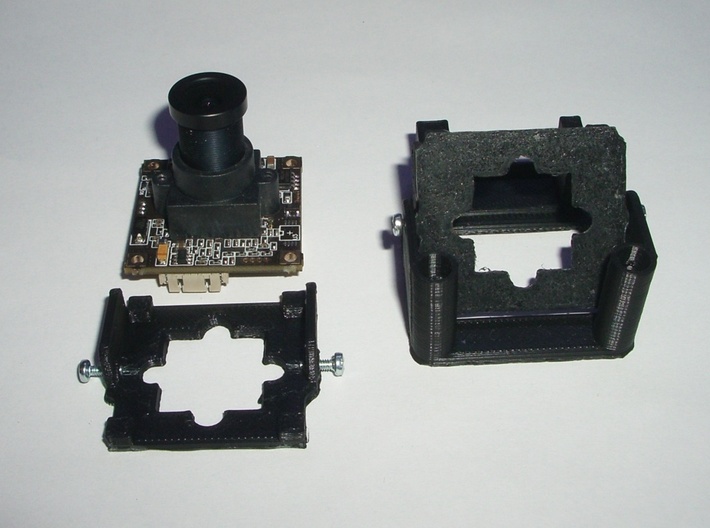
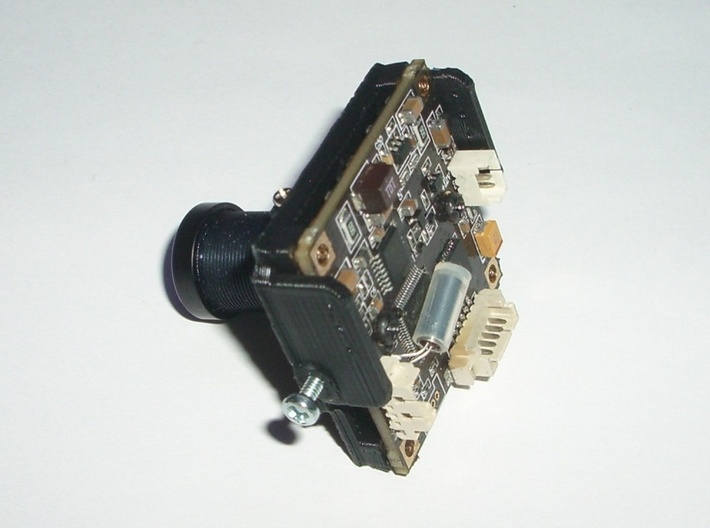
3) Put camera into the frame and drill holes to fix it. (make sure you install it in right direction top-bottom)
4) Install HXT500 servo and drill holes to fix it.
5) Apply double sided tape to the bottom of the tilt.
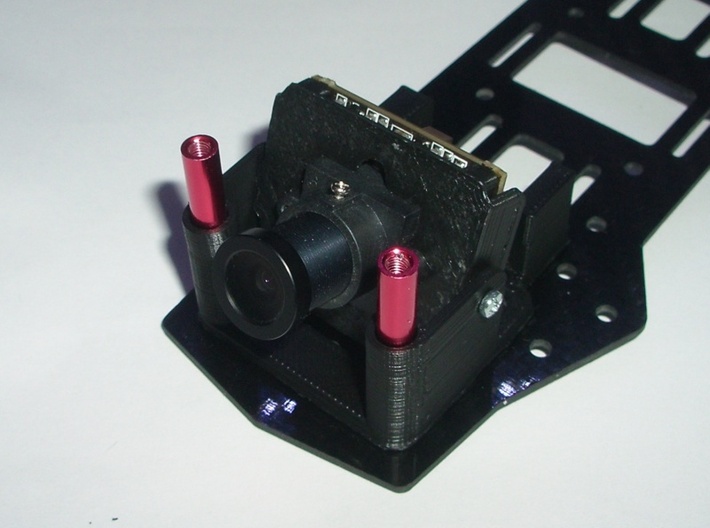
6) Install it on the ZMR250
7) Connect servo to Rx or to quad brains like CC3D
Tags
ZMR250Details
What's in the box:
ZMR250 Tilt with frame v1
Dimensions:
Success Rate:
First To try.
What's this?
Rating:
Mature audiences only.

More From This Shop
$12.43
$12.33