
White Natural Versatile Plastic

Regional Manager - Chassis CFX- Part 1/4
Made by
Print With Shapeways
 Choose Your Material
 Choose your color and finish
$67.05
Have a question about this product?
contact the designerYou must be logged in and verified to contact the designer.
Product Description
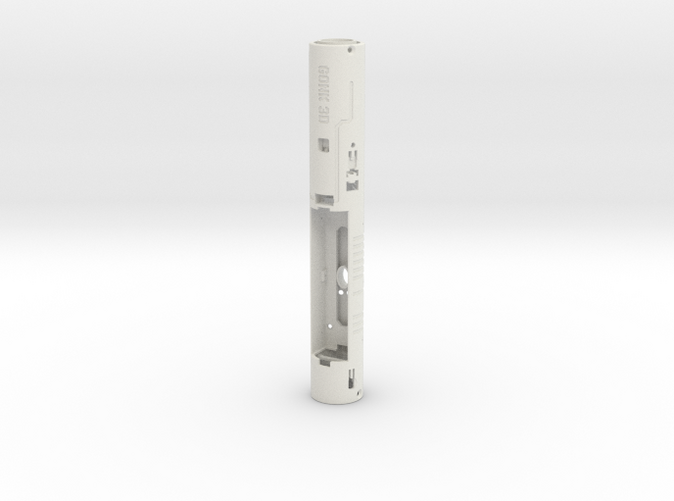
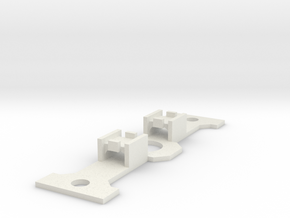
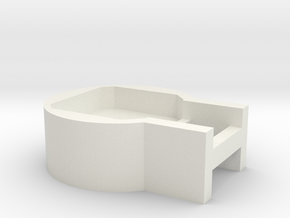
Chassis for the Regional Manager saberhilt by Watto's Junkyard
Please note this is a chassis for ONE saber hilt. You'll need 2 to install a saber staff.
The print includes:
-main chassis body
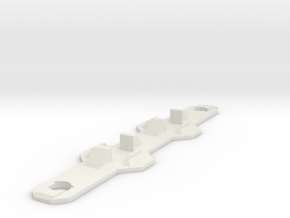
-battery removing tool
Features:
-Plecter Labs Crystal Focus 10 (CFX)
-24mm bass speaker
-Keystone 1042P batteryholder for 18650 Li ion batteries
-high amp killswitch (TS01CBE)
-2x 3mm and 1x 1.8mm accent LED for fake LED and crystal pommel illumination
-2x brass tactile switch (flat style 5x5mm)
-mounting parts for neopixel connectors (TCSS/ JQ style) or in hilt LED heatsink
To slide out the chassis unscrew the red activation button and the upper greebly screw near the bladeholder. Use the longer greebly screw of the saber kit and cut down to 5-6mm thread length to mount the chassis and not going too deep.
The chassis can be pulled out at the endkap which locks the speaker and holds the pommel LED. Secure it with 2 countersunk screws (preferably M2 or anything similar inch thread and head size).
To mount the batteryholder cut off the pins from the backside to make it flush. Insert the battery holder and drill the the thread core diameter (example 2.5mm for M3) into the chassis and just a little into the battery holder.
Tap a thread into the chassis. Drive a pointed grub screw inside. I used M3 with 3mm length. A similar inch size is also fine.
The parts for neopixel or heatsink can be mounted with a short and thin grub screw as well.
I recommend to bend off the overlapping contacts and solder your wires in to that channel like area.
The chassis requires the board to be installed with USB pointing to the blade, USB up, SD down.
To access the CFX USB port you may need an angled USB cable
Please note this is a chassis for ONE saber hilt. You'll need 2 to install a saber staff.
The print includes:
-main chassis body
-battery removing tool
Features:
-Plecter Labs Crystal Focus 10 (CFX)
-24mm bass speaker
-Keystone 1042P batteryholder for 18650 Li ion batteries
-high amp killswitch (TS01CBE)
-2x 3mm and 1x 1.8mm accent LED for fake LED and crystal pommel illumination
-2x brass tactile switch (flat style 5x5mm)
-mounting parts for neopixel connectors (TCSS/ JQ style) or in hilt LED heatsink
To slide out the chassis unscrew the red activation button and the upper greebly screw near the bladeholder. Use the longer greebly screw of the saber kit and cut down to 5-6mm thread length to mount the chassis and not going too deep.
The chassis can be pulled out at the endkap which locks the speaker and holds the pommel LED. Secure it with 2 countersunk screws (preferably M2 or anything similar inch thread and head size).
To mount the batteryholder cut off the pins from the backside to make it flush. Insert the battery holder and drill the the thread core diameter (example 2.5mm for M3) into the chassis and just a little into the battery holder.
Tap a thread into the chassis. Drive a pointed grub screw inside. I used M3 with 3mm length. A similar inch size is also fine.
The parts for neopixel or heatsink can be mounted with a short and thin grub screw as well.
I recommend to bend off the overlapping contacts and solder your wires in to that channel like area.
The chassis requires the board to be installed with USB pointing to the blade, USB up, SD down.
To access the CFX USB port you may need an angled USB cable
Details
What's in the box:
RM-ChassisCFX
Dimensions:
Success Rate:
First To try.
What's this?
Rating:
Mature audiences only.
More From This Shop
$9.00
$9.00