Right Side


Product Description
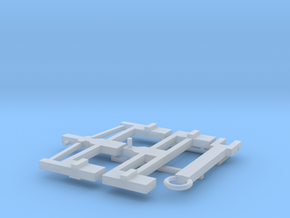
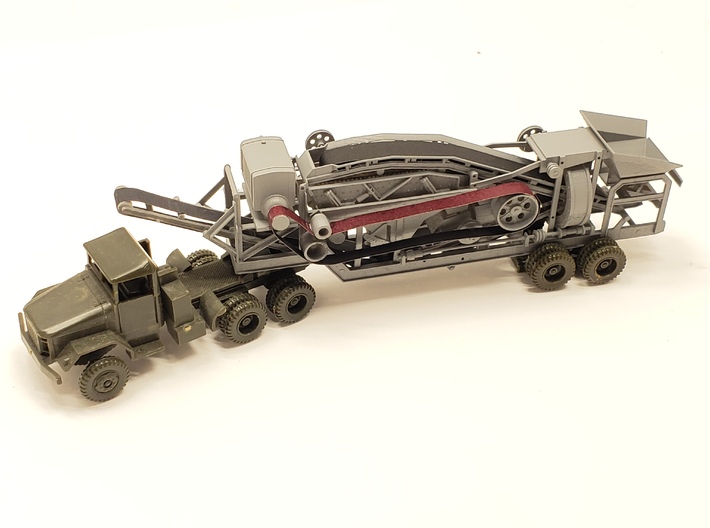
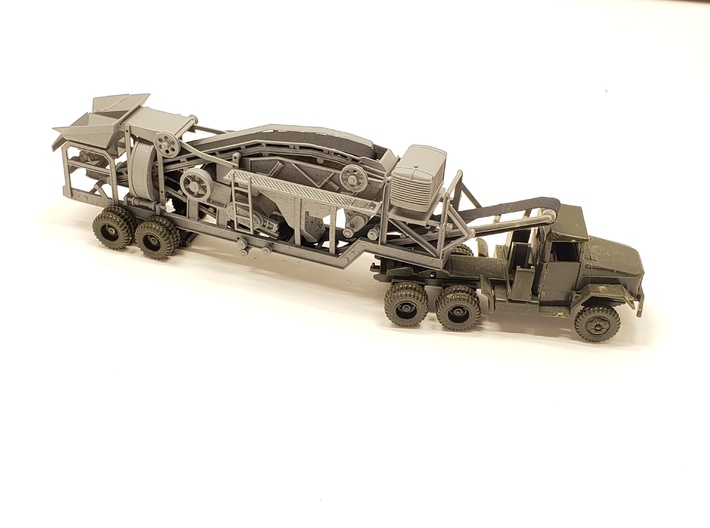
It's Here!! This is a static model of a 1940's Cedarapids Pitmaster Rock Crusher body without dolly, tongue, axles or wheels. This unit would be a secondary piece for sorting sand and gravel and for crushing smaller rock into gravel.
I should have a file with dollys, wheels, axles and rims eventually, but until then, the crusher itself is done.
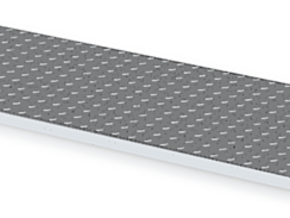
In addition to running gear, the modeler will have to work in conveyor belts drive belts; I plan on using 600 grit sandpaper to model mine. This model could be outfitted with a single axle behind the rare brace, though I plan to place a second axle towards the end as the tandem axle was more common.
If you have a rock pit or a gravel quarry on your layout, this unit is essential as a centerpiece of your operation!
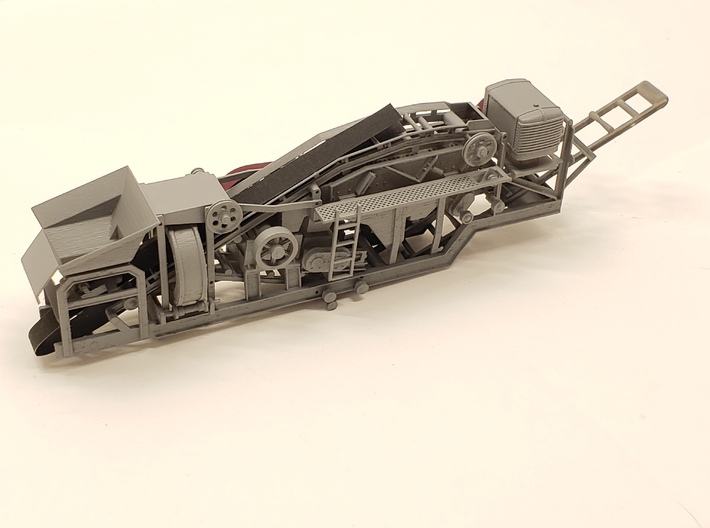
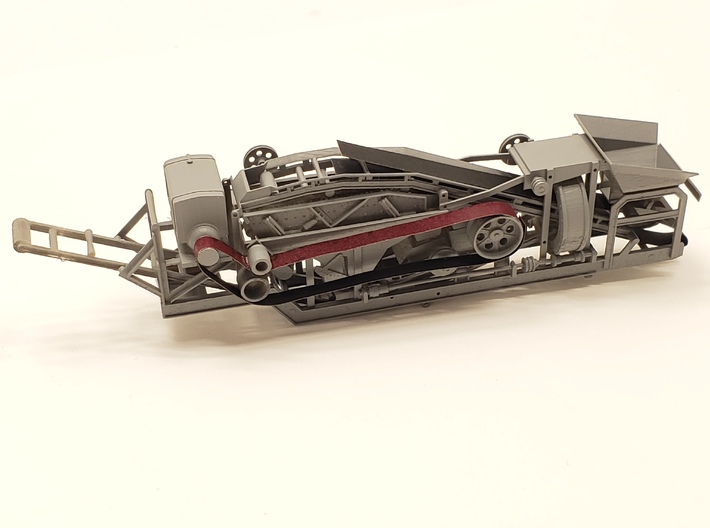
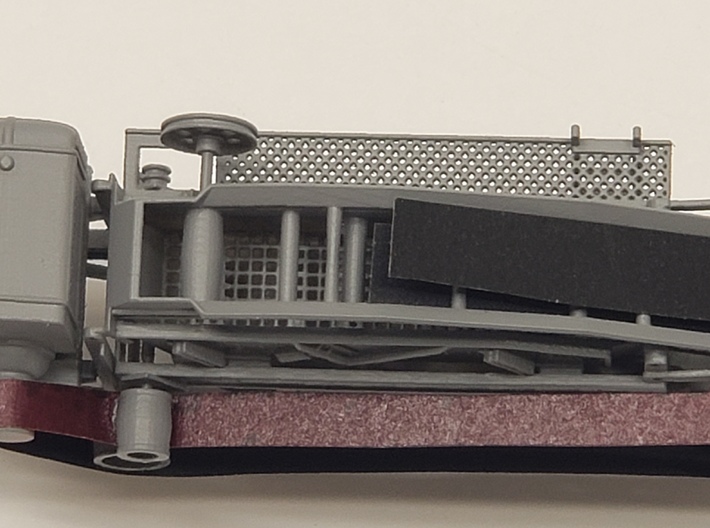
Modeling notes: I have now completed the preliminary steps towards finishing my personal model. I started by painting the crusher Tamiya Neutral Gray spray and then painted the reverse side of a split sheet of 600 grit sandpaper respectively Maroon spray and Matt black spray. When the paper was dry, I cut a strip to width for the drive belt from the maroon sheet and then three belts to width for the three internal conveyers found through the machine. It takes a little patience to work the belts through but I discovered it was not impossible. I used superglue at the tension points and held the paper in place until it was affixed.
I used a 6" piece for the main drive belt, starting at the motor and then working back around the tensioner to the main crusher drive wheel. I used a 6.7" piece to install the main overhead conveyer, threading the bottomside first and then the topside, using superglur at the tension points and at any point where the paper wanted to float where it shoul dbe resting on the supports. I then removed about .25" of this belt when I reached the top main pulley. I used a 7.7" piece for the frount exit belt, starting at the lowest undermost pulley and then threading it over the supports, gluing it at each suport after reaching the top main pulley. I removed about .5" from this piece. Finally, I used a 2" piece of paper to do the refeed pulley, terminting top and bottom on the pully right under the main overhead conveyor and not looping around the pulley. Nobody should see this part so I felt it wasn;t necessary. I removed 0.3" from this paper when ll was said and done.
My next model step will be to add wire for the pulley belts, but first i have to find the wire.
I should have a file with dollys, wheels, axles and rims eventually, but until then, the crusher itself is done.
In addition to running gear, the modeler will have to work in conveyor belts drive belts; I plan on using 600 grit sandpaper to model mine. This model could be outfitted with a single axle behind the rare brace, though I plan to place a second axle towards the end as the tandem axle was more common.
If you have a rock pit or a gravel quarry on your layout, this unit is essential as a centerpiece of your operation!
Modeling notes: I have now completed the preliminary steps towards finishing my personal model. I started by painting the crusher Tamiya Neutral Gray spray and then painted the reverse side of a split sheet of 600 grit sandpaper respectively Maroon spray and Matt black spray. When the paper was dry, I cut a strip to width for the drive belt from the maroon sheet and then three belts to width for the three internal conveyers found through the machine. It takes a little patience to work the belts through but I discovered it was not impossible. I used superglue at the tension points and held the paper in place until it was affixed.
I used a 6" piece for the main drive belt, starting at the motor and then working back around the tensioner to the main crusher drive wheel. I used a 6.7" piece to install the main overhead conveyer, threading the bottomside first and then the topside, using superglur at the tension points and at any point where the paper wanted to float where it shoul dbe resting on the supports. I then removed about .25" of this belt when I reached the top main pulley. I used a 7.7" piece for the frount exit belt, starting at the lowest undermost pulley and then threading it over the supports, gluing it at each suport after reaching the top main pulley. I removed about .5" from this piece. Finally, I used a 2" piece of paper to do the refeed pulley, terminting top and bottom on the pully right under the main overhead conveyor and not looping around the pulley. Nobody should see this part so I felt it wasn;t necessary. I removed 0.3" from this paper when ll was said and done.
My next model step will be to add wire for the pulley belts, but first i have to find the wire.