
erjenkins
erjenkins commented on Transforming Neck Unit for TR Galvatron by energonhotshot04
December 28, 2018
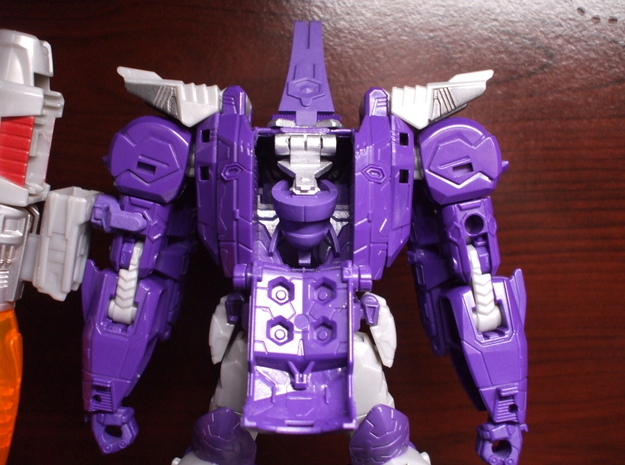
erjenkins I couldn't get the torso apart enough just by removing the back screws, so I had to disassemble the whole thing. It still was very easy to do. The new neck assembly, which I got in white processed, fit perfectly and just needed some silver paint to look good. I don't think it needs any sanding at all since the texture lends itself well to the metallic paint.I had to thicken the ball joint a little to match up with the 2.0 head I got but that's expected. It was very easy to do that and the results are perfect.
erjenkins I had to use a spudger to pry the original head apart. There is a peg holding the front and back together that I think is glued in place, so it will break. The original head still goes together, so it can be reused if you find something for it. I'm really impressed with how well the new head fits onto the ball joint. Most Shapeways heads seem to need their sockets thickened or sanded out but this one just snapped right on.
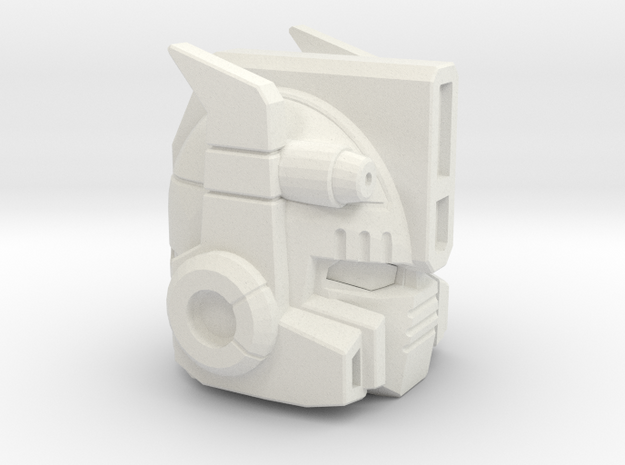
erjenkins I got this to use on an oversized KO of RiD Megatronus and it works great after sanding out the ball socket a bit. I thought it would work right off since I tested it with a CW Optimus head but the effort was perfectly acceptable. It looks awesome if anyone else was thinking of using that figure. I'm attaching a close-up of my work in progress.
erjenkins commented on Combiner Wars Optimus Prime MP-10 Styled Head - L by DarkcaveCustoms
July 31, 2015
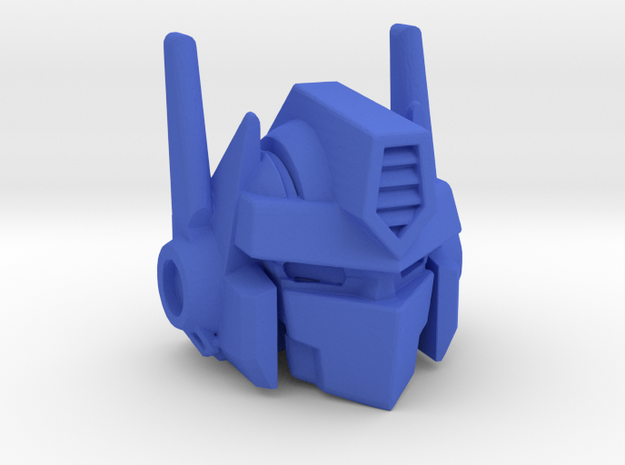
erjenkins I got my head to stick on by putting a piece of heat-shrink tubing over the ball joint and applying a hair dryer to it on high. That let me push the head on securely without making a permanent alteration. Not that I haven't made plenty of permanent alterations to this Prime so far...