
Comprehensive knowledge of modeling software for 3D printing and the ability to apply them with expertise in 3D design are the building blocks for quality 3D printed parts. Modeling software for 3D printing allows for continued edits as a design project moves forward; however, mastery of these processes is not achieved overnight and there is always room to improve, advance, and innovate further.
Defining a Clear Vision and Purpose for Each 3D Model
The first step in 3D modeling is to think ahead regarding development of a specific 3D printed part. Create a clear vision of what the desired model should look like, and define its purpose, whether the final product is meant to be a prototype or a functional product–and in either case, what it will be used for later. A prototype may be a simple model meant to portray what a part will look like, such as a model used in an architectural application to demonstrate what a home or entire development will look like. A working prototype may require durability for an automotive application, undergoing extensive testing for both fit and function for the end-part–expected to perform a long-term, critical role.
Ultimately, the question is what will happen to the print later. If a one-piece model is being created in vibrant full color but is only expected to sit on a shelf as a display, design and settings are much more simplified. If the 3D print will be used for a more dynamic purpose with moving parts, keep in mind during design that separate assemblies can actually increase efficiency. While a 3D printer may be able to produce the part in one piece, by designing the part in multiple parts for assembly, less material is used if one part fails for one reason or another. Finishing also tends to be better with assemblies.

Manipulating 3D Models for Clean Mesh
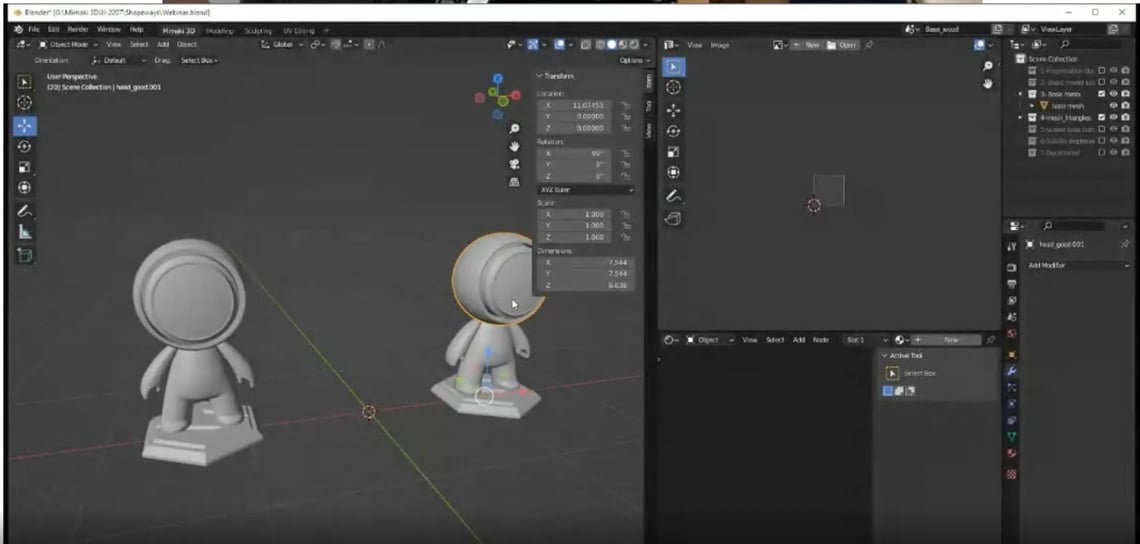
The cleaner the mesh is, the easier it is to come back and make edits, and adapt it for other uses. Clean mesh is much more versatile, and mastery of modifying tools like filters, modifiers, and texture-based workflows not only make it easier to clean up mesh early on–fending off hours of headaches later–but paves the way for excellence in models, avoiding issues like overlapping, duplicate geometries, and improper scaling.
In creating a model, excessive polycounts should be avoided, striving toward a goal to reduce the number of polygons while retaining good quality visually. Note that use of triangles can also make it difficult to clean up the geometry and select other surfaces and features to modify the model. For designers downloading models, cleaning up mesh becomes even more arduous in terms of selecting edges and faces, and then it becomes challenging to subdivide the mesh. Along with that, ‘dirty’ geometries may cause the typical computer system to hang up indefinitely. Although it is possible to draw over dirty mesh, it makes the process very complicated, and ultimately, the best avenue is in improving modeling skills rather than attempting to fix downloads with problems.
Not surprisingly, clean mesh geometries are easier to edit using one of the many software modeling programs available, many of which are free and easily accessible, like Blender–which is also open-source and offers everything you need on one platform. Working on skills for moving mesh and extruding faces are critical, along with knowledge in selecting edges and different shapes.
Understanding the 3D Printing Technology
Creating a clean geometry and ensuring a quality print means understanding the specific 3D printing technology used also. Machine accuracy is one aspect that designers sometimes tend to overlook; however, depending on the 3D printer, the printing material, and environment, accuracy in parts can definitely be affected–typically by the following:
- Layer resolution issues
- Part size–generally with larger parts
- Poor orientation
- Inferior printing environment
X-axis resolution, or layer thickness, typically depends on project requirements, but can affect the quality and the speed of the printer. Thicker layers mean rougher surfaces, and less printing time, while a greater number of thin layers require longer printing. In designing for High Definition Full Color with Material Jetting accuracy is expected to be 0.1 mm to 0.3 mm.
Every material and every model has a scale factor, meaning that the larger the part, the greater potential for warping or shrinking after cooling down–which is why larger prints require more tolerance. Orientation is also not always correct initially, and in file analysis may have to be shifted to avoid allowing such problems to affect accuracy or strength of the final product, as well as surface finish. The printing environment is critical for good ventilation first of all, but next, other factors should be considered for quality 3D printing, like proper temperature and humidity levels, as well as lighting.

3D Printing with High Definition Full Color
3D printing in vivid color is an excellent way to highlight products, as well as refreshing an existing brand. Explore more about High Definition Full Color, offering ten million color options for applications like 3D printed medical models, architectural displays, and highly detailed gaming pieces on our website.
To learn more, watch a replay of the webinar co-presented by Shapeways and Mimaki, ‘File Preparation for Texture Based Full Color 3D Printing’ here.
About Shapeways
Enjoy the benefits of advanced technology and a wide range of materials from Shapeways for 3D printing your creations with accuracy, complex detail, and no minimum or limits in terms of mass customization or single part orders. Shapeways has worked with over 1 million customers in 160 countries to 3D print over 21 million parts! Read about case studies, find out more about Shapeways additive manufacturing solutions, and get instant quotes here.