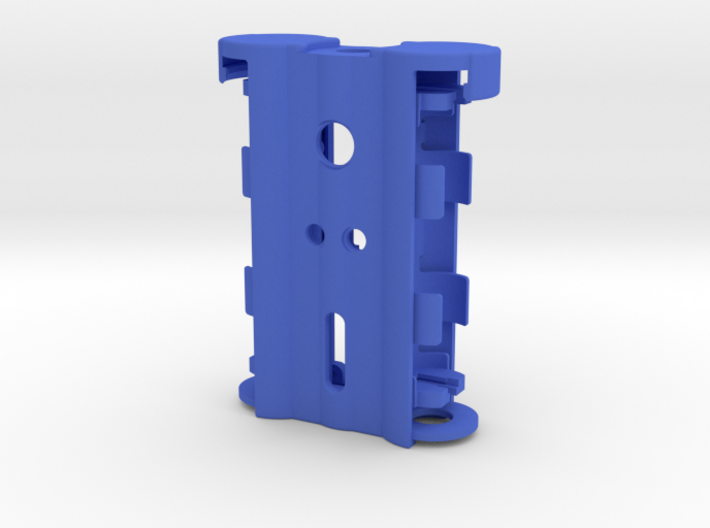


V1 - Main Body - V3 Fat Daddy Vapes 510 Connector
Made by
Have a question about this product?
contact the designerProduct Description
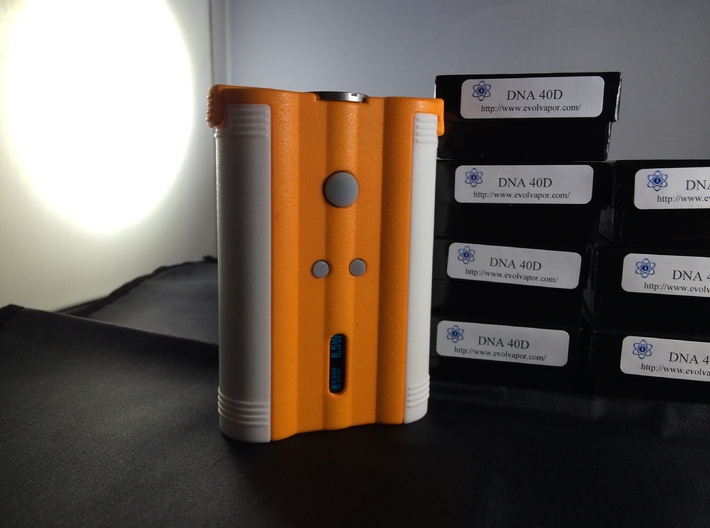
All of my mod enclosures and parts are designed to work only with Authentic Evolv DNA boards!
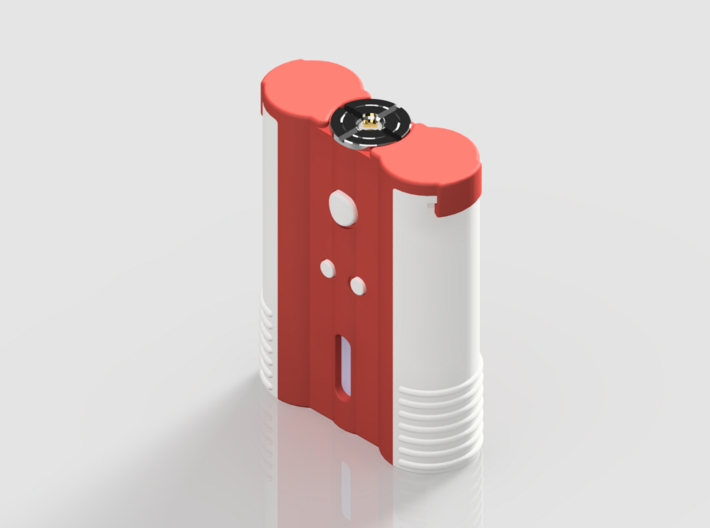
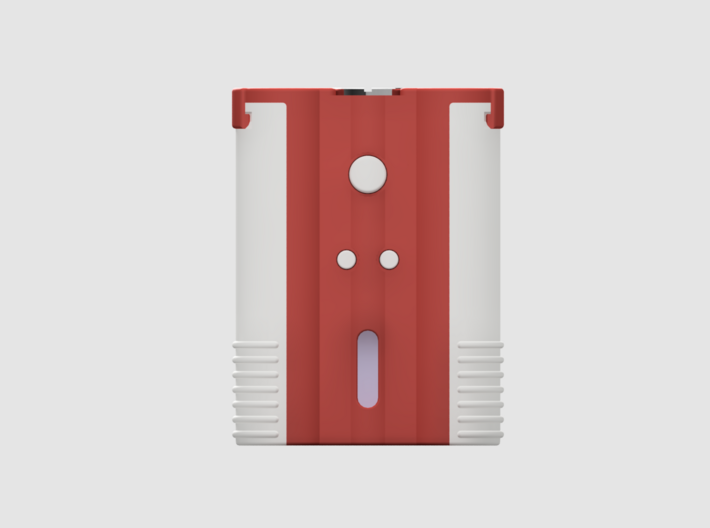
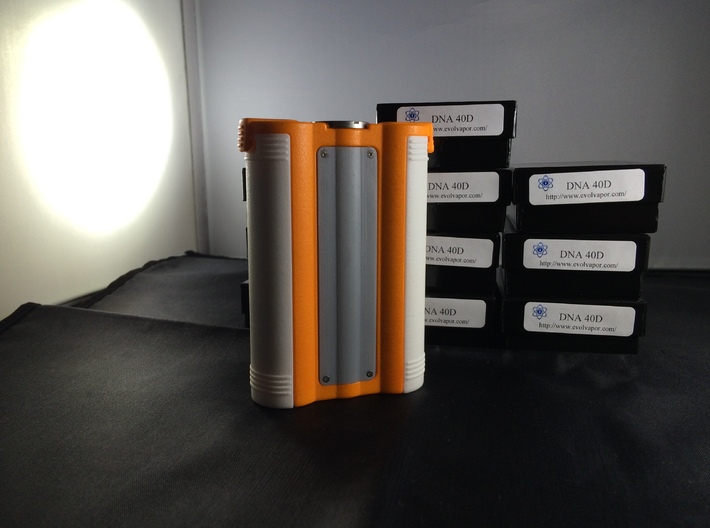
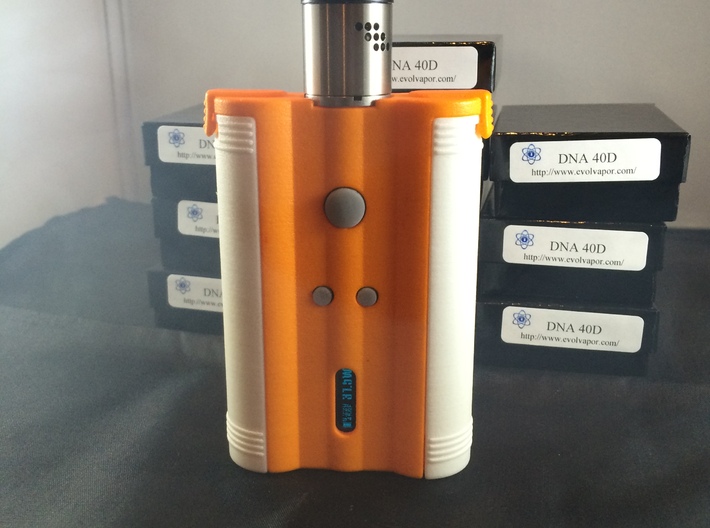
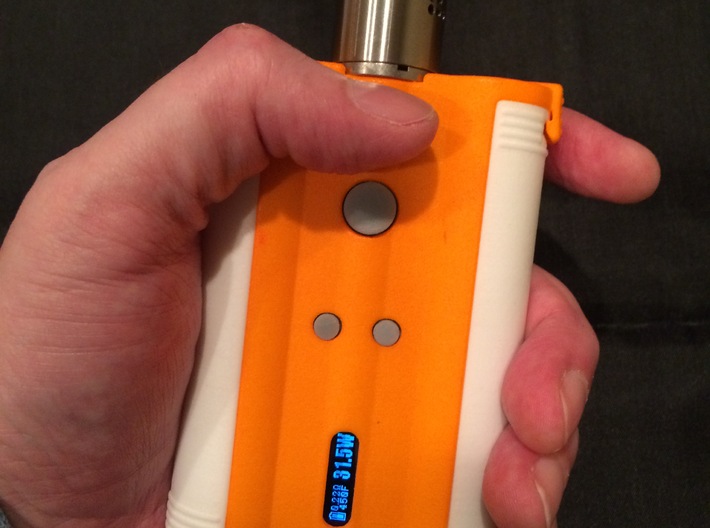
The "V1" revision 2 is a dual 18650 mod designed for use exclusively with the Evolv DNA40 and utilizes the new mounting rails on the chip. There is no provision for on-board charging, the side battery covers slide off for battery removal, charging and replacement. It is an adhesive free build and all of the electronics are secured with clamps and screws. Every attempt has been made to design for high quality parts that have been well tested by the modding community.
IMPORTANT! This version of the V1 Main Body is designed to use the Fat Daddy Vapes V3 510 Connector for Box mods with the Optional 22mm washer.
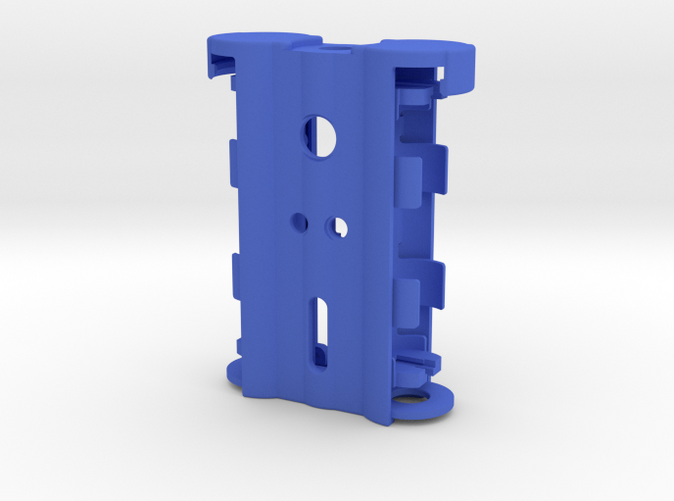
NOTES: Because of issues raised by Shapeways there are no longer any threads printed in the hole provided for the 510 connector. It is now just a plain 9 millimeter diameter hole that you will have to finish to the correct size. I recommend tapping the hole with a 10 by 1 millimeter thread tap but you could also just ream the hole out a little and secure the 510 connector from inside with the nut included with your Fat Daddy Vapes 510 Connector.
Required 3D Printed Parts
- 1 - V1 Main Body for V3 510 Connector
- OR 1 - V1 Main Body for V4 510 Connector
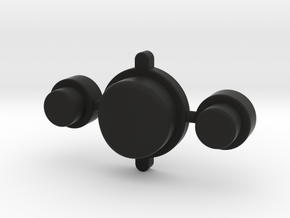
- 1 - V1 Button Group
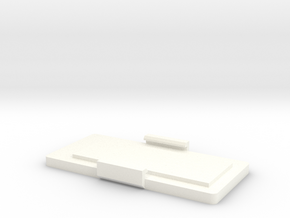
- 2 - V1 Battery Cover
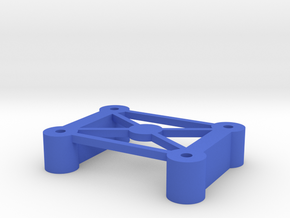
- 1 - V1 Screen Clamp
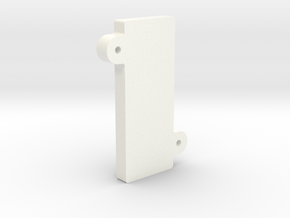
- 1 - V1 Access Panel
NOTES: You will require one set of all the 3D printed parts to build the V1 correctly. You are free to mix and match the colors to personalize it to your liking.
3D printing is awesome but many times it isn't perfect. There are times when the print you receive will require a little sanding or filing for the precise fitment required by these devices. If there is a problem that can't be easily fixed, please contact customer service at Shapeways.
Evolv DNA40 Datasheet
NOTES: You can only install the DNA40 board in this mod enclosure because the board is secured by the new mounting rails that are only found on the DNA40.
Required Assembly Parts
- 1 - V3 Fat Daddy Vapes 510 Connector for Box Mods and Optional 22mm Washer
- 4 - Keystone Battery Contacts - See Notes Below on Battery Contacts
- 6 - 1/4" Length, Pan Head, T5 Drive, Stainless Steel Torx Thread-Forming Screw for Plastic.
- 4 - 3/16" Length, Flat Head, T3 Drive, Stainless Steel Thread-Forming Torx Screw for Plastics
NOTES: There is some information about the right options to select for the 510 connector in the following photo album. I VERY highly recommend you buy the correct screws in both of the specified types and lengths. You risk cracking or breaking the 3D printed parts if you use the wrong screws. The 1/4" length screws are used to secure the DNA and screen clamp. The 3/16" length screws are used to secure the rear access panel.
Battery Contacts
- Mouser: Keystone 1042
- Mouser: Keystone 1048
- Digi-Key: Keystone 1042
- Digi-Key: Keystone 1048
NOTES: You will need 4 battery contacts scavenged from Keystone Battery holder/s. There are several links provided to aid in locating them somewhere they will be in stock.
Optional Assembly Parts
NOTES: The DNA40 has reverse polarity protection however it cannot protect against inserting one of the batteries in the wrong direction in a multi-battery configuration. This would be considered a "short" and user error. If you using the DNA40 and this scenario is a concern, you can add one of the fuses to each positive connection. If you cause a short by inserting a battery in the wrong direction it can take several hours for the PTC fuse to cool and your device to become operational again. Two sources are provided for the fuses and you will need two of them for a dual battery build like the V2.
Required Tools
NOTES: Any decent quality soldering iron will work, the link to the Weller WLC100 is just here to provide an inexpensive recommendation to someone just getting started with building their own mods. I'm also providing links to the solder and flux that I personally use.
Optional Assembly Items
NOTES: The links provided are just examples as many of these things are typically available at your neighborhood hardware, automotive or home improvement store. You can get the 10x1mm tap and a handle in most Tap and Die sets if you want another option of where to look for these tools.
Tags
DNA40Details

More From This Shop