


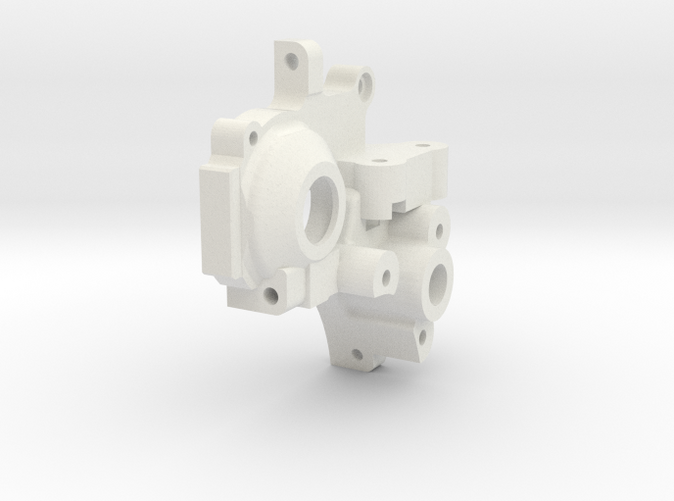
JB Carbon Serpent SRX-2 MM 3 Gear Right Side
Made by
Have a question about this product?
contact the designerProduct Description
Hello
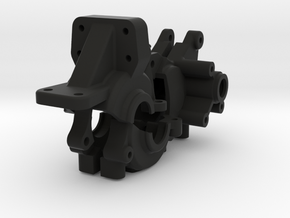
This is the JB Carbon Serpent SRX-2 MM 3 Gear Right side.
Using a B5M motor plate we’ve developed a “3 gear” transmission. The transmission is huge advantage for higher grip and stock racing.
Because the part is 3D printed we use locknuts to capture the screws instead of screwing into the case. This allows you to take about the case without having to worry about stripping the hole. The locknuts can be glued into the captured socket to make it easier to take apart.
You will need:
B5M 3 gear motor plate, you can use any of the motor plates for a B5M 3 gear (https://www.amainhobbies.com/team-associated-b5m-3-gear-gear-box-asc91607/p404378 )
B5M 3 Gear cover and Cover Cap
https://www.amainhobbies.com/team-associated-b5m-3-gear-gear-cover-asc91604/p404376
https://www.amainhobbies.com/team-associated-belt-cover-cap-set-2-asc91089/p203887
3mm x 35mm Countersunk screws for mounting the motor plate (3)
Cut 2 of the 3mm x 35mm to 24mm in length for attaching the gear case to the chassis from below
3mm locknuts with the nylon ring, you will need 9 locknuts total. (3 for motor plate screws, 4 for the rear shock tower, and 2 for the screws to hold the chassis from underneath)
https://www.amainhobbies.com/serpent-3mm-locknut-10-ser110402/p173604
3mm x 14mm countersunk for attaching the rear shock to the transmission case. You will need 4
https://www.amainhobbies.com/serpent-3x14mm-hex-flat-head-screw-10-ser110184/p275598
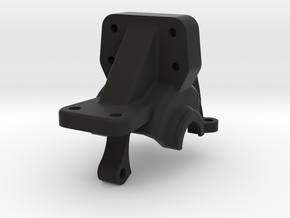
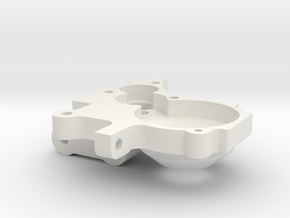
JB Carbon Serpent SRX-2 MM 3 Gear Left side.
Mounting:
Take apart your serpent 4 gear transmission. You will need to use the differential, 1 of the idler gears & shafts, and the top layshaft with slipper assembly (all the stock bearings sizes). The JBC case doesn’t use the diff heights, it was designed for the middle height only which is the most commonly used insert.
The differential will need .3-.5mm shims per side
The top layshaft could need a small shim aswell on the slipper side inside the case
You can use the tiny screw to hold the case together like the originally case.
The order of the first build should be, tower-> Chassis-> Motor plate.
Insert the nuts into their holdings and screw the rear tower on, this will hold the case together so you can use mount the case to the chassis.
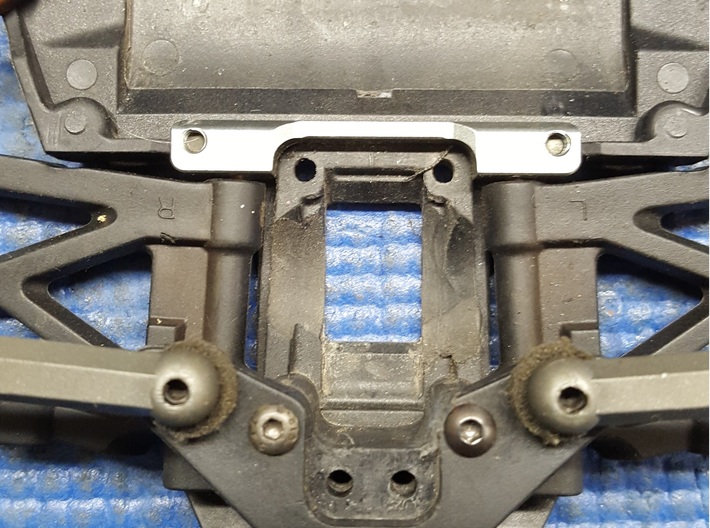
Slide the locknuts into their holdings from the motor area. The lower T-Plate will need some light dremeling to have the case sit flush will the bottom of the chassis (picture) the case will slide into place. Using the 3mm x 24mm cut screws, attach the case to the chassis.
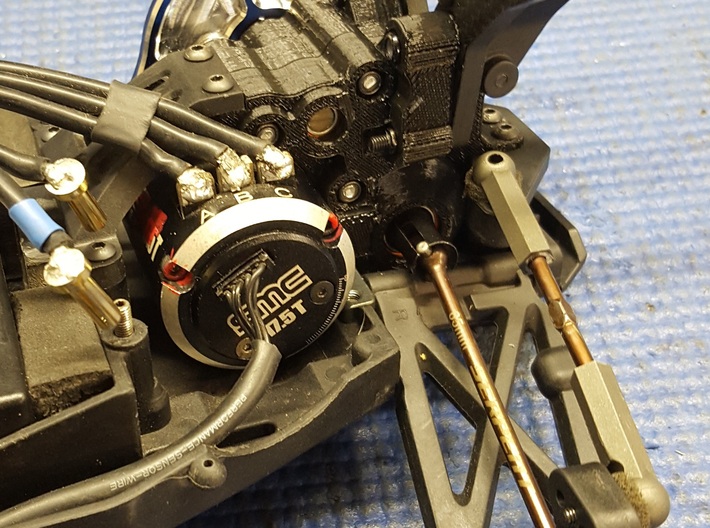
Now you can mount the motor plate to the case. Using the full 3mm x 35mm screws. Attach your slipper. Mount the waterfall and install the motor.
*Do Not Over tighten*Do Not use an electric screw gun (Makita, Ryobi, Hitachi) you don’t want to spin the locknuts in their Socket*
*3D printed parts haven´t the precision that molded parts have. Some gearboxes work perfectly, some require a little bit of sanding.*
Details
