
WarwellSubfloor02_06
Made by
Have a question about this product?
contact the designerProduct Description
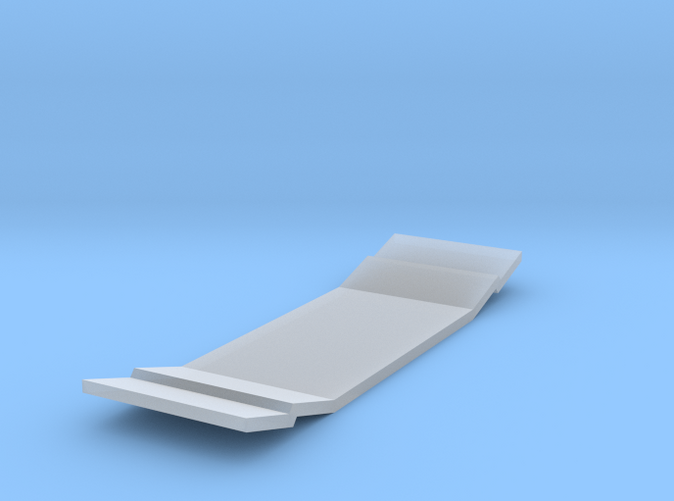
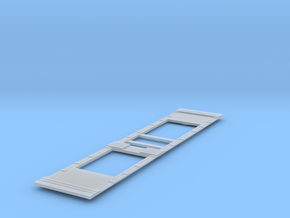
To use my bolster conversions on the Parkwood Warwell kit, the planking on the kit needs to be removed down to the level of the top of the solebar: possibly all of it, or just most of it for the quad bolster and six separate places for the six bolster. This would leave gaps and holes, so the subfloor item is designed to provide a bottom for the holes for the central bolster supports of the six, or an entire new floor which is level with the solebars for the quad. When the sides and floor have been joined together and have set firmly, remove the locating bumps* on the underside of the planking so that the sub floor can be fitted flush. The subfloor unit may need to be narrowed slightly to give a perfect fit between the sides. When the glue is thoroughly dry the planking can be cut, filed and scraped away where necessary until the subfloor is exposed. For the quad, remove all the planking apart from the 7 or so across the middle (compare with a photograph to decide how much to leave) so that the top of the subfloor becomes the new floor. For the six bolster versions, remove four small oblong areas in the bottom of the well before fitting the sides, and, after fitting the sides and subfloor, remove the the top two planks at either end of the well. For any version, the remaining planking should probably be filed down to about half its original depth and the planking lines re-scored, but that may be too much trouble. Alternatively, remove all the planking from the kit after fitting the subfloor, and replace it with something finer such as textured plasticard. I may yet make a further 3D print model to replace the kit floor entirely, or maybe to produce the whole chassis. EXPERIENCE: In black strong flexible plastic the subfloor worked well with the 4-bolster conversion. For the six bolsters I made do with bits of plain plasticard as the subfloor wasn't ready in time, and I found it worked better to cut the small holes in the planking before fixing the kit floor and sides together. You can't as easily remove the end planking, though, until there's something else holding the ends of the floor to the rest of the wagon. *If you are considering leaving these pips in place and drilling recesses in the top of the subfloor to accept them instead, do measure them all carefully as they are not located symmetrically. Their remains could also be a nuisance in key areas when the planking is removed.
Details
