
Product Description
Okay, they’re ready! The thinned garages look great, if I do say so myself. They require just one modification - the kit deck needs to be thinned a bit.
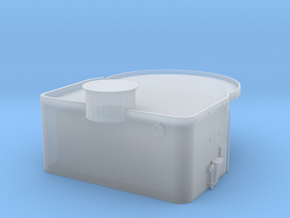
Assembly the garages. They’re just three parts, unless you choose to install some of the doors. You’ll get four doors, one for each opening.
Install the garage, backing it off just slightly from the lip of the landing bay. If you don’t, the bay deck part won’t fit. The bay deck needs to connect up with that lip. You can see in the part that there is a slight, slight gap there. Don’t worry, you can drop some Mr. Surfacer or paint in there later to fill in the gap if it bothers you, if you can even see it when assembly is complete. http://i231.photobucket.com/albums/ee110/aptivaboy/BSG/HPIM0257_zps475431c2.jpg
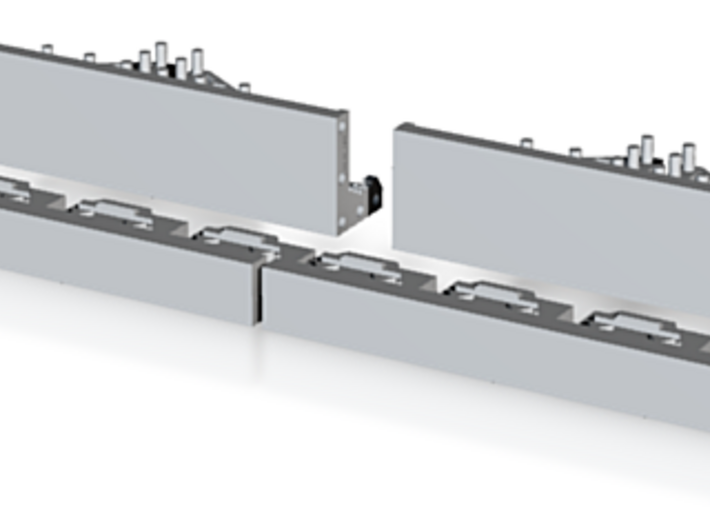
Now, thin the deck bay where the Raptor garage will sit. I used my handy dandy Dremel. This will ensure that the bay deck will be thin enough to both mate with the lip, and slip underneath the garage. http://i231.photobucket.com/albums/ee110/aptivaboy/BSG/HPIM0259_zps30358751.jpg
Install the bay deck after the glue holding the garage to the bay is fully cured. If you’ve thinned the bay deck enough, it should just drop right in. If not, there will be a slight bulge there. No problem, just thin a little bit more until the part fits flush and properly into the lip.
http://i231.photobucket.com/albums/ee110/aptivaboy/BSG/HPIM0262_zps9c9b808c.jpg
http://i231.photobucket.com/albums/ee110/aptivaboy/BSG/HPIM0261_zps8770a039.jpg
http://i231.photobucket.com/albums/ee110/aptivaboy/BSG/HPIM0263_zps50f254ba.jpg
FINISHED! Now, get the rest of that big Mercury-class battlestar finished and go hunt some toasters!!! Oh, and as you can see, with the doors open this really lends itself to lighting.
http://i231.photobucket.com/albums/ee110/aptivaboy/BSG/HPIM0264_zps93e1369f.jpg
http://i231.photobucket.com/albums/ee110/aptivaboy/BSG/HPIM0265_zps8debc6cd.jpg
http
Details

More From This Shop
$5.00