When I printed my
labyrinth coin in polished grey steel, I was interested by the effect of the matt black finish remaining in the crevices. It occurred to me that this contrast could be used to good effect in a picture. Having been very satisfied with how the
pig coin came out, I decided to combine the two.
So what animal has a recognisable head and tail - and also dark and light patterning? A panda, obviously.
So I designed and printed it, and disappointingly, the dark areas were nowhere near as dark as they'd been elsewhere. The issue is that the areas were so wide that the polishing media can get in and scour it off.
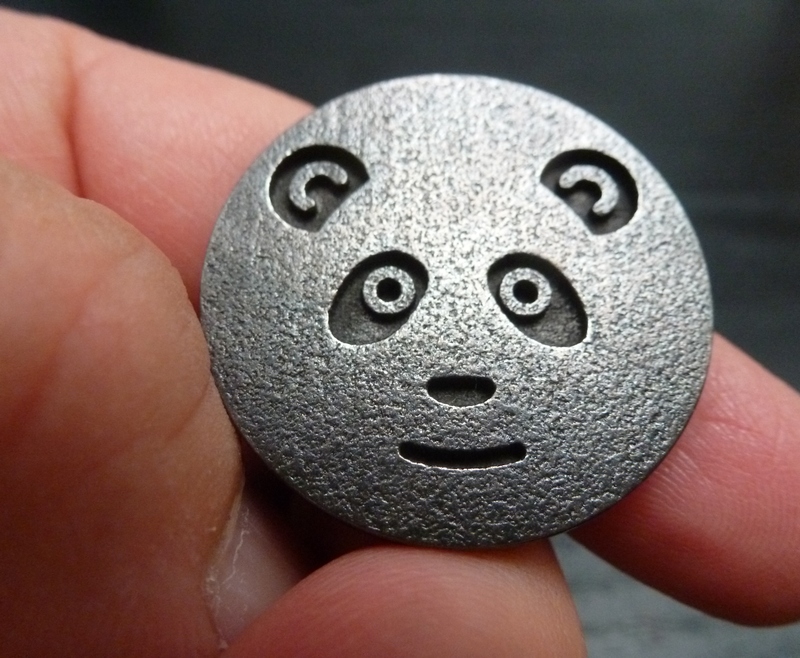
After mulling this over for a while (and incidentally, making a plain stainless print and painting it myself for a gift), I decided to try to protect the dark areas by adding patterning. For the face side I added a bit more detail - rings around the eyes, curves inside the ears - to get the ~1 mm wide, 1 mm deep channels I'd had in the labyrinth coin. I also enlarged some of the thinner lines slightly.
For the rear I had a bit more of a problem, because the back legs were rather large plain areas without any obvious scope for protection. In the end I went for a half-toning effect using 1 mm pillars.
This seems to have worked quite well, as you can see:
Here is a comparison of the rear sides:

On-screen the difference in colour-depth doesn't look like much, but it's much more obvious in the hand.
I put the
finished panda coin in my shapeways shop. I've also put up the plain (unpatterned/unprotected) version, but really it's so much easier not to have to paint it.